factory null
Anodizing @ Home (2017 archive)
by Steve O'Neill
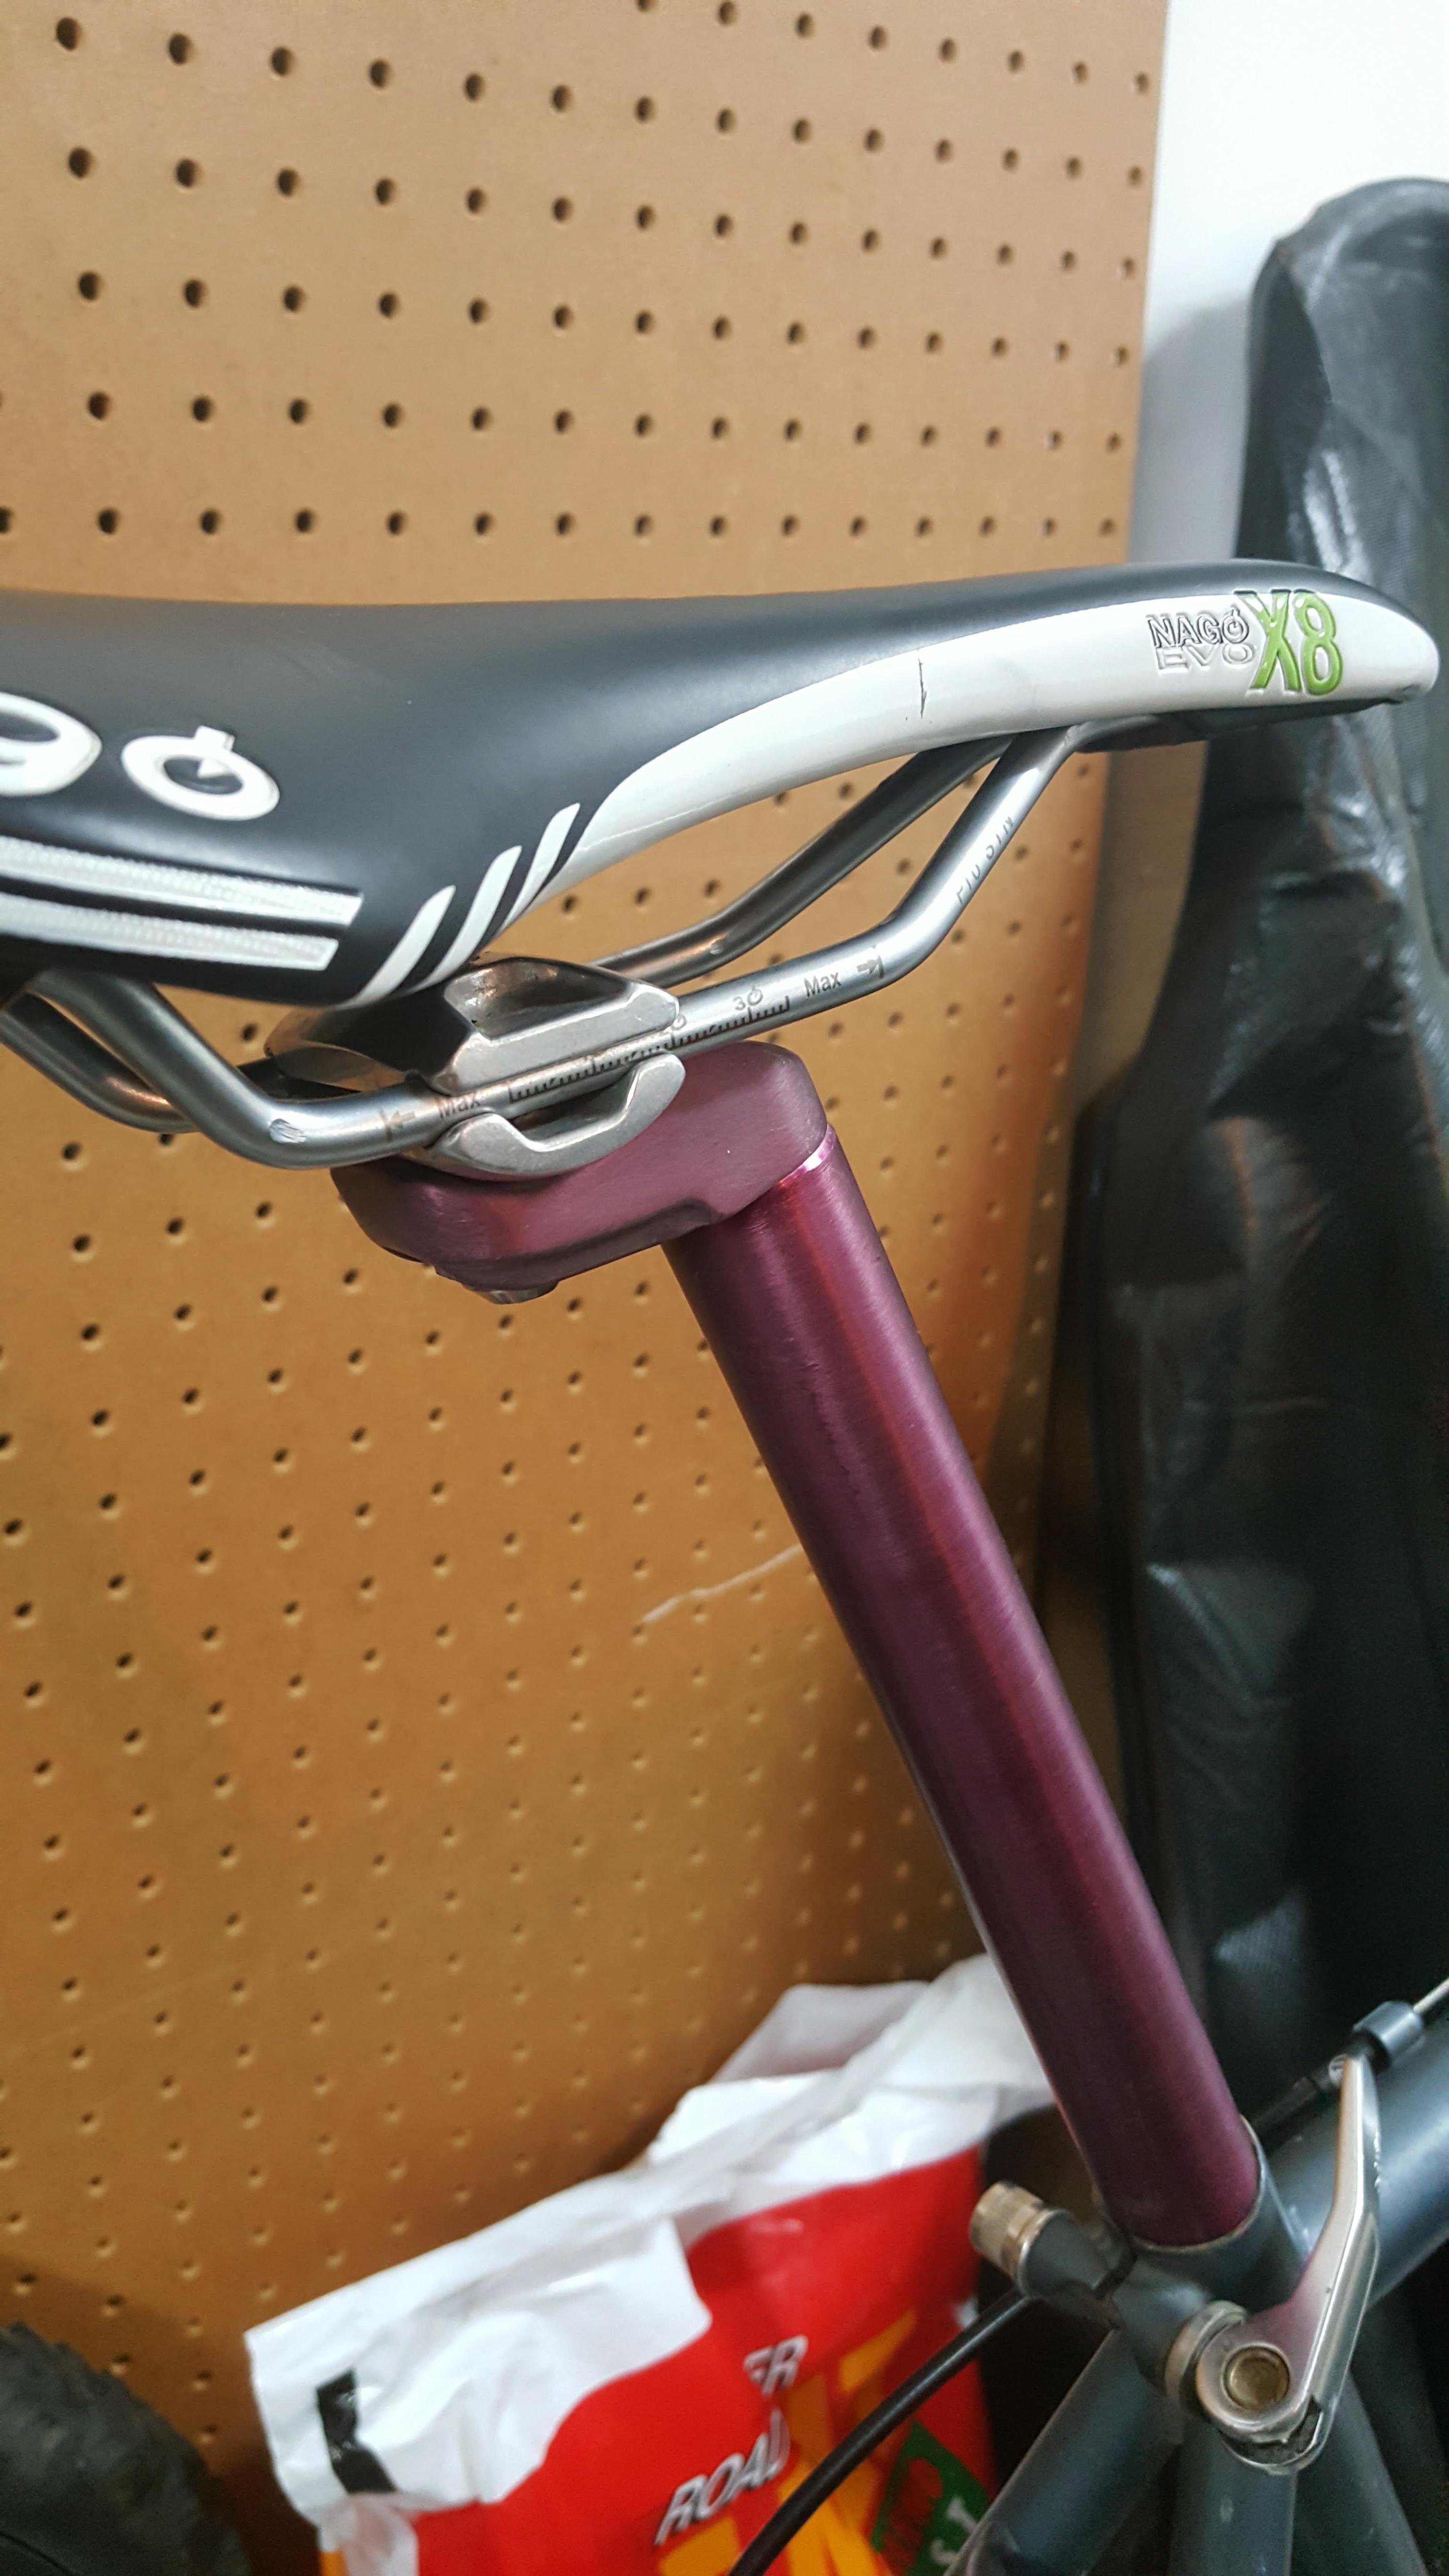
Finished product first! Anodizing piqued my interest last year when I discovered it could be done at home with a few simple processes. Winter break gave me some time off from college, so I decided to finally try it.
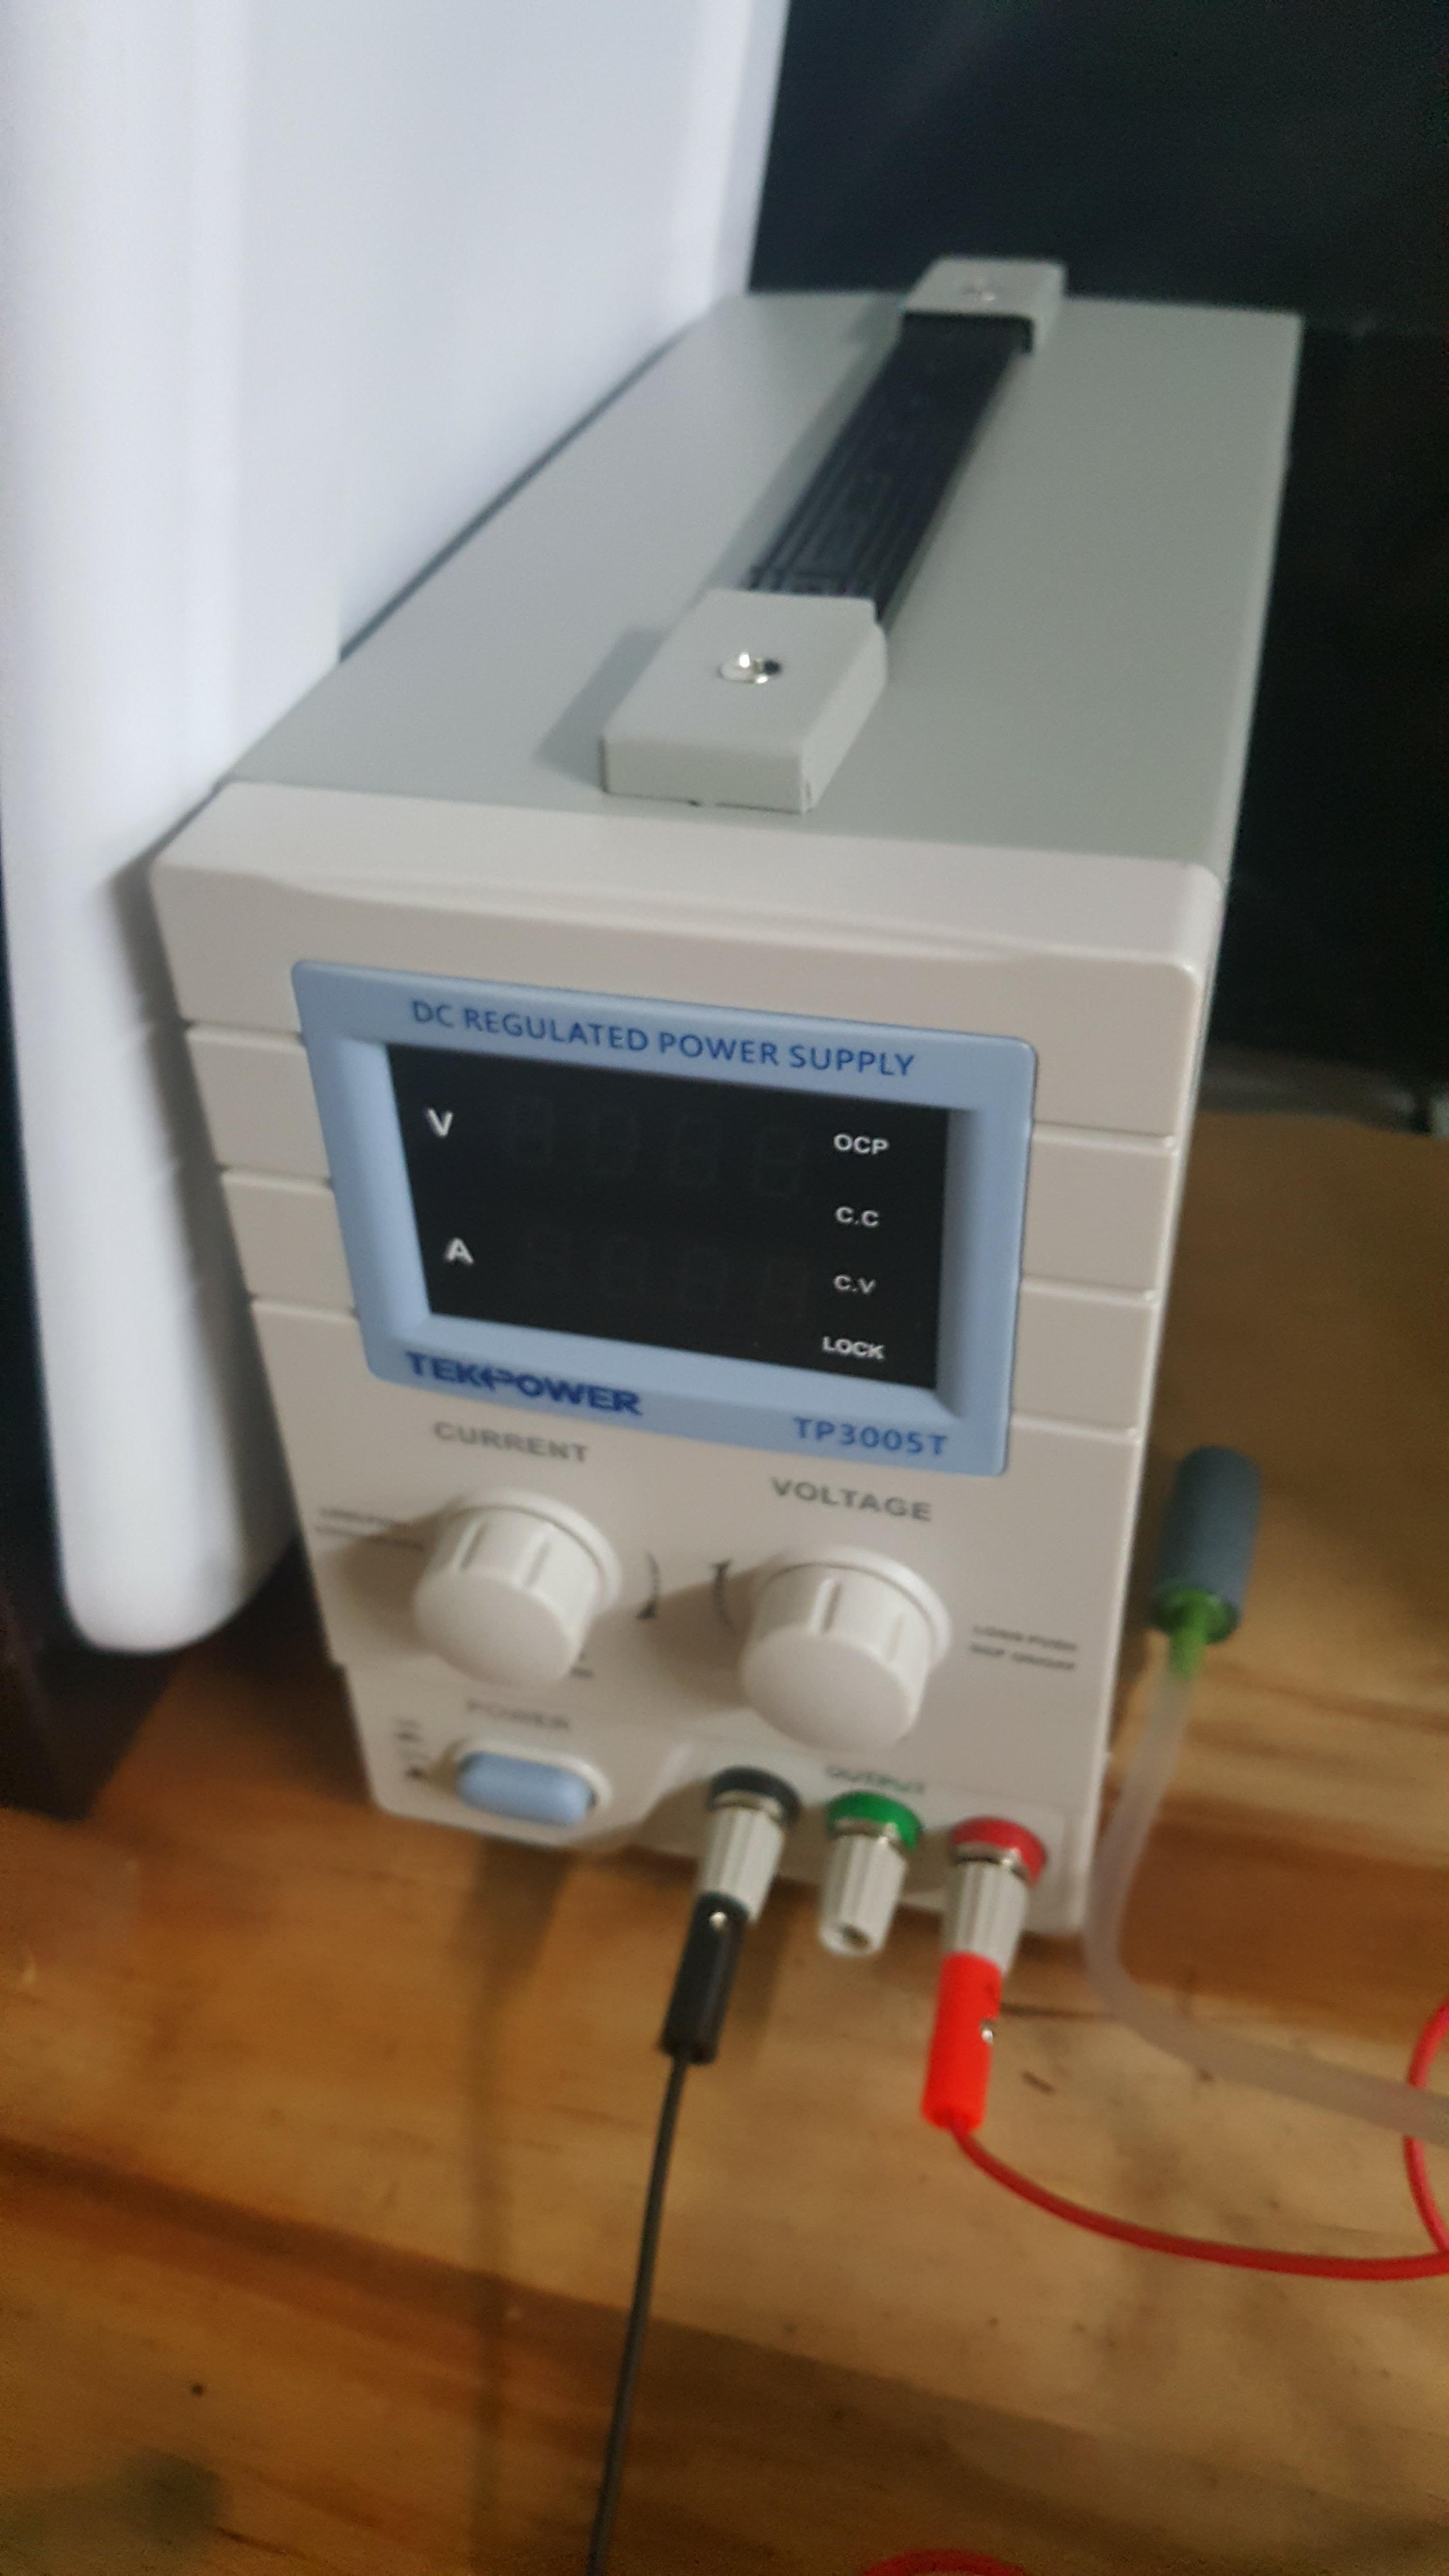
A DC power supply is the lynchpin of any anodizing project. Although I have read that 12v battery chargers and modded computer power supplies work too, I opted to use a traditional bench power supply. I purchased this unit for about $85 on Amazon. It’ll be good to have around for future projects.
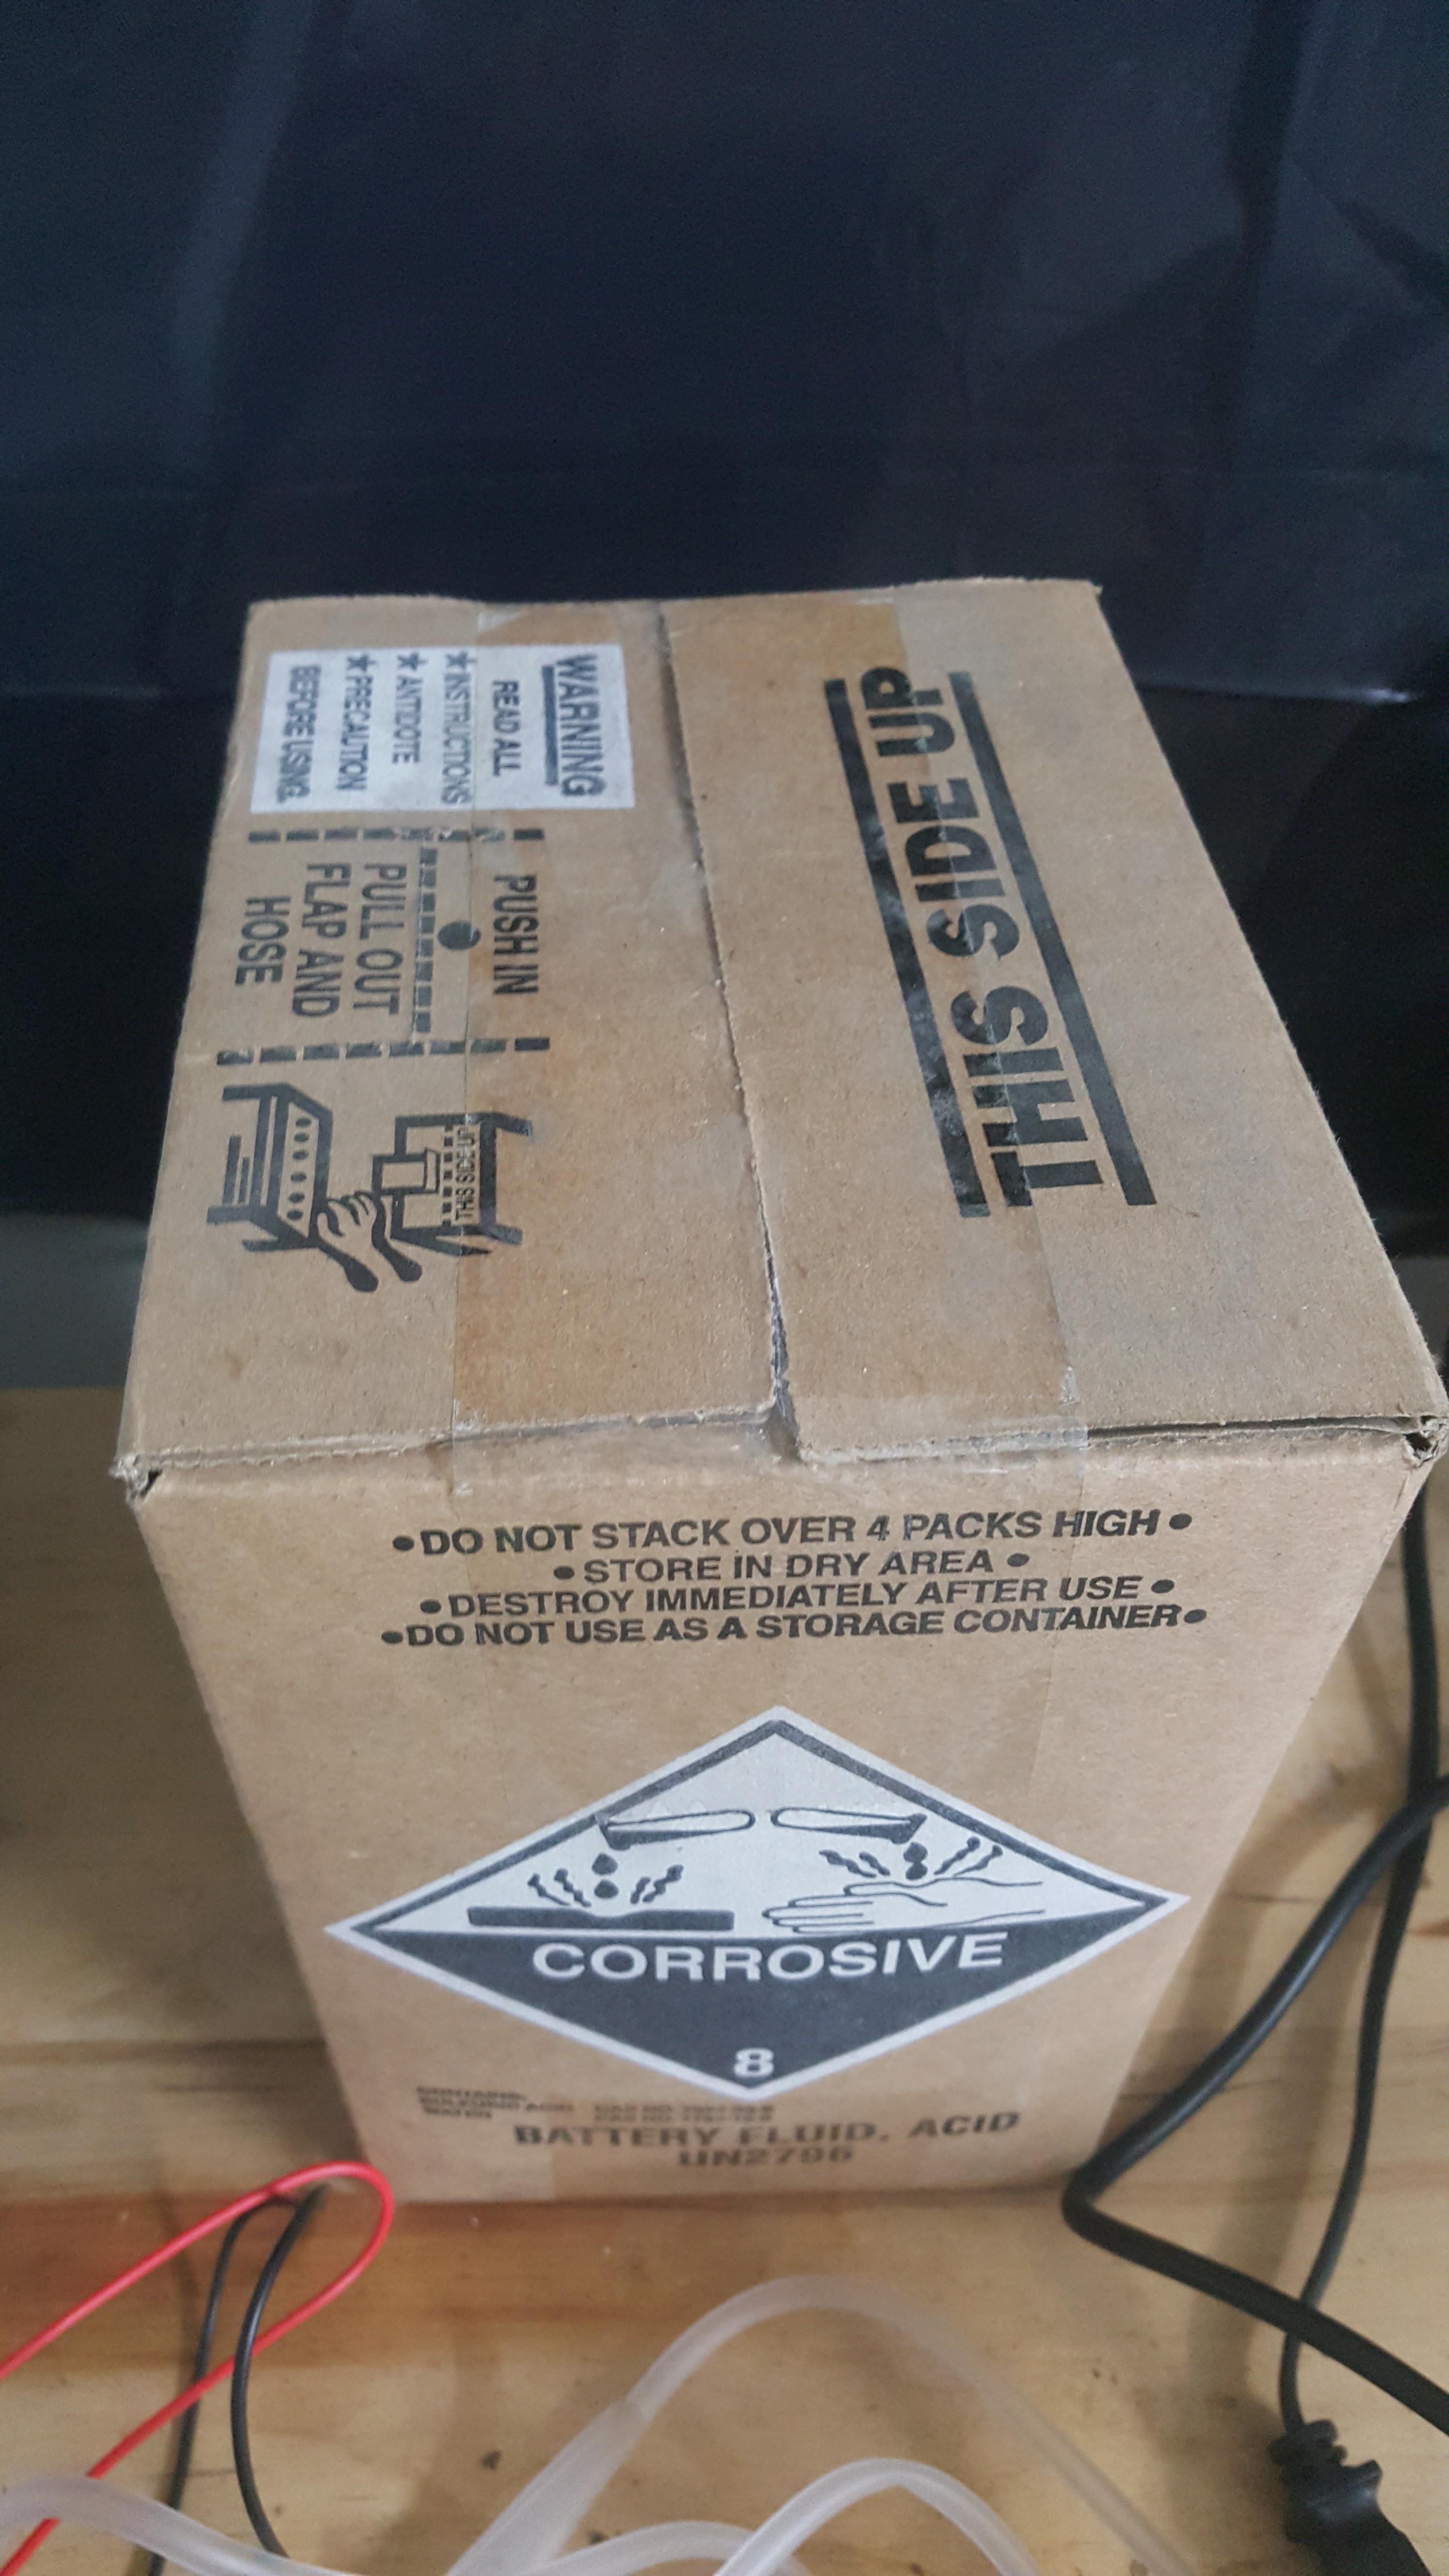
The other main thing you’ll need is battery electrolyte, also known as sulfuric acid. This is for ‘type II’ anodizing, which is easy to do at home. I bought this from my local Lowes, although auto parts stores may also carry it.
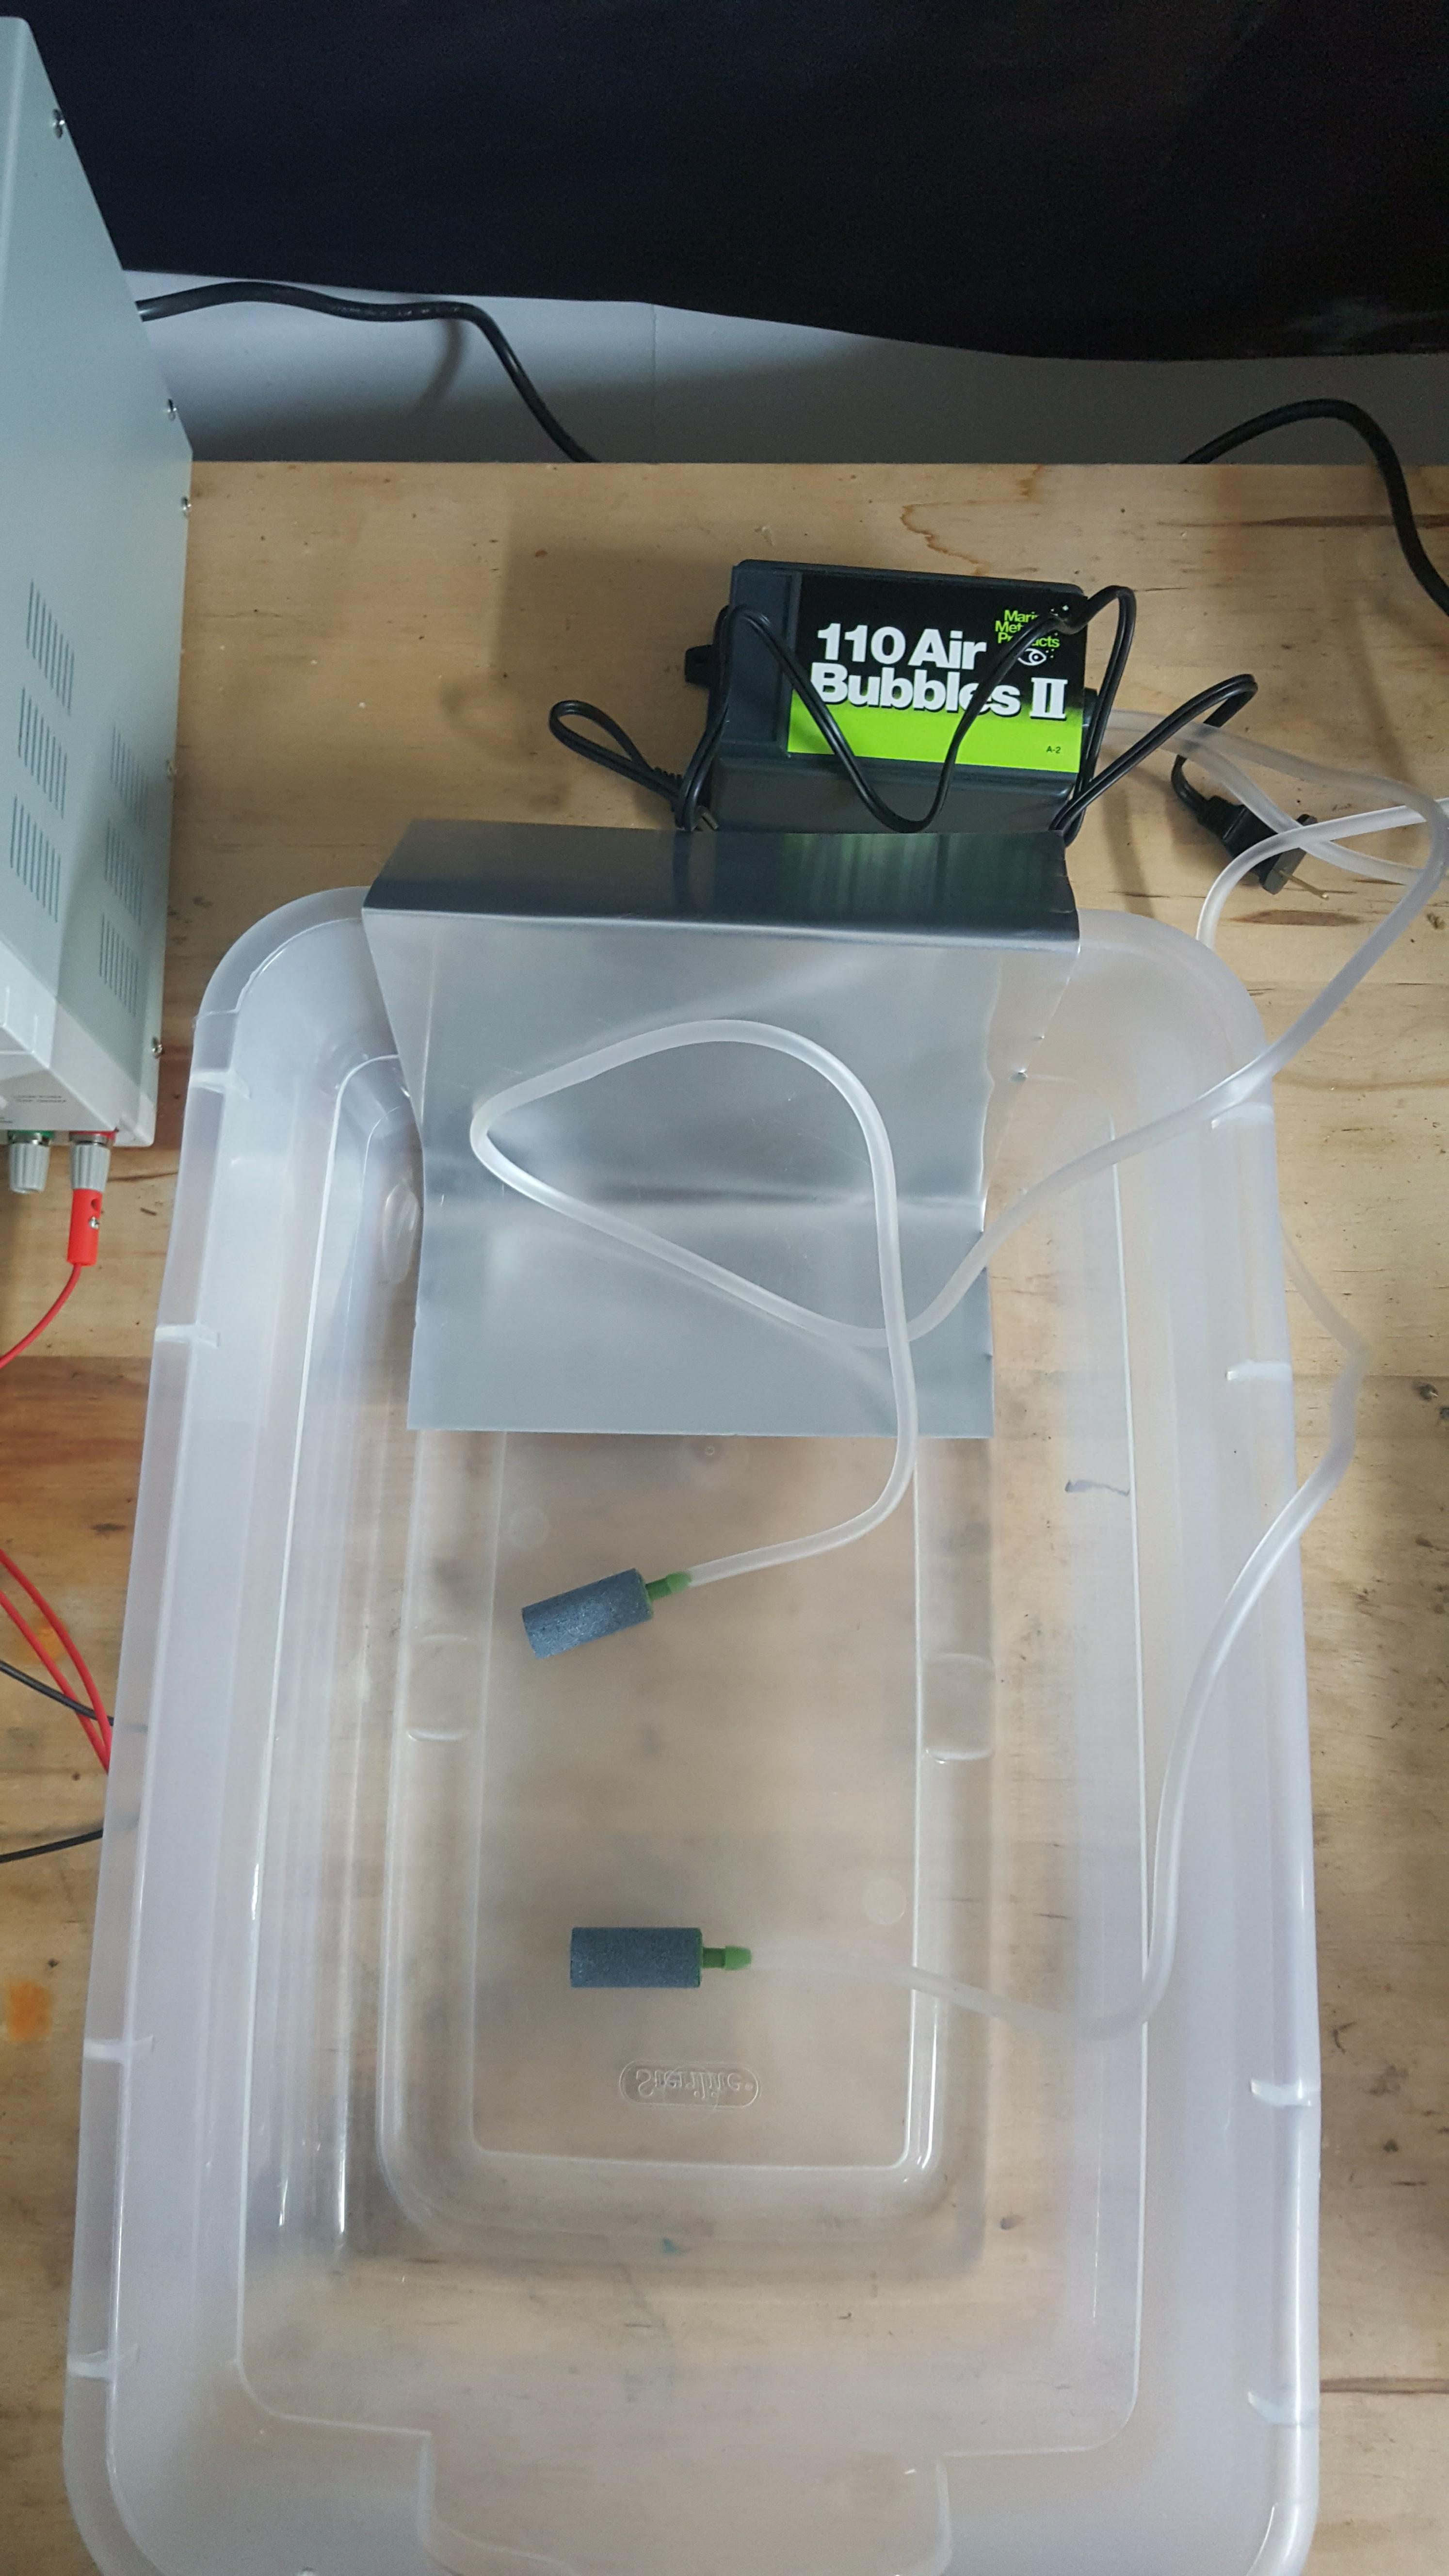
Here’s the tub which would serve as my anodizing bath. I also found a cheap aquarium pump on Amazon, which I thought would be useful for preventing bubbles. If I had to buy one again, I would get a bigger pump. This one isn’t very powerful.
You can also see my cathode: simple aluminum sheet stock that I cut with tin snips.
Very simply put, anodization is performed by running current through weak battery acid until a very thin oxide layer coats the submerged aluminum part that is connected to the positive lead of the power source (anode). The new oxide finish is hard, non-conductive, and receptive to dye.
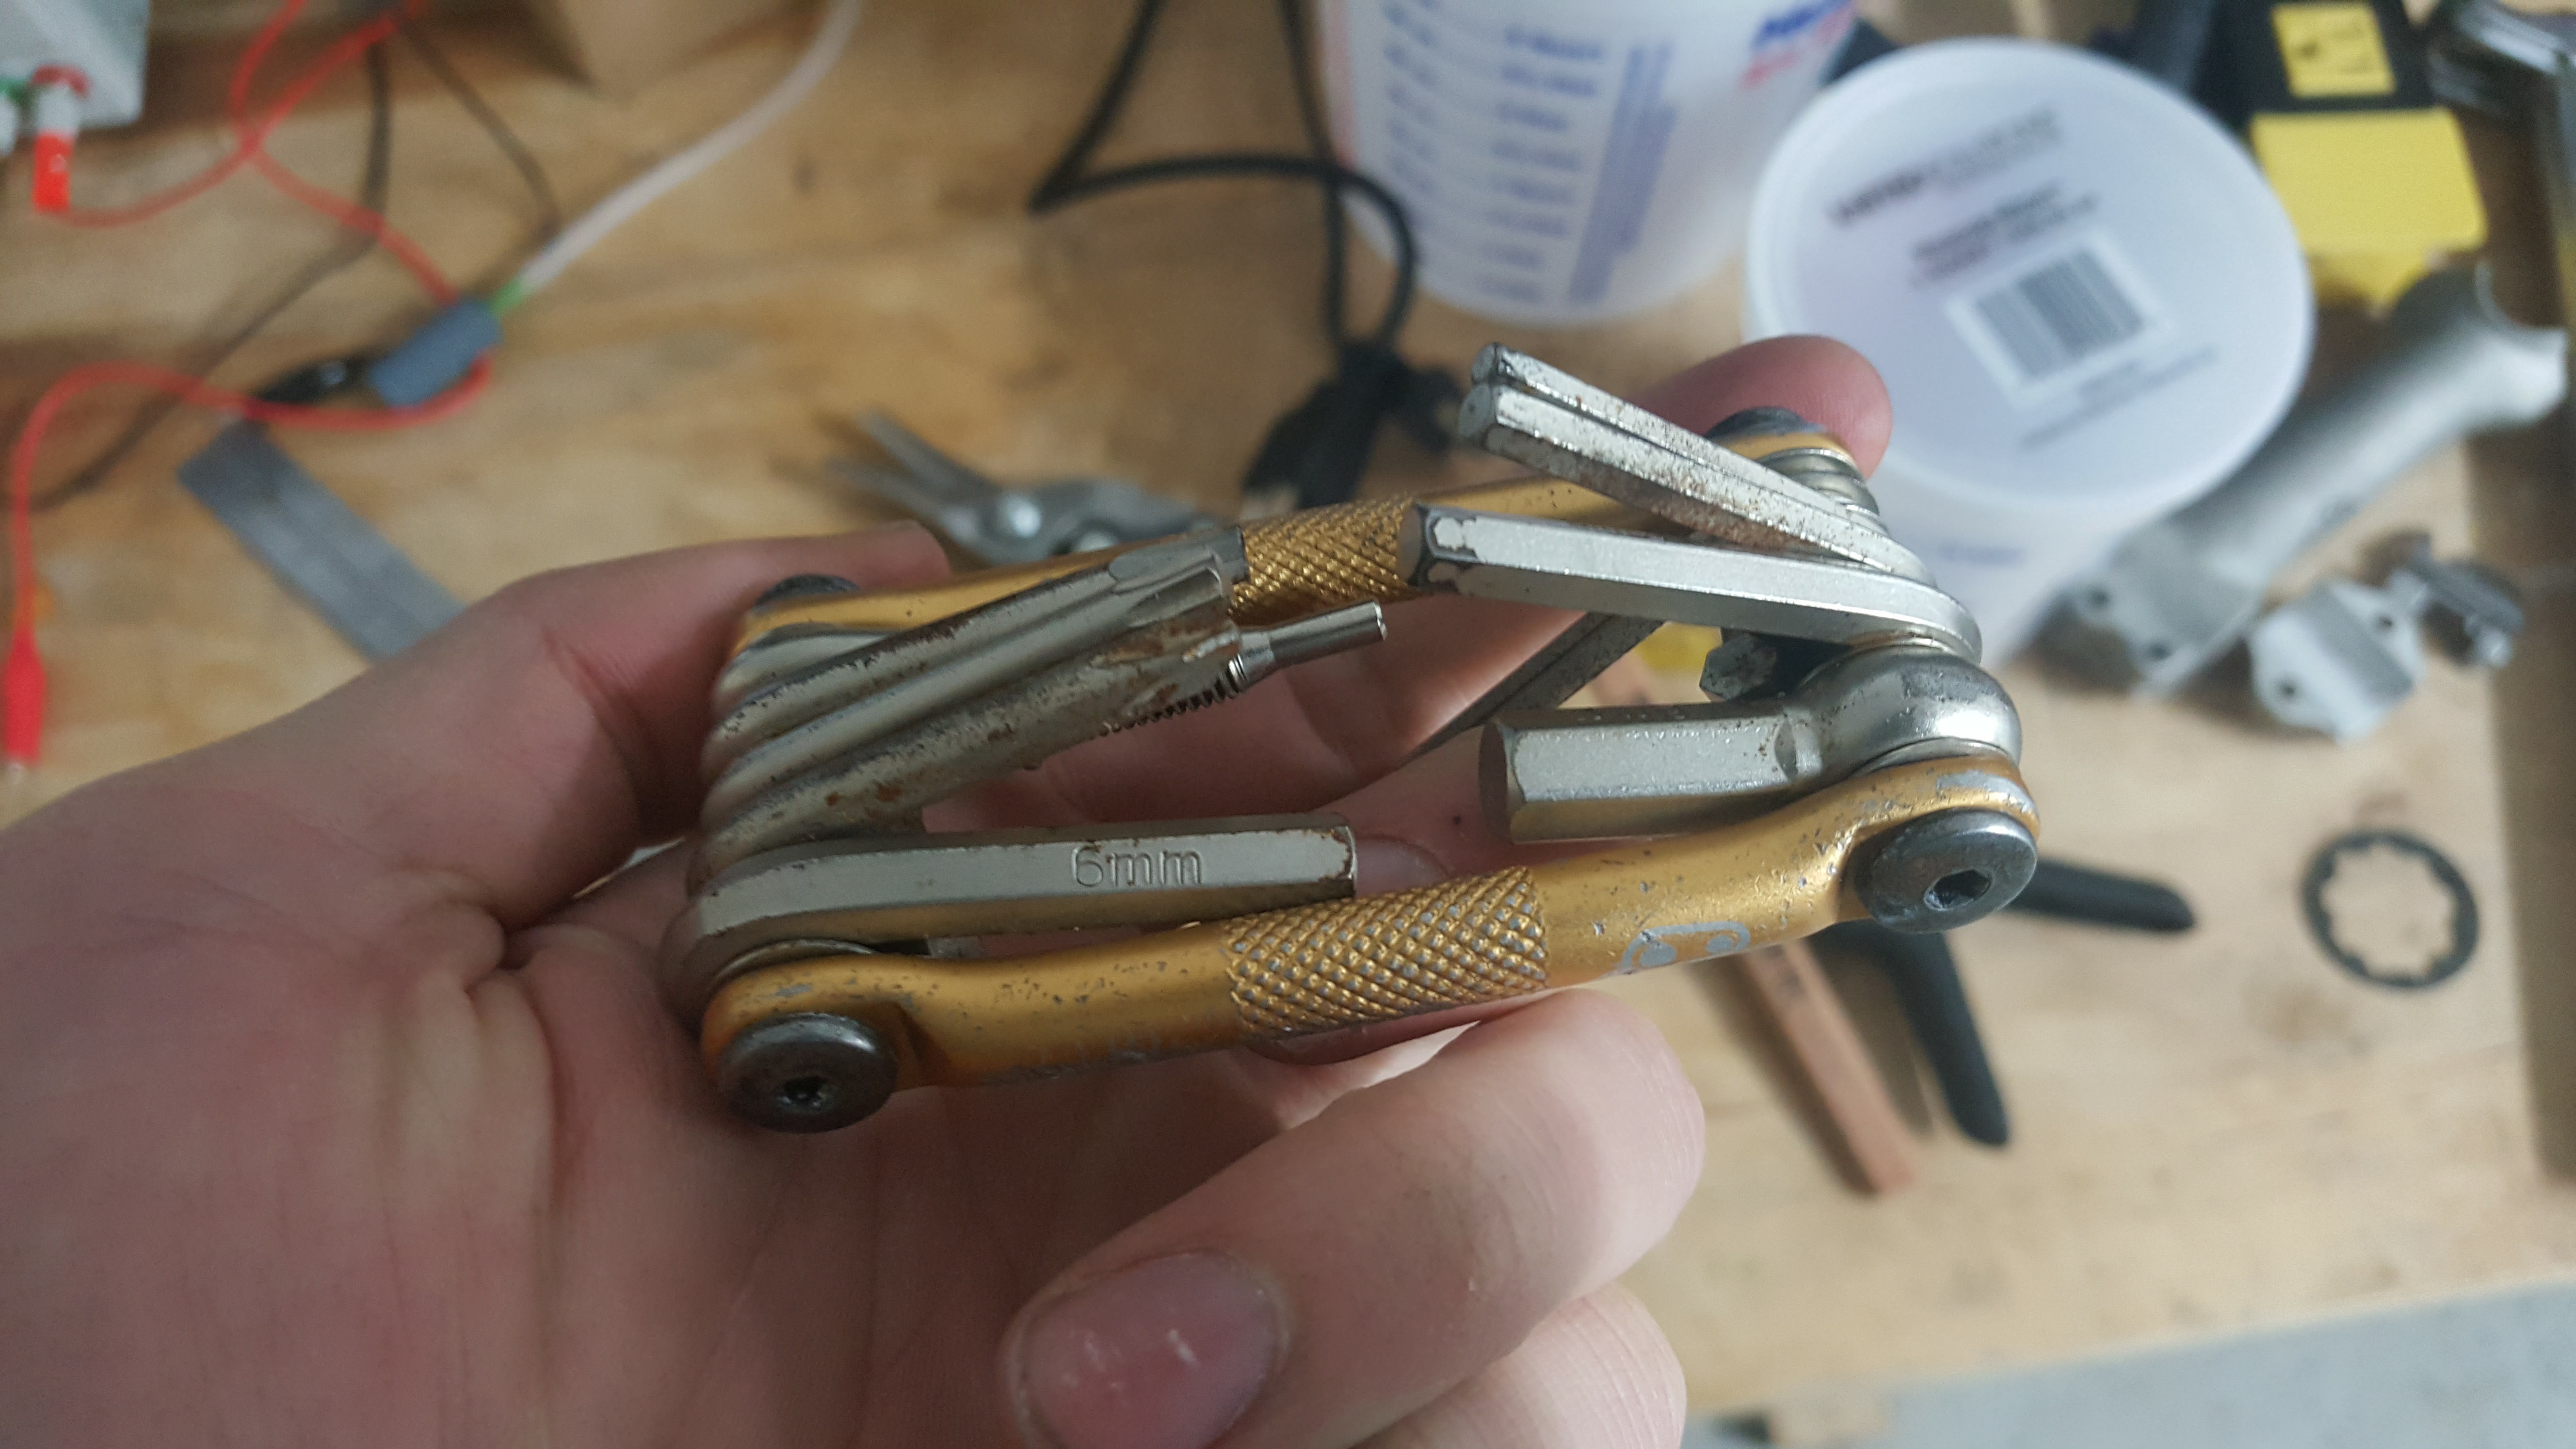
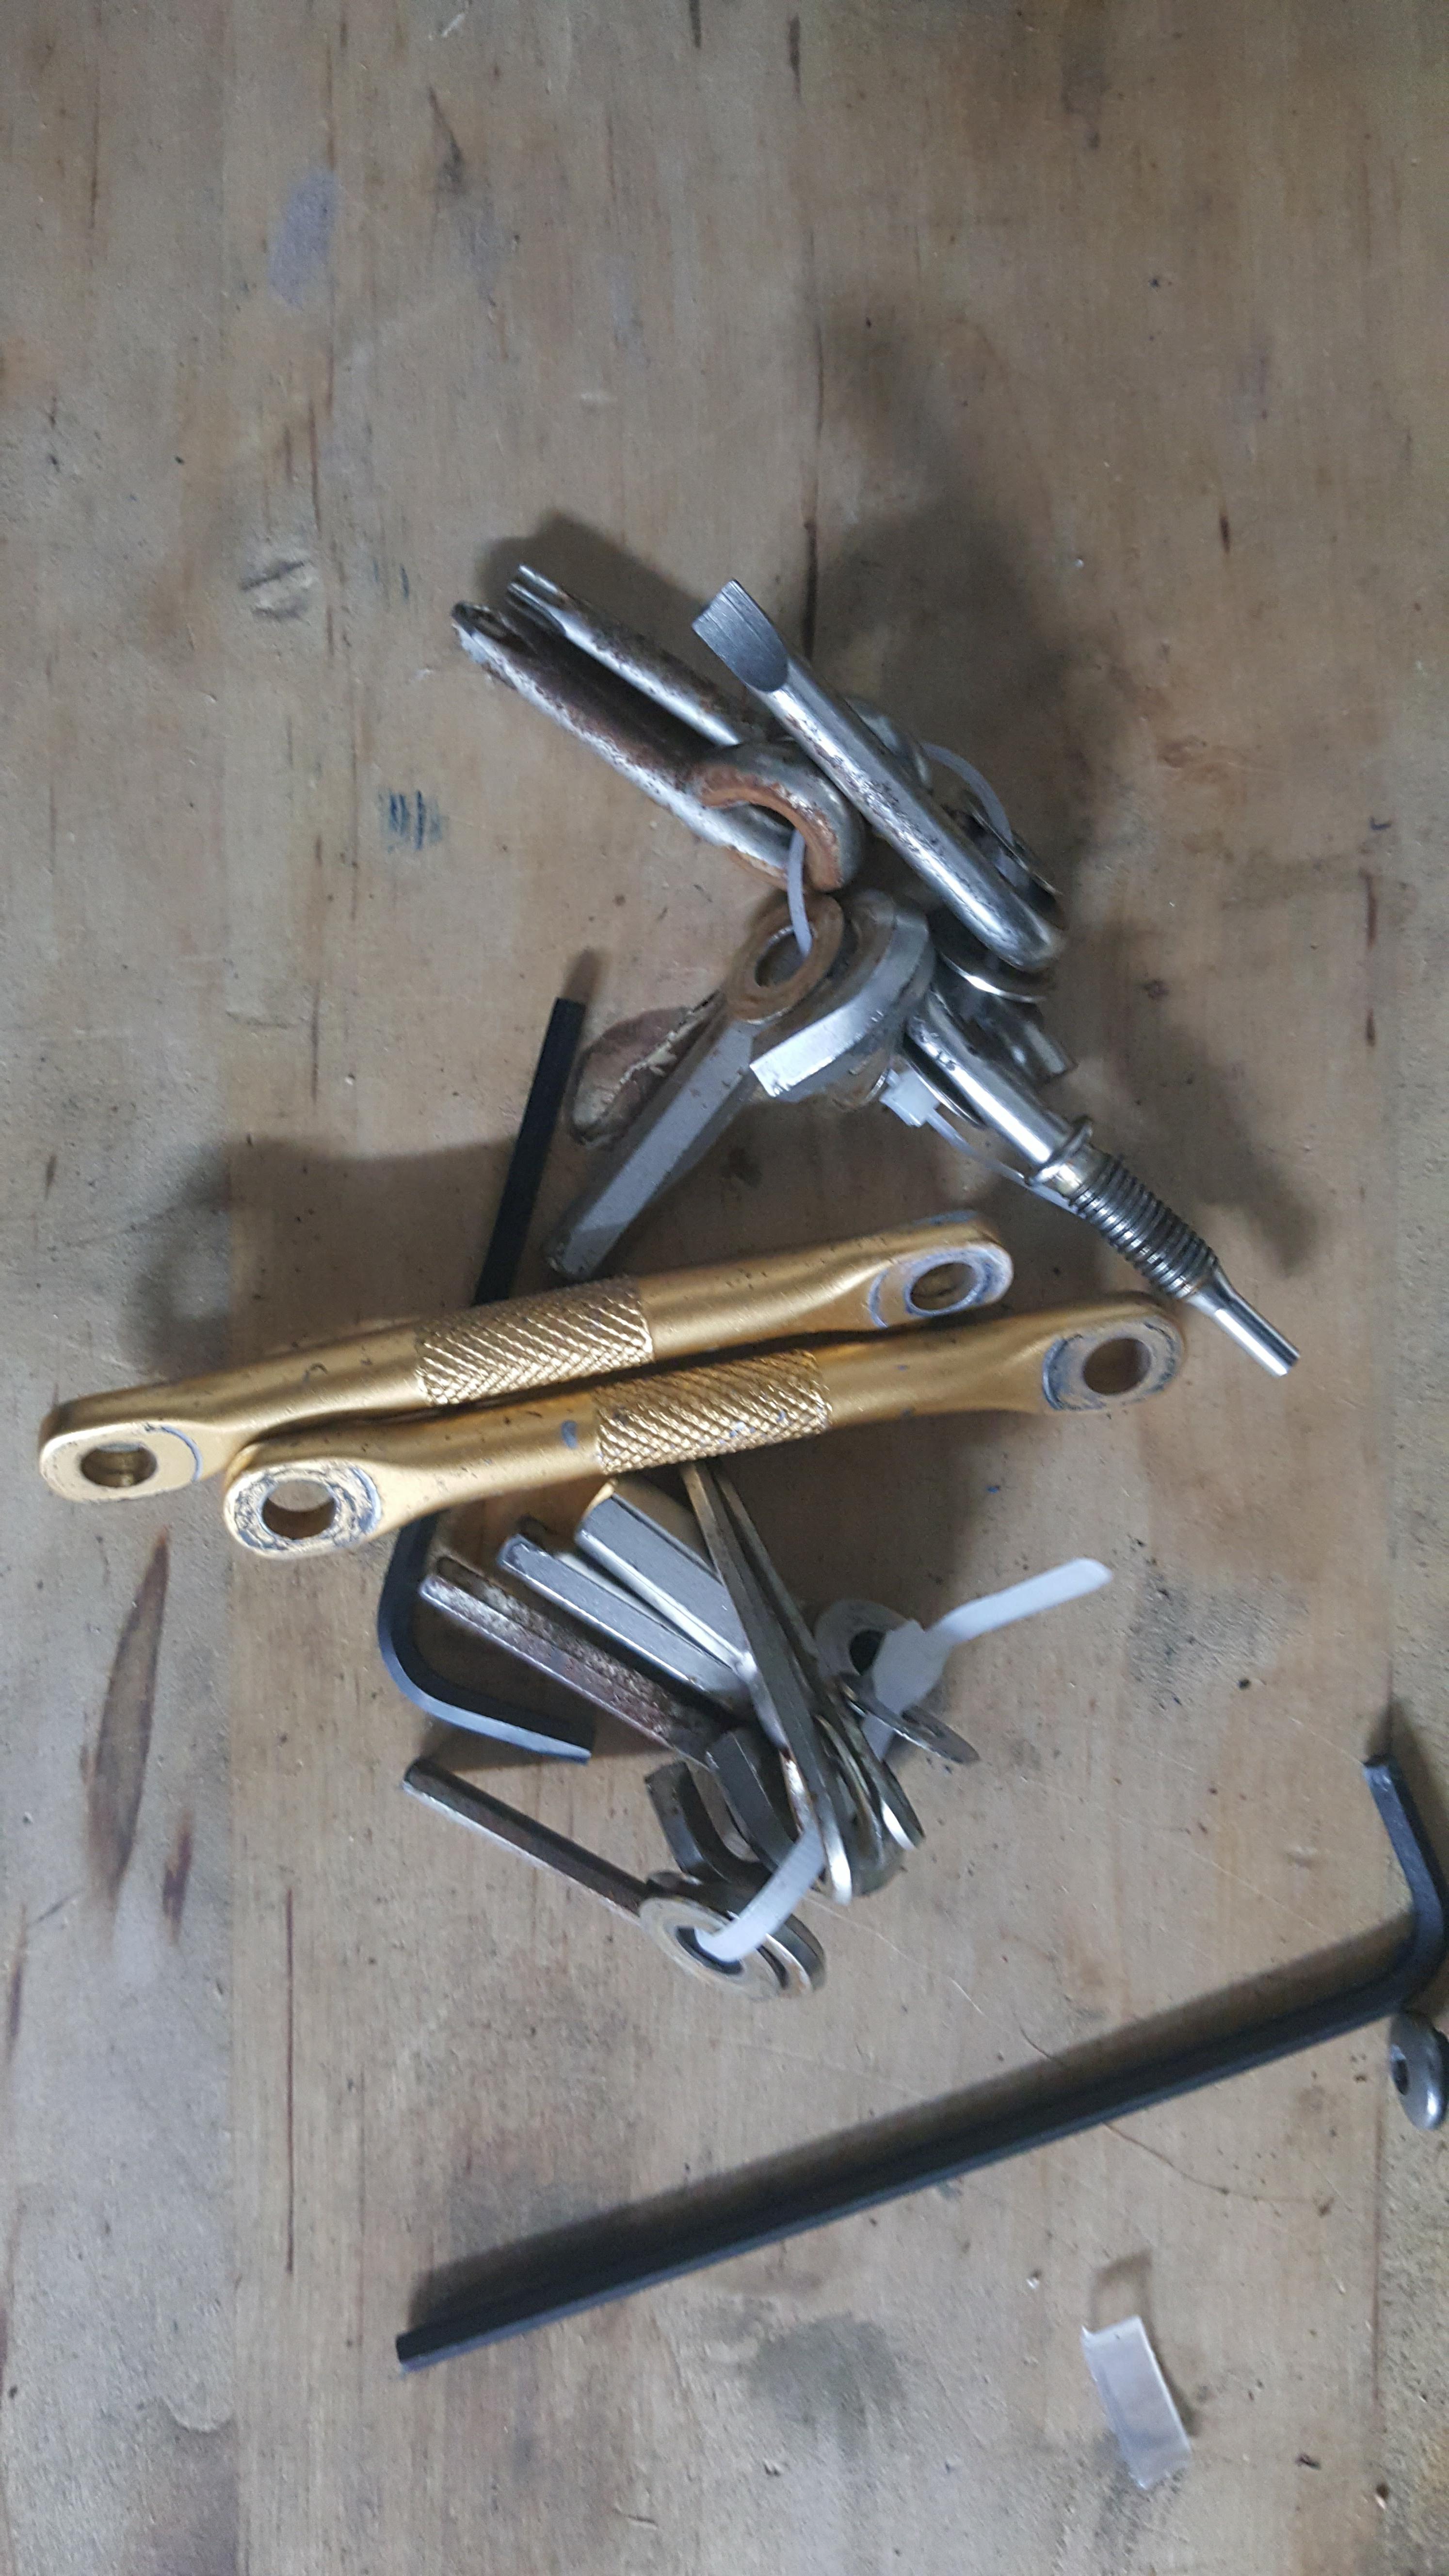
I took the tool apart, being careful to keep all the stainless steel pieces in the right order (zip ties help). Unfortunately, ferrous metals like steel can’t be anodized.
I wanted to do a small batch before I moved onto bigger (less replaceable) items. This crankbrothers multi-tool seemed like a good candidate.
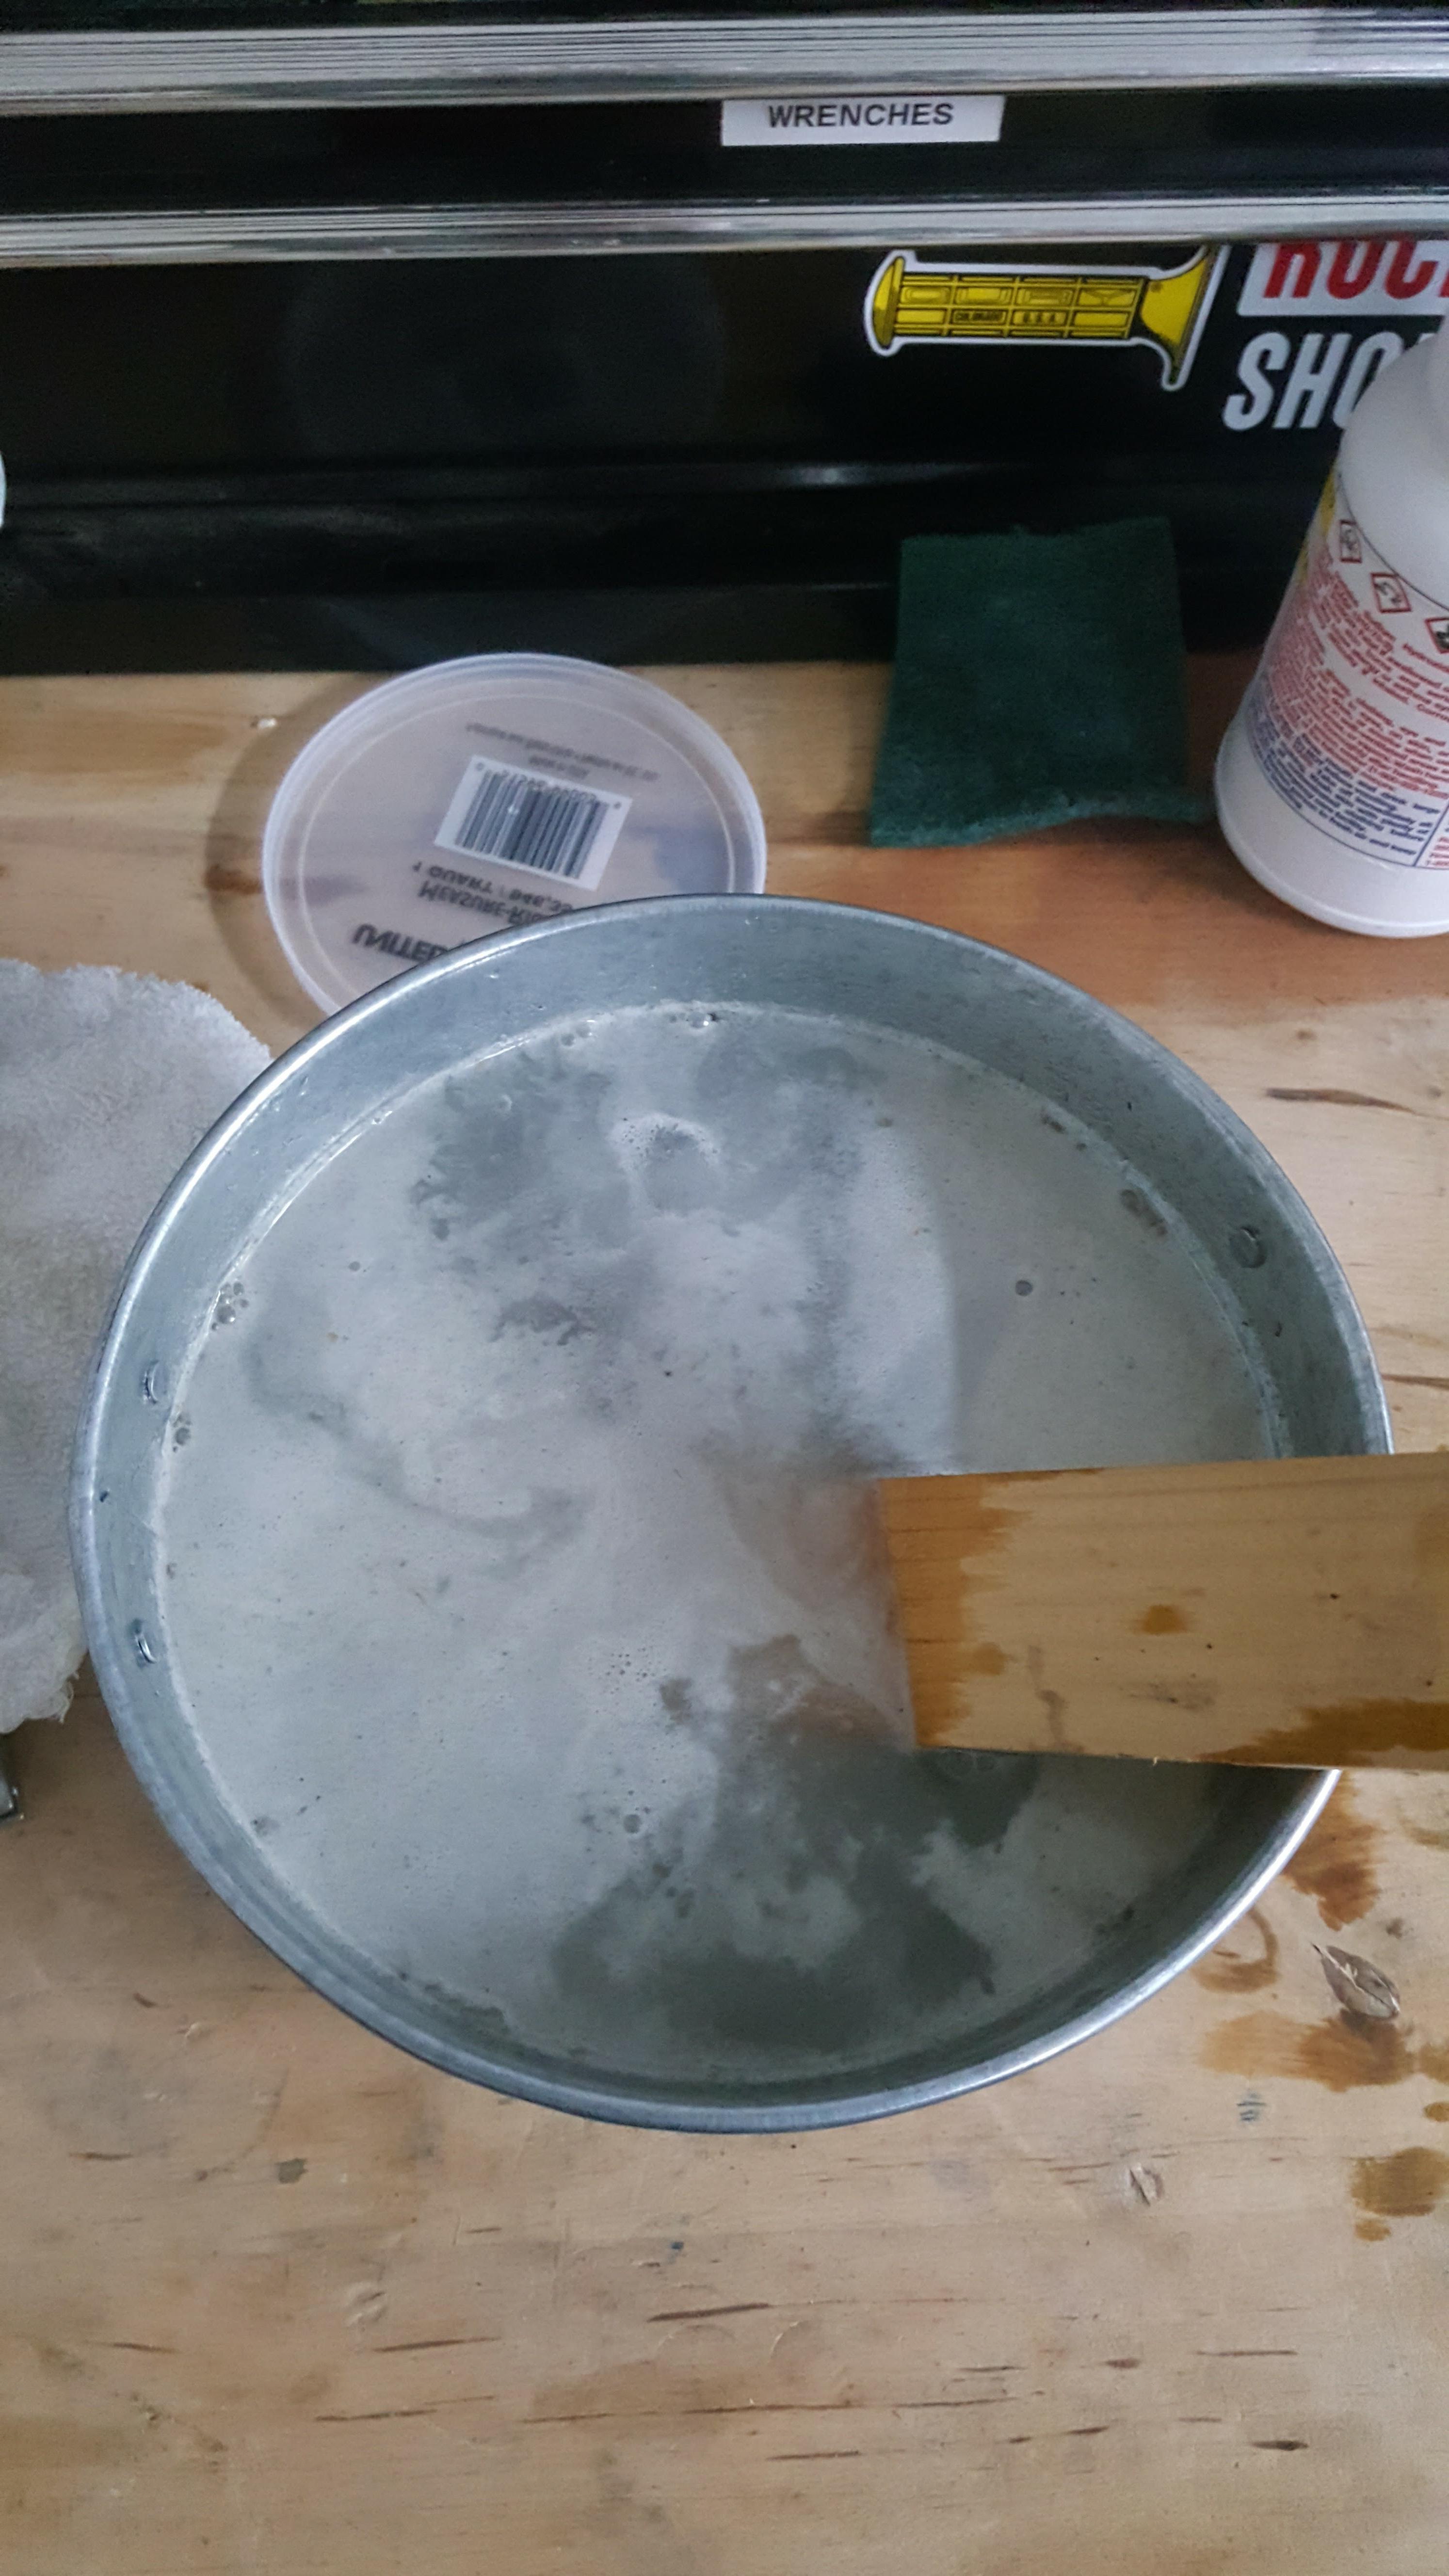
I lightly sanded the aluminum parts of the multitool, but the next real step was chemical etching. In this pot, I mixed a solution of water and sodium hydroxide, A.K.A. lye. I got mine in powder form.
Lye is extremely dangerous, and should only be handled with gloves and proper ventilation. I only used half a capful of crystals, and I still think I used too much. Only add a little at a time, and stir it around!
COLD WATER ONLY. Together, lye and water create a exothermic reaction. Using hot (or even warm) water might cause the mixture to bubble dangerously. Also, don’t use an aluminum container. This pail is made from galvanized steel.
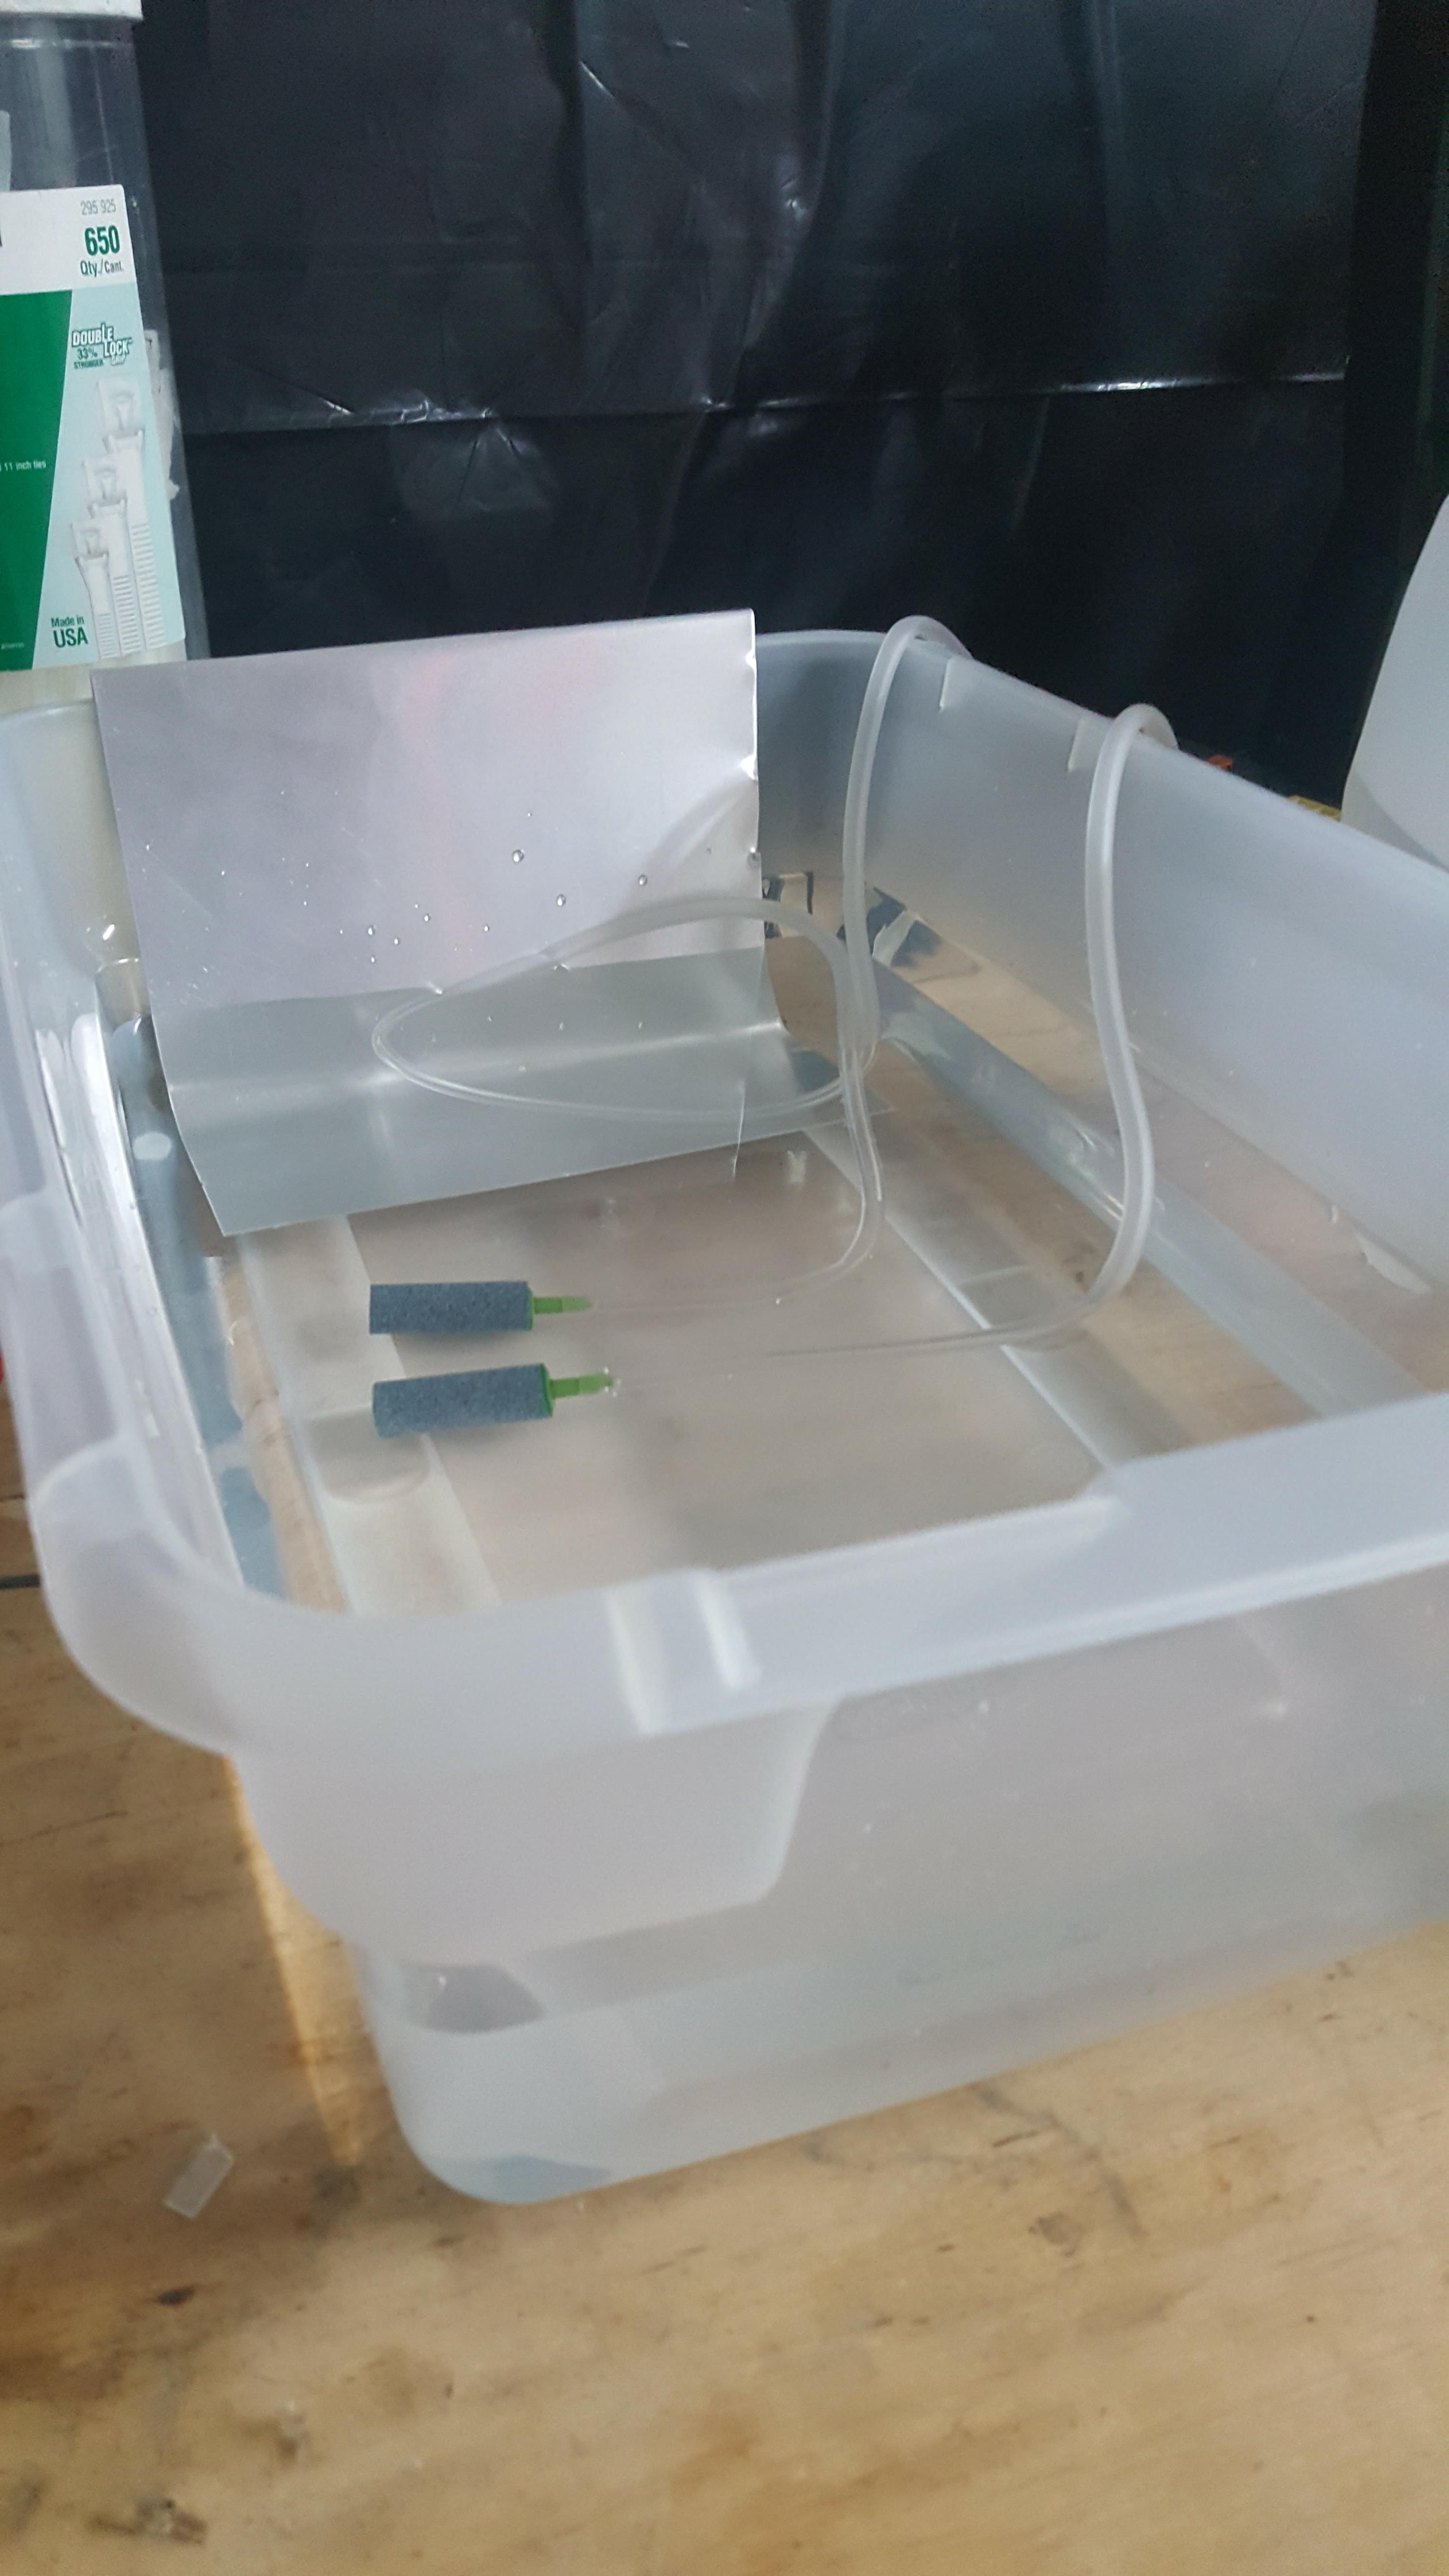
I wanted a 3:1 mixture of distilled water to electrolyte, so I used about 4.5 liters of water and 1.5 liters of electrolyte. This is the ratio recommended by Caswell for their LCD (low current density) method. More on that later.
Obligatory safety tip: NEVER ADD WATER TO ACID. You should ONLY add small quantities of acid to water, and absolutely wear long sleeves and eye protection. Just pour in a little bit at a time. Proper ventilation is also a must.
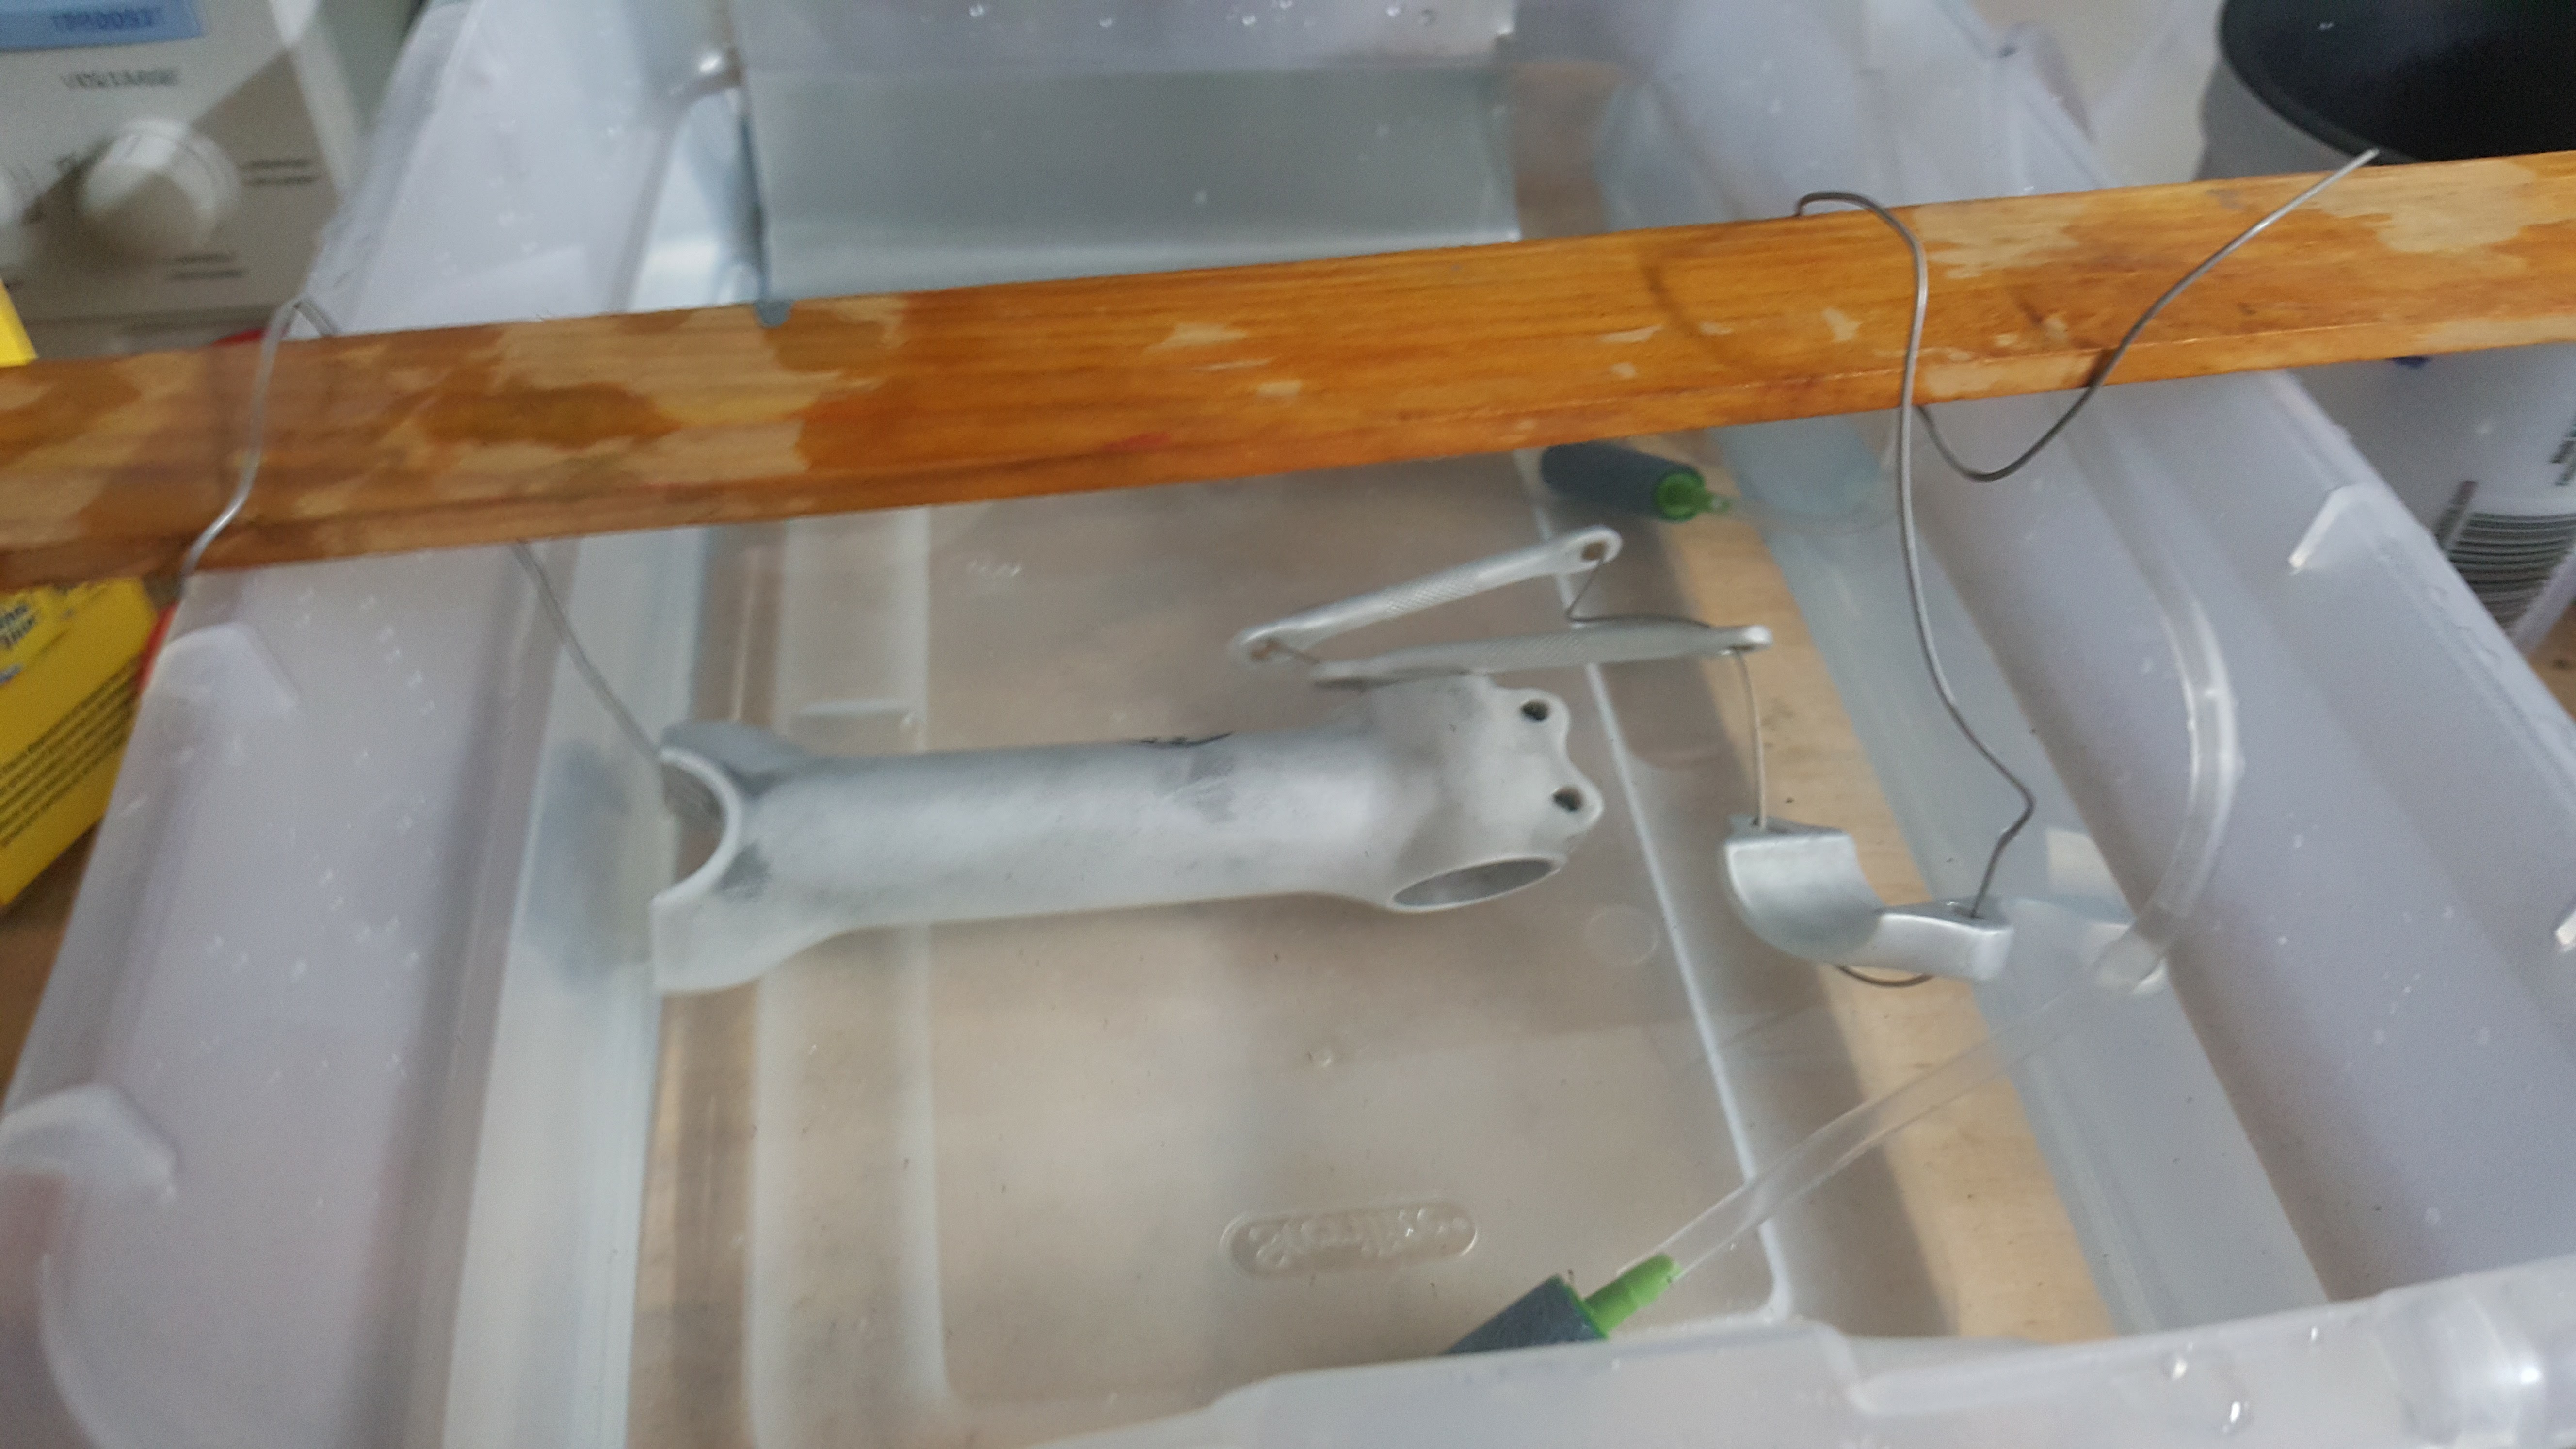
I used a painter’s stirring stick to suspend the parts in the ano bath. The wire is actually titanium TIG welding rod - this gets the best results and interferes the least with the finish. I bought a 10-pack on Amazon for $10. You can also see the stem I threw in there. I etched this at the last minute just to see what would happen.
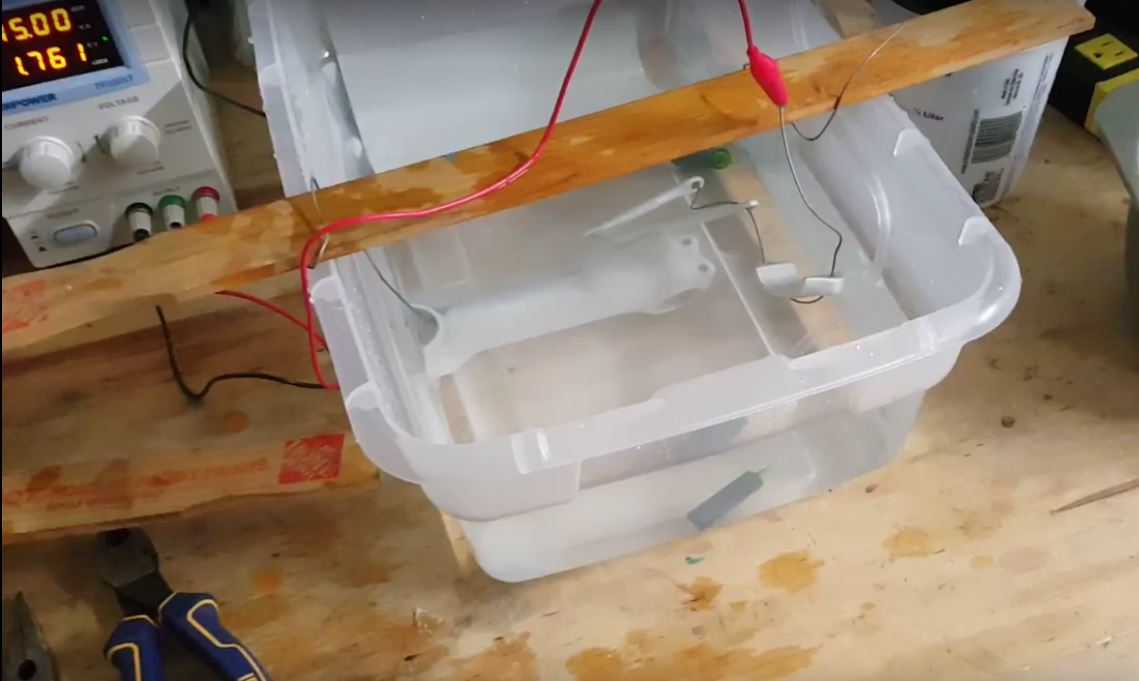
It was time to switch it on. I hooked up the positive (anode) lead to the titanium wire, which carried current through to the parts. The negative wire was clipped to the cathode.
This was just a test run, so I didn’t do any calculations to determine what current and how long to anodize for. I set my power supply to 15V and 3 amps.
When the juice is on, make sure you’re ventilating the area well. Anodizing creates hydrogen gas, which can be flammable. For this stage, I opened my garage door completely. I also recommend a vapor mask of some kind
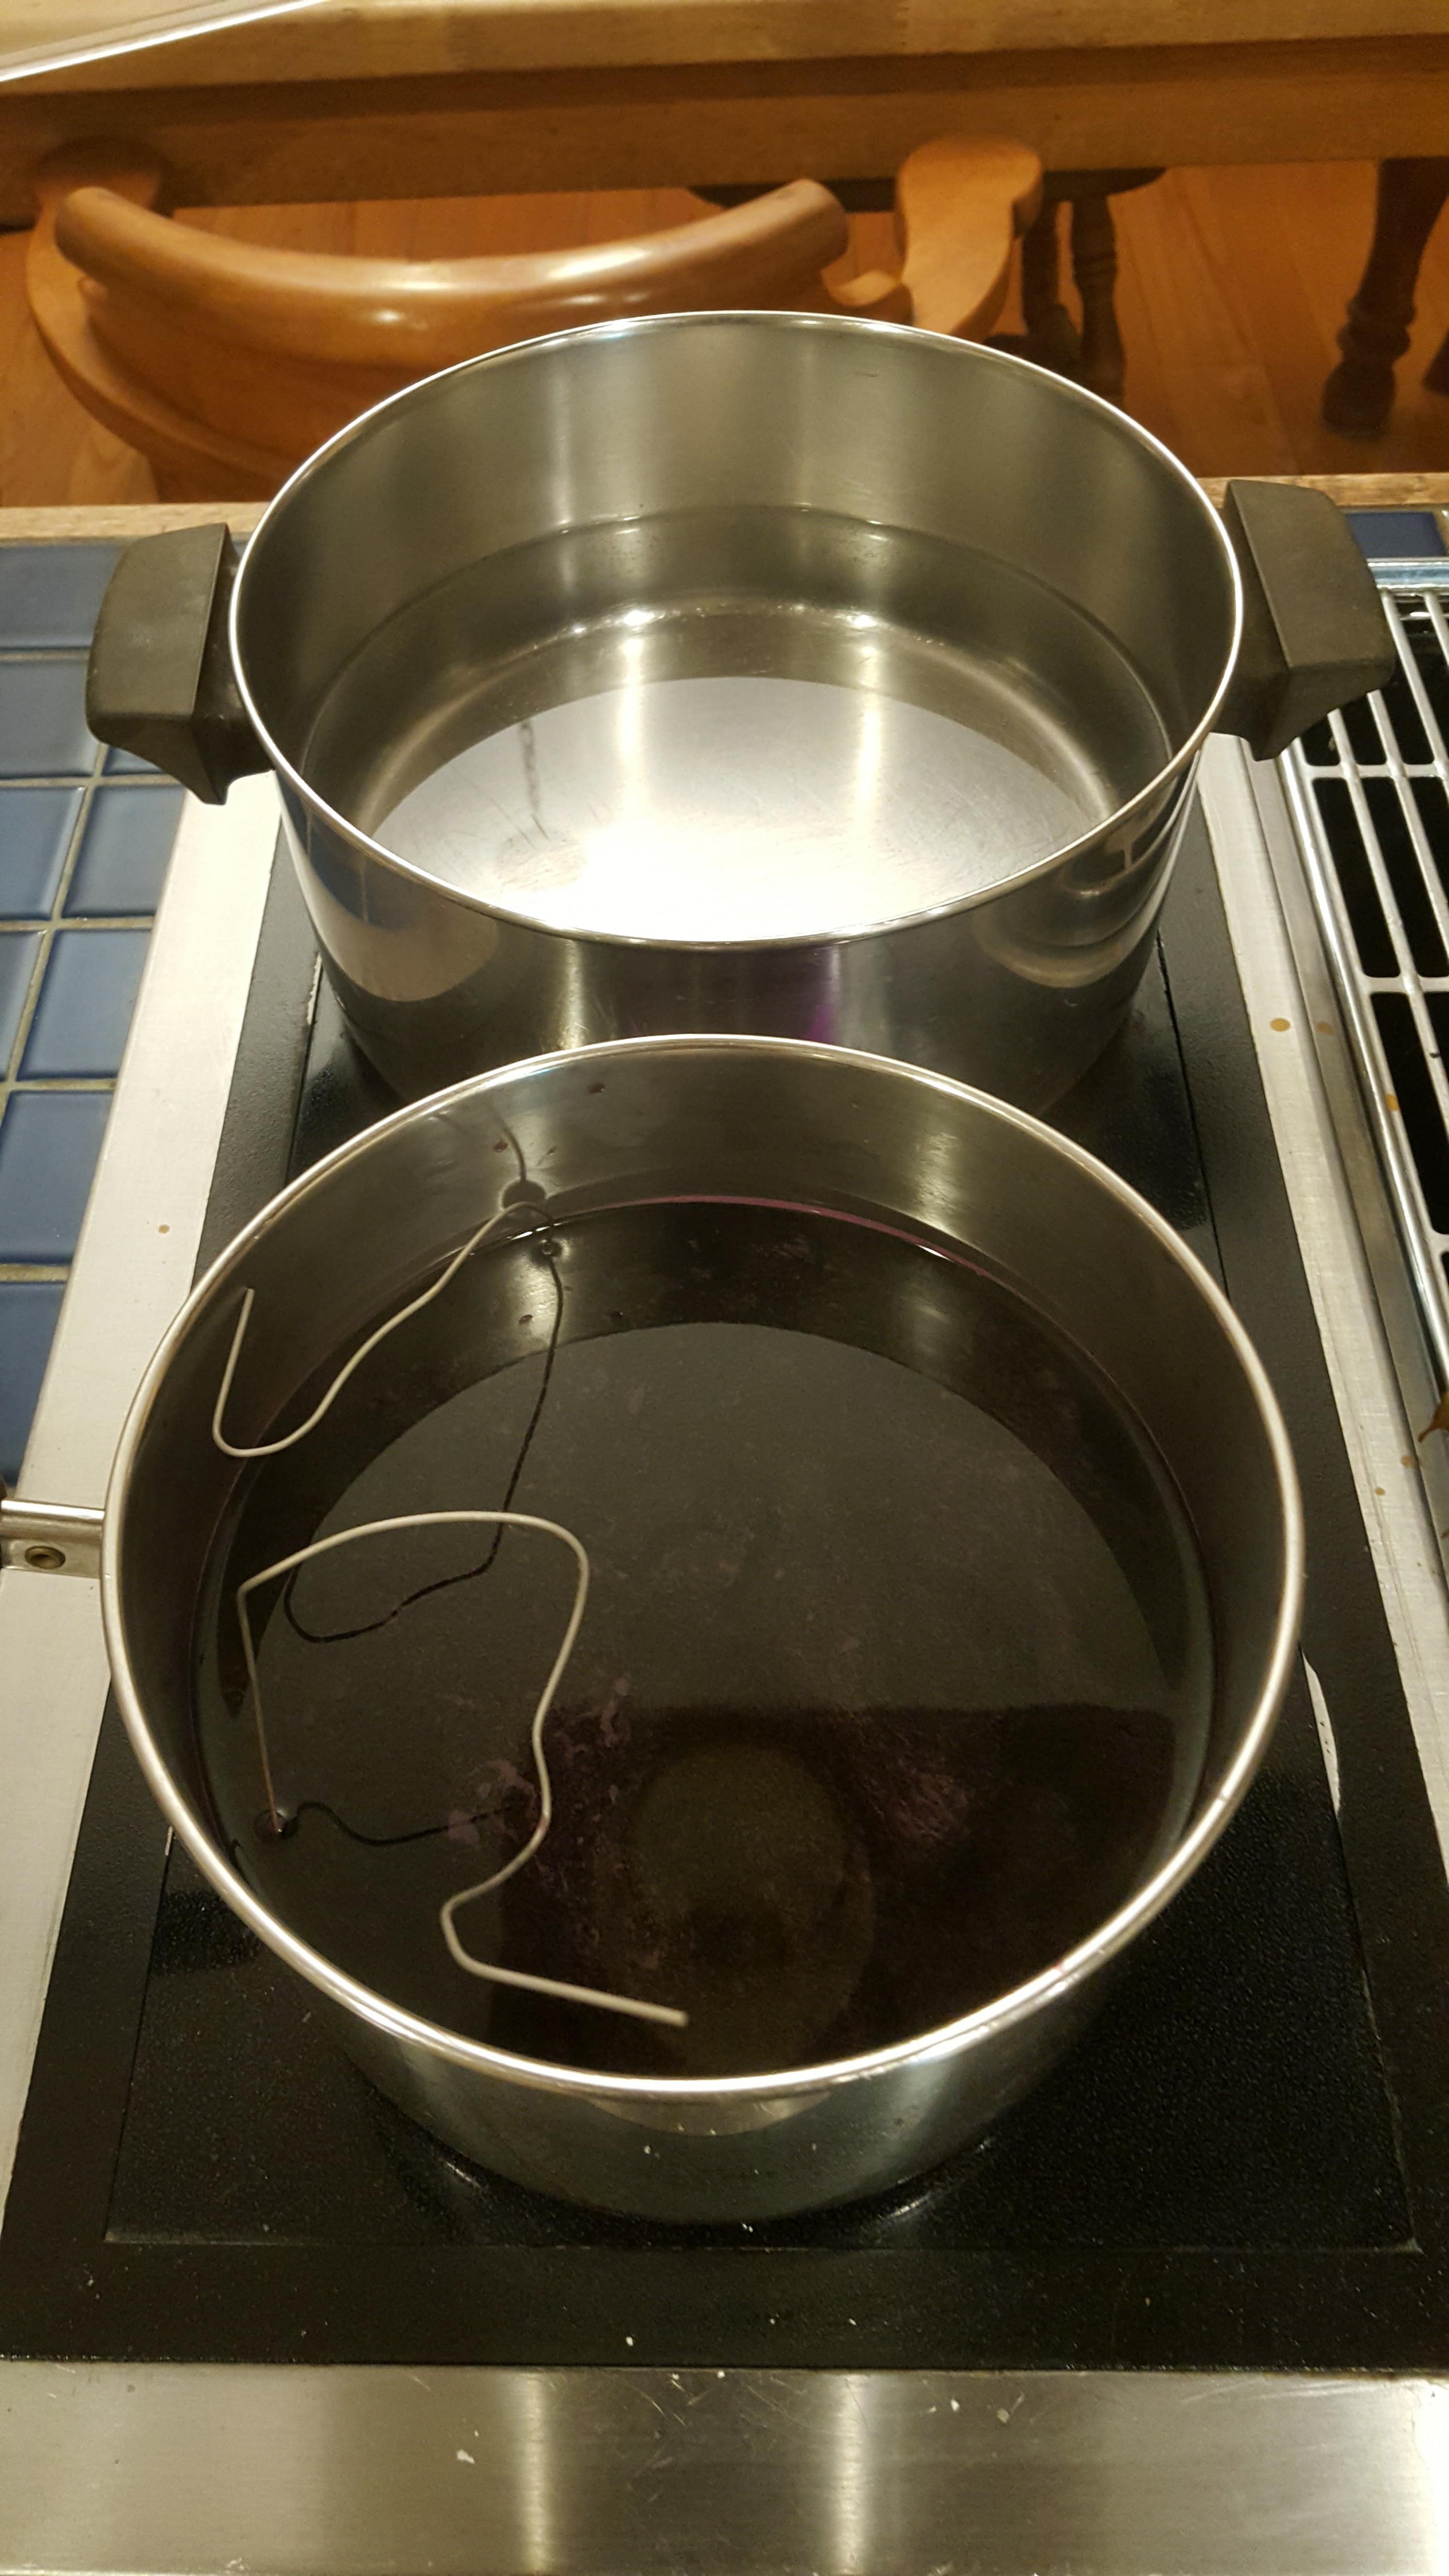
After about an hour and a half, I took the parts out of the anodizing bath and rinsed them clean. From there, I submerged them in a 140° F solution of water and Rit purple fabric dye. This dye is supposedly the gold standard for home anodizers. Who knew?
By the way, purple was just an aesthetic choice. I could have used basically any color except white.
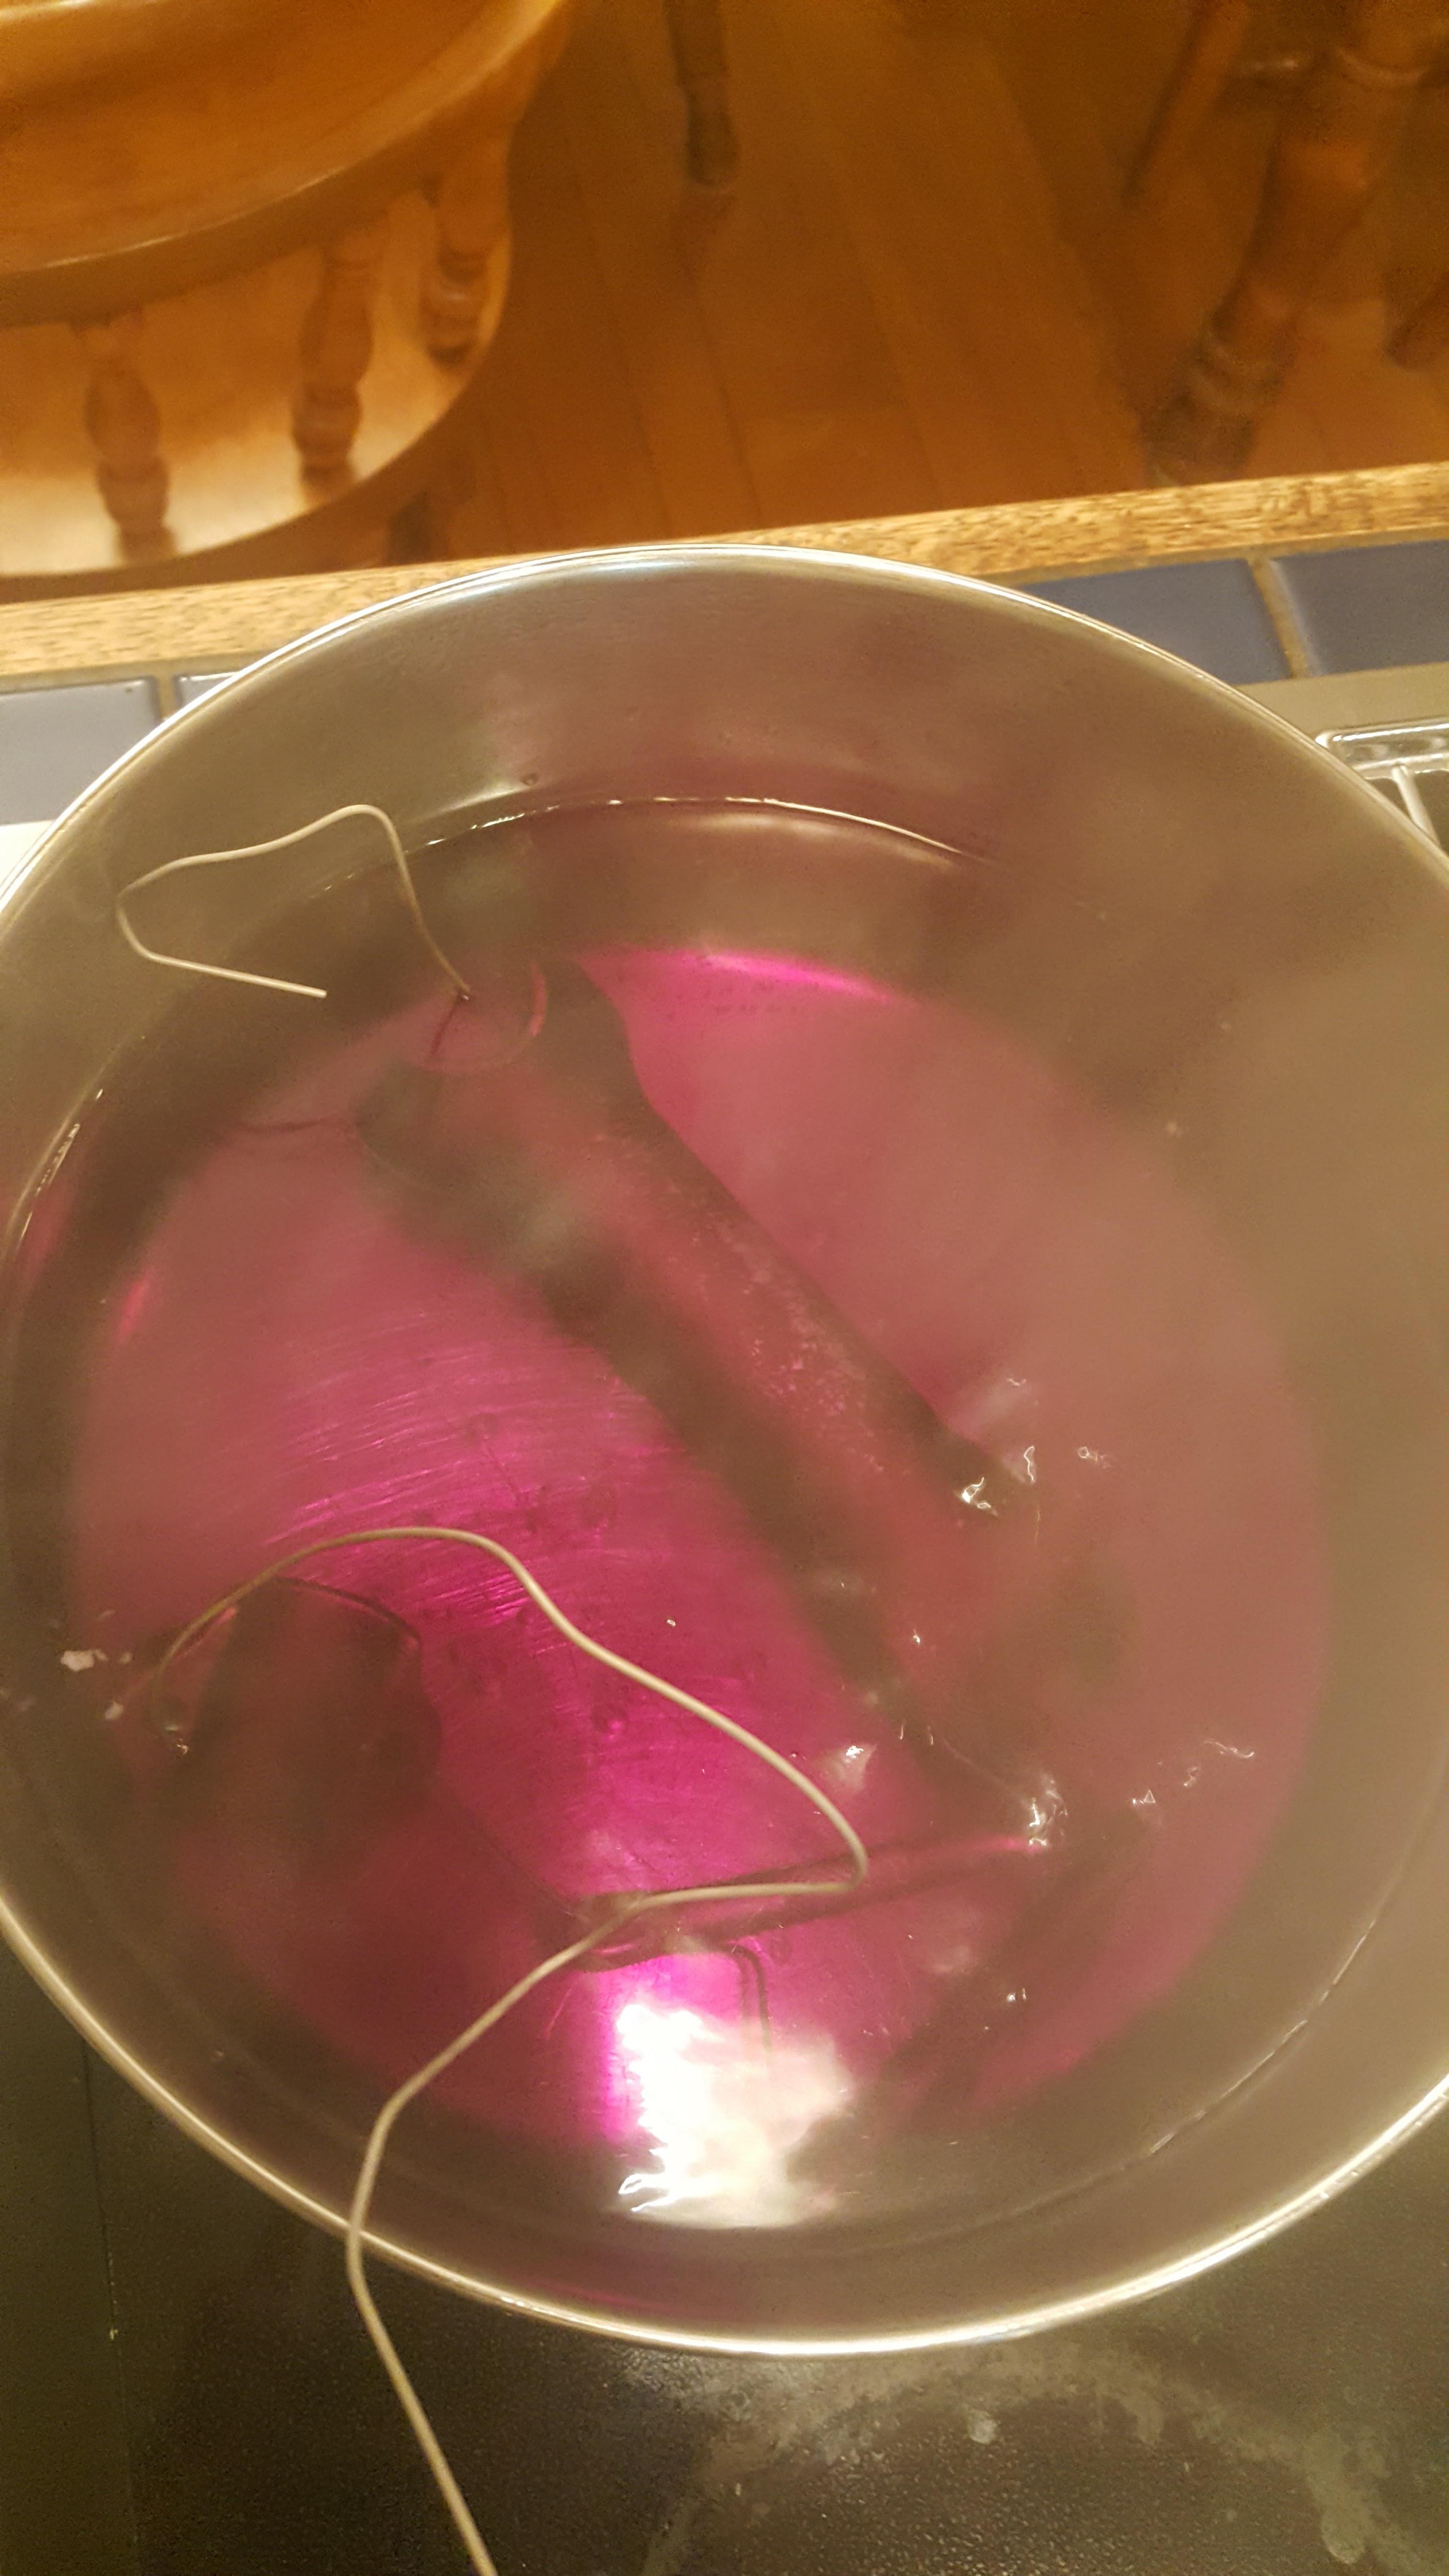
After I let the parts sit in the dye bath] for 20 minutes, I transferred them to a 190° pot of just about boiling water. This was the final ‘sealer’ step. It lets the porous oxide layer close off while keeping whatever color you’ve dyed it with.
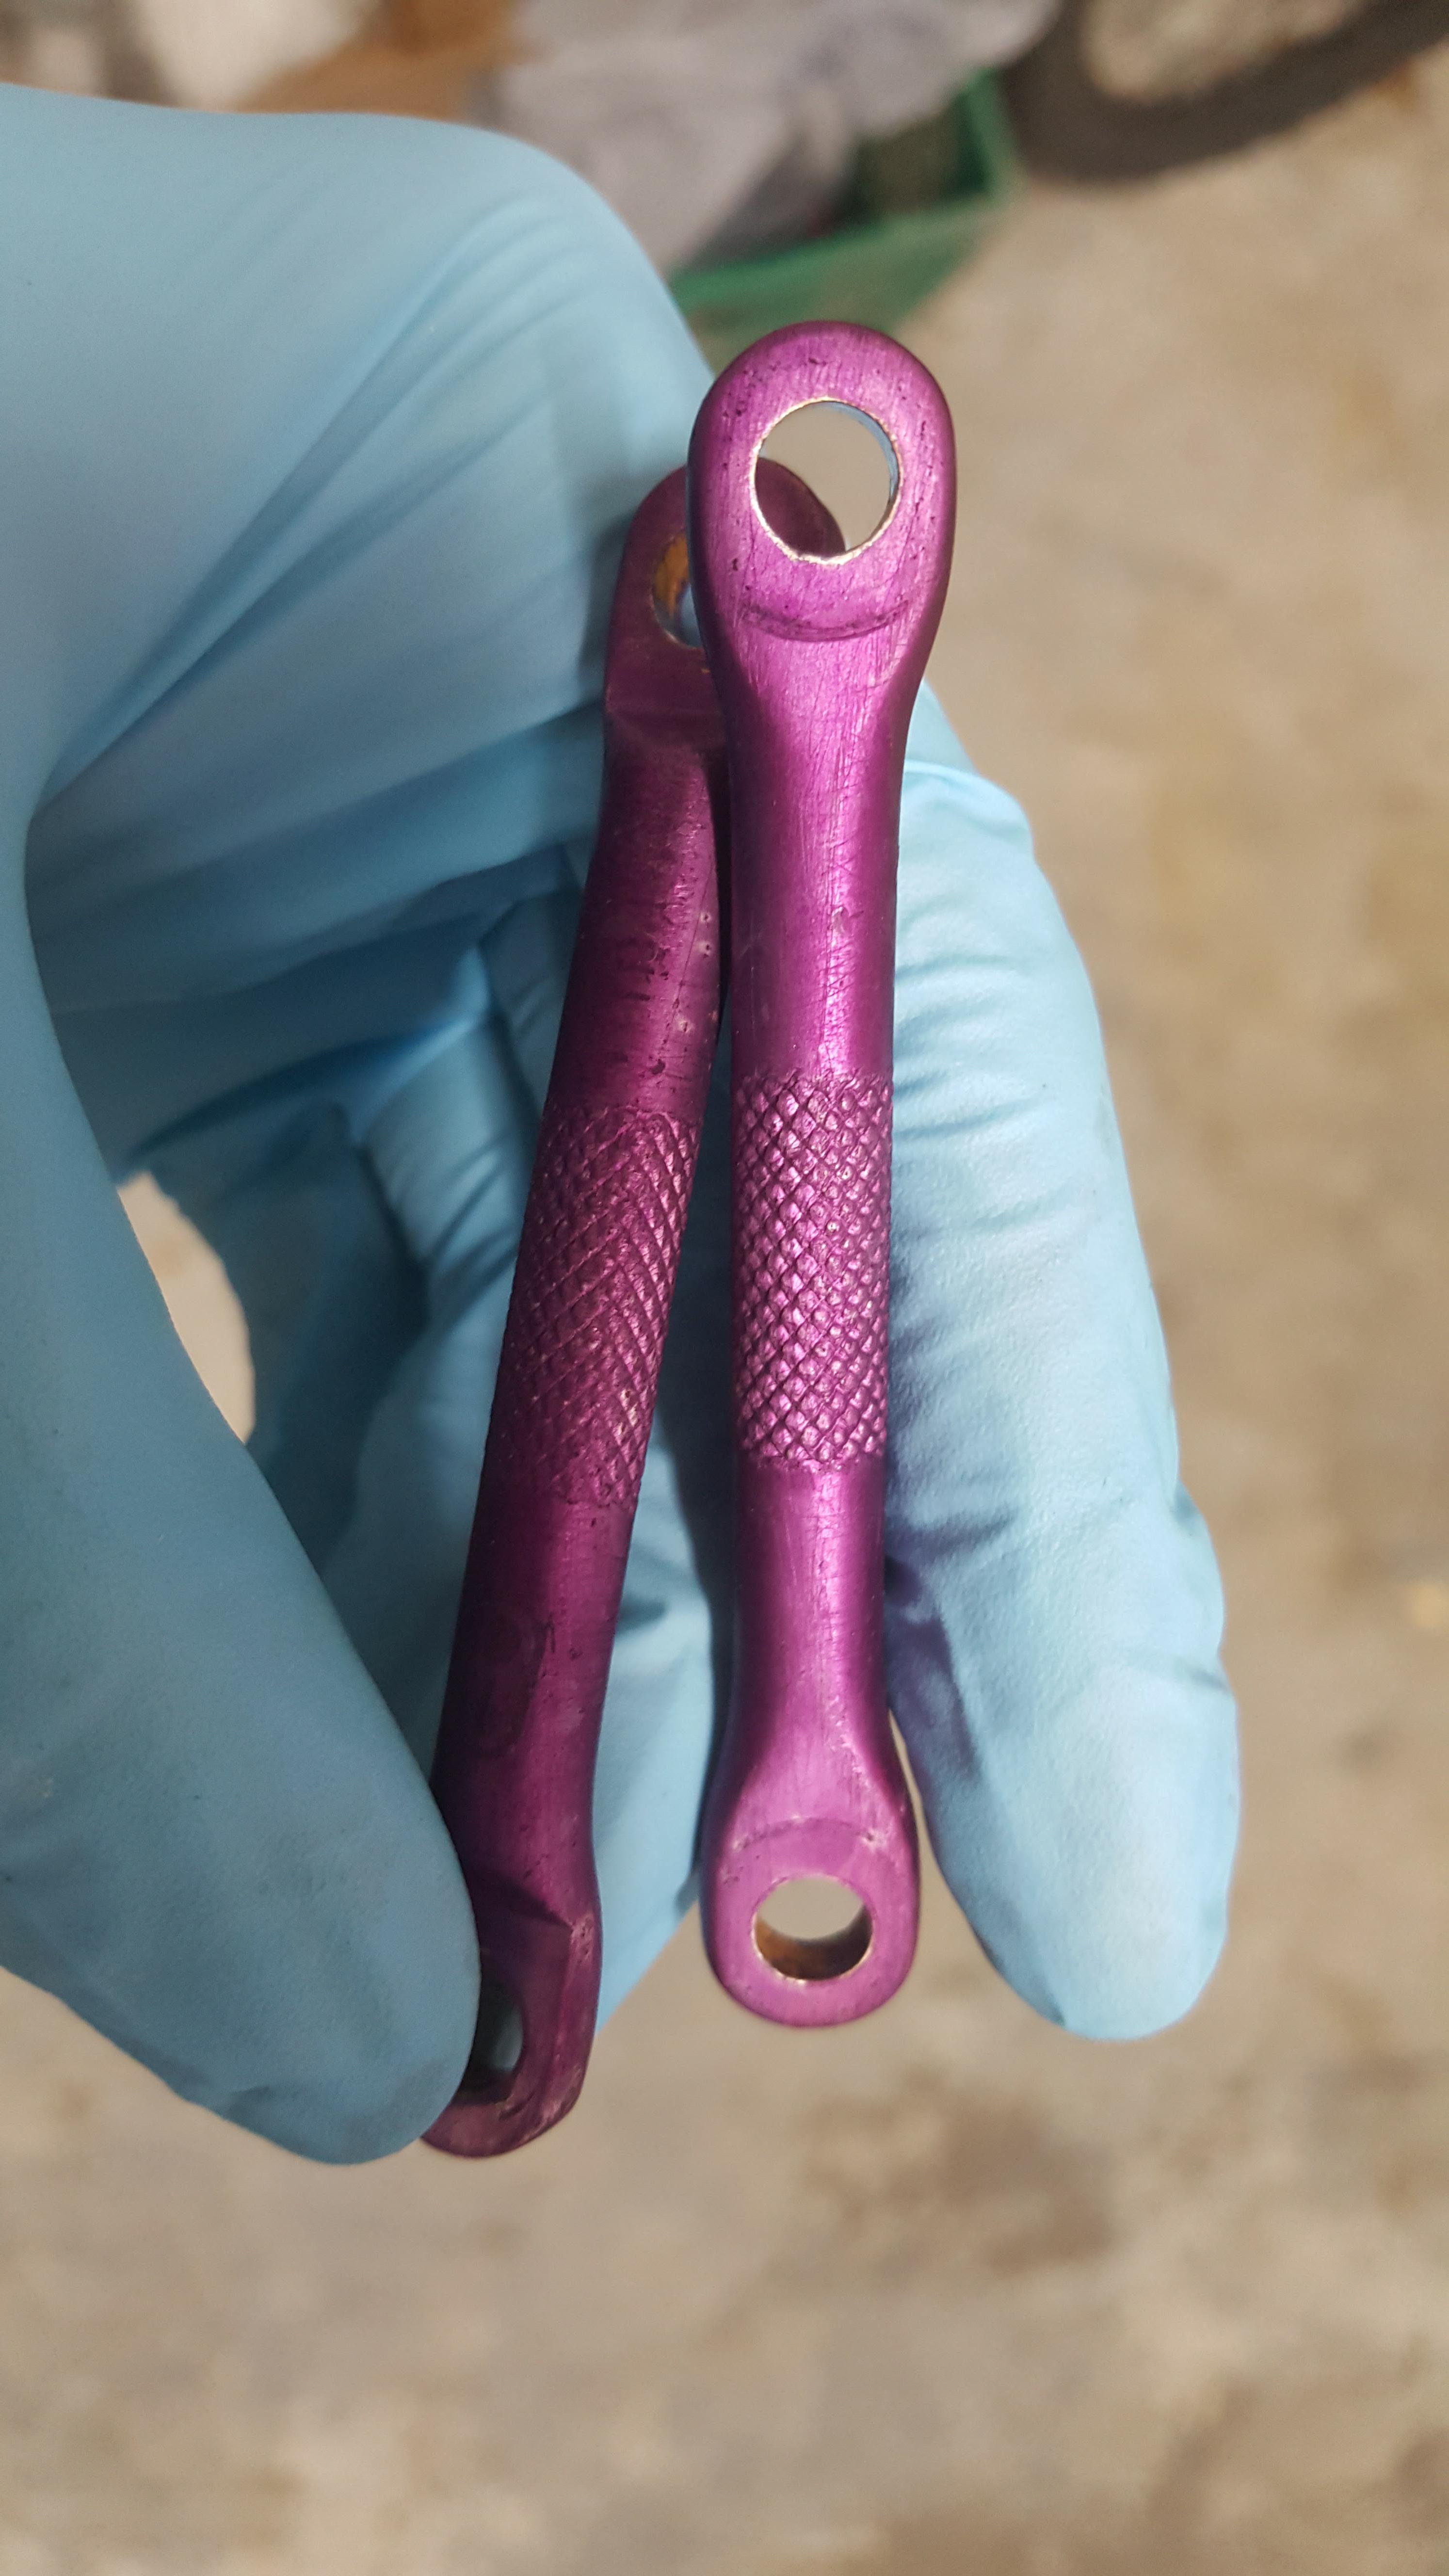
These aluminum pieces came out O.K., but the stem was a big disappointment. Unfortunately, I don’t have a picture of it. Basically, it had bubbles everywhere - I attribute these to the lack of effort I put into cleaning and preparing it. I also let it sit for too long in the lye. I think it burned a little in there.
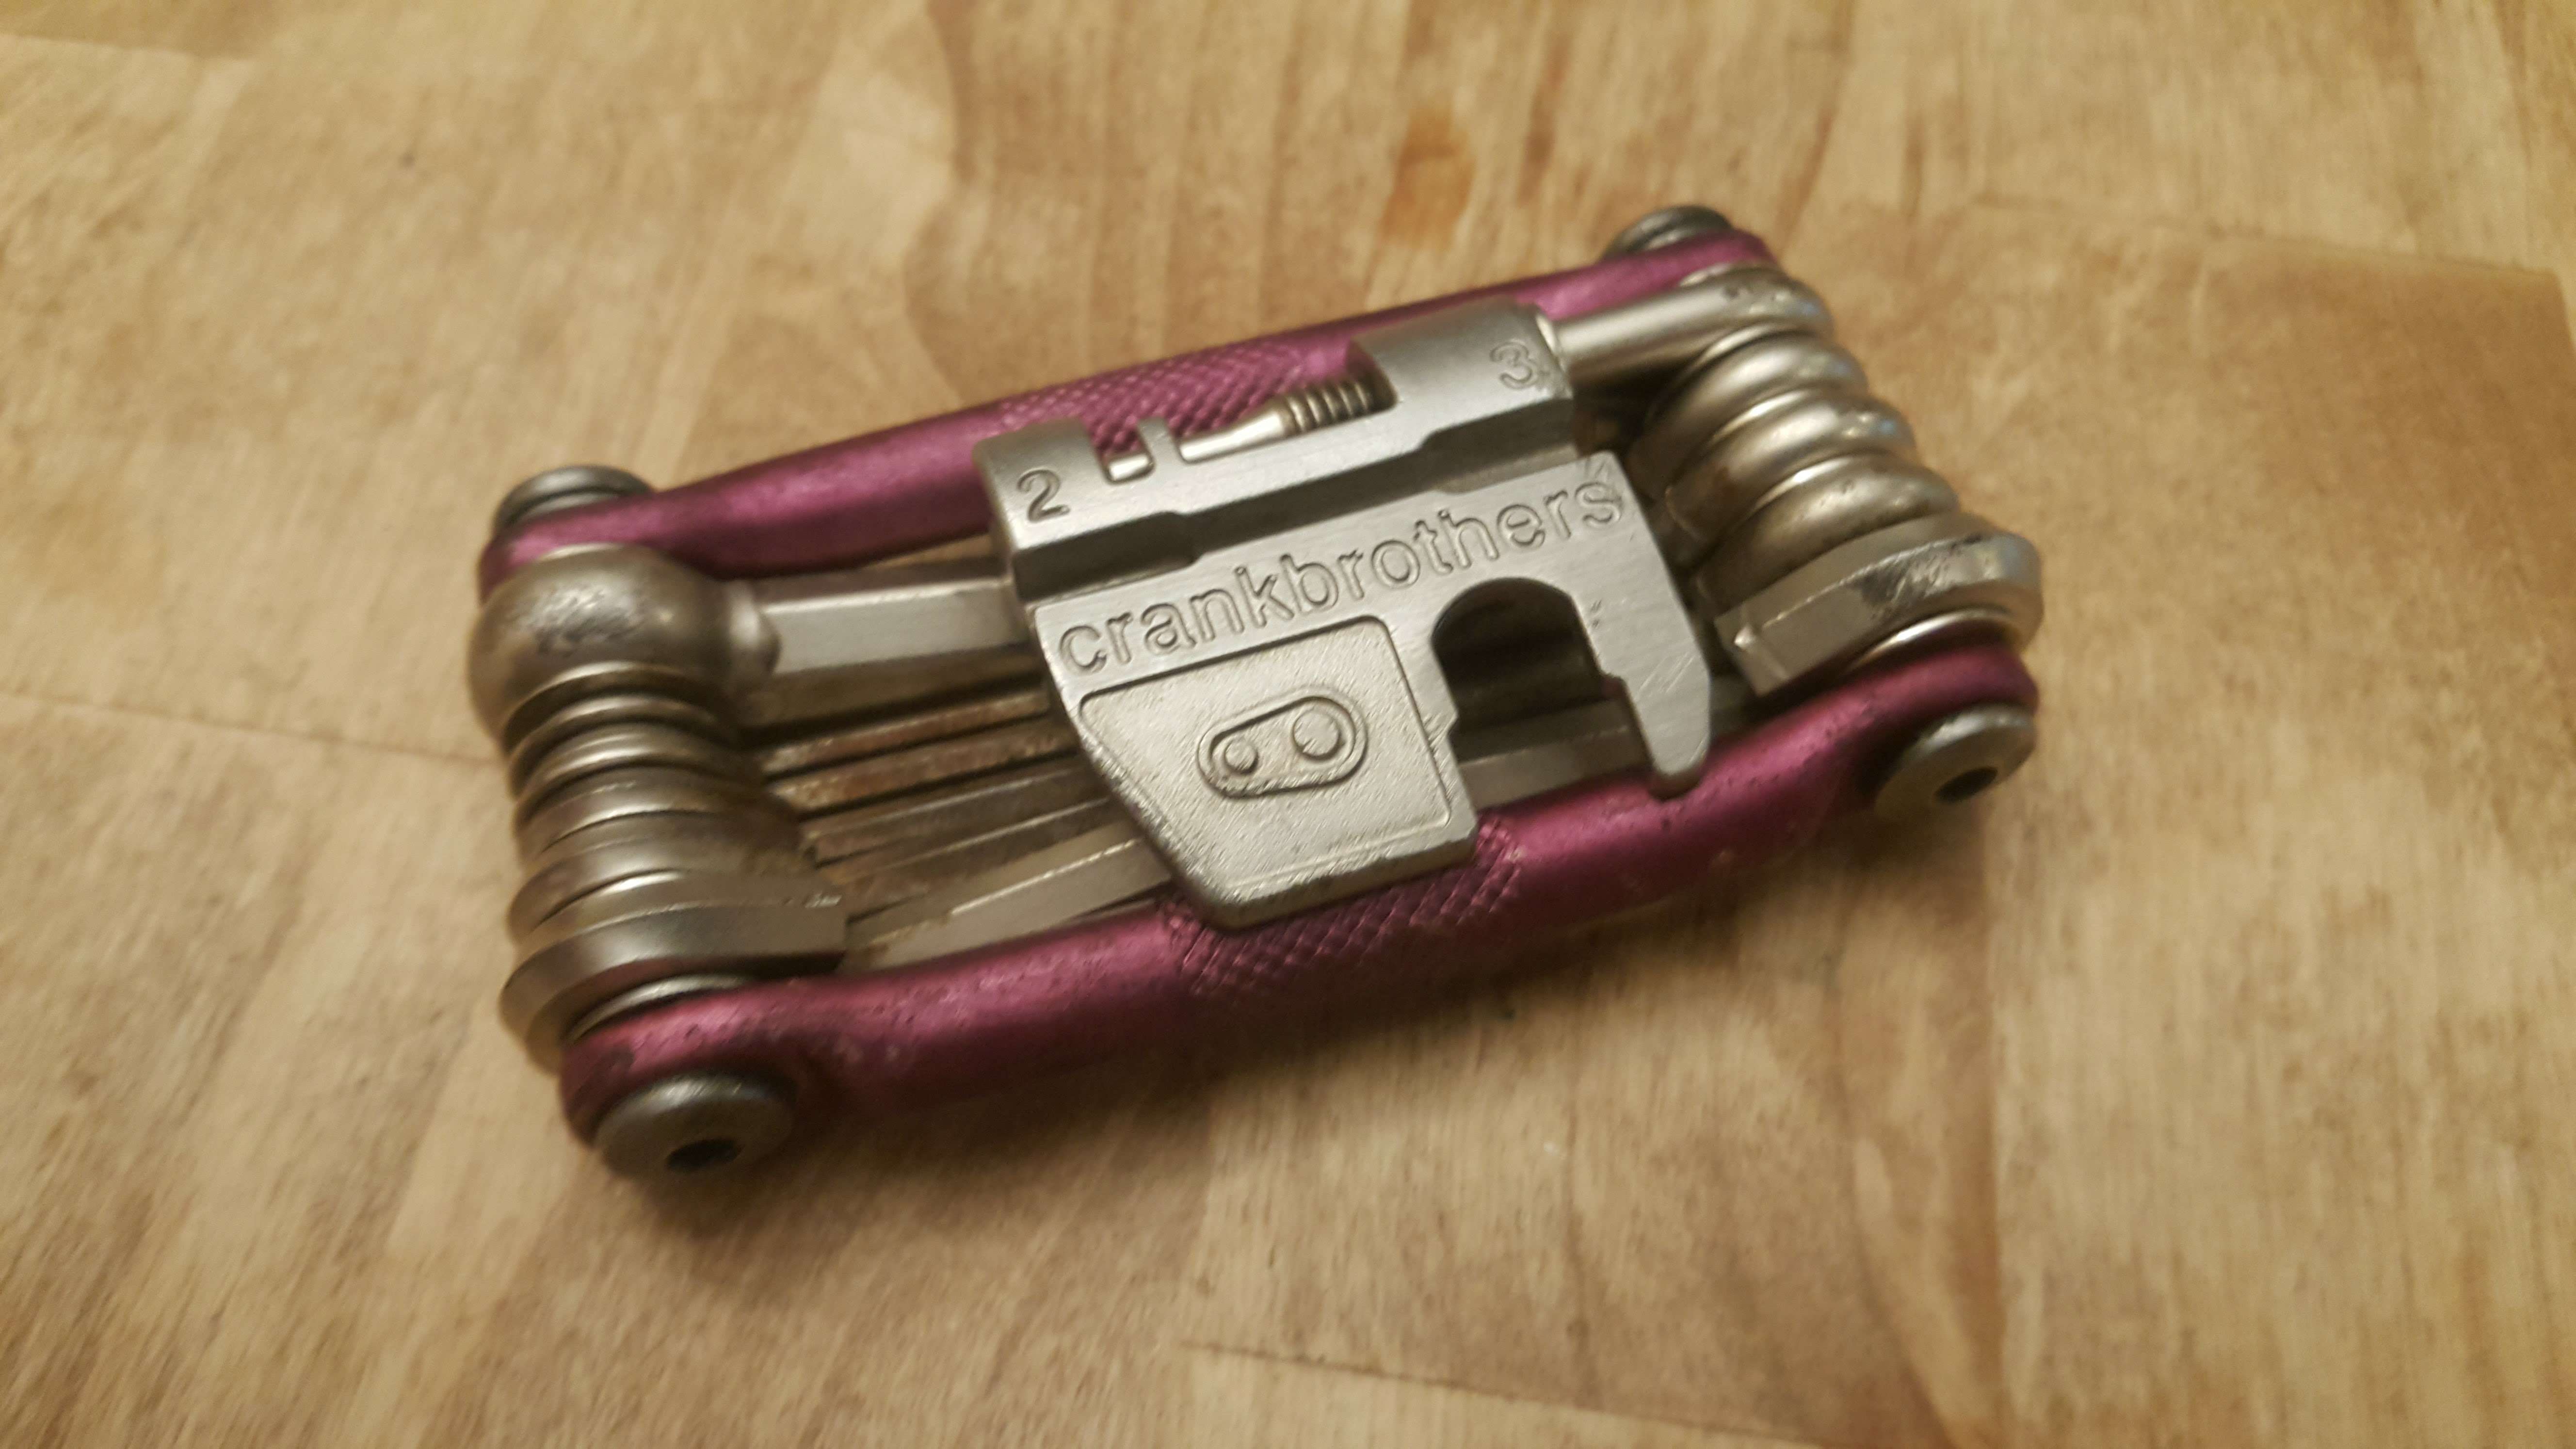
Came out nicely!
The anodizing process went pretty much the same this time, but I needed bigger containers for the dye and sealer stages. I got these boiler pans for about two dollars each at my local grocery store.
I wouldn’t recommend using these containers or doing the process inside. They were very flimsy, and I was constantly worried about spilling purple dye.
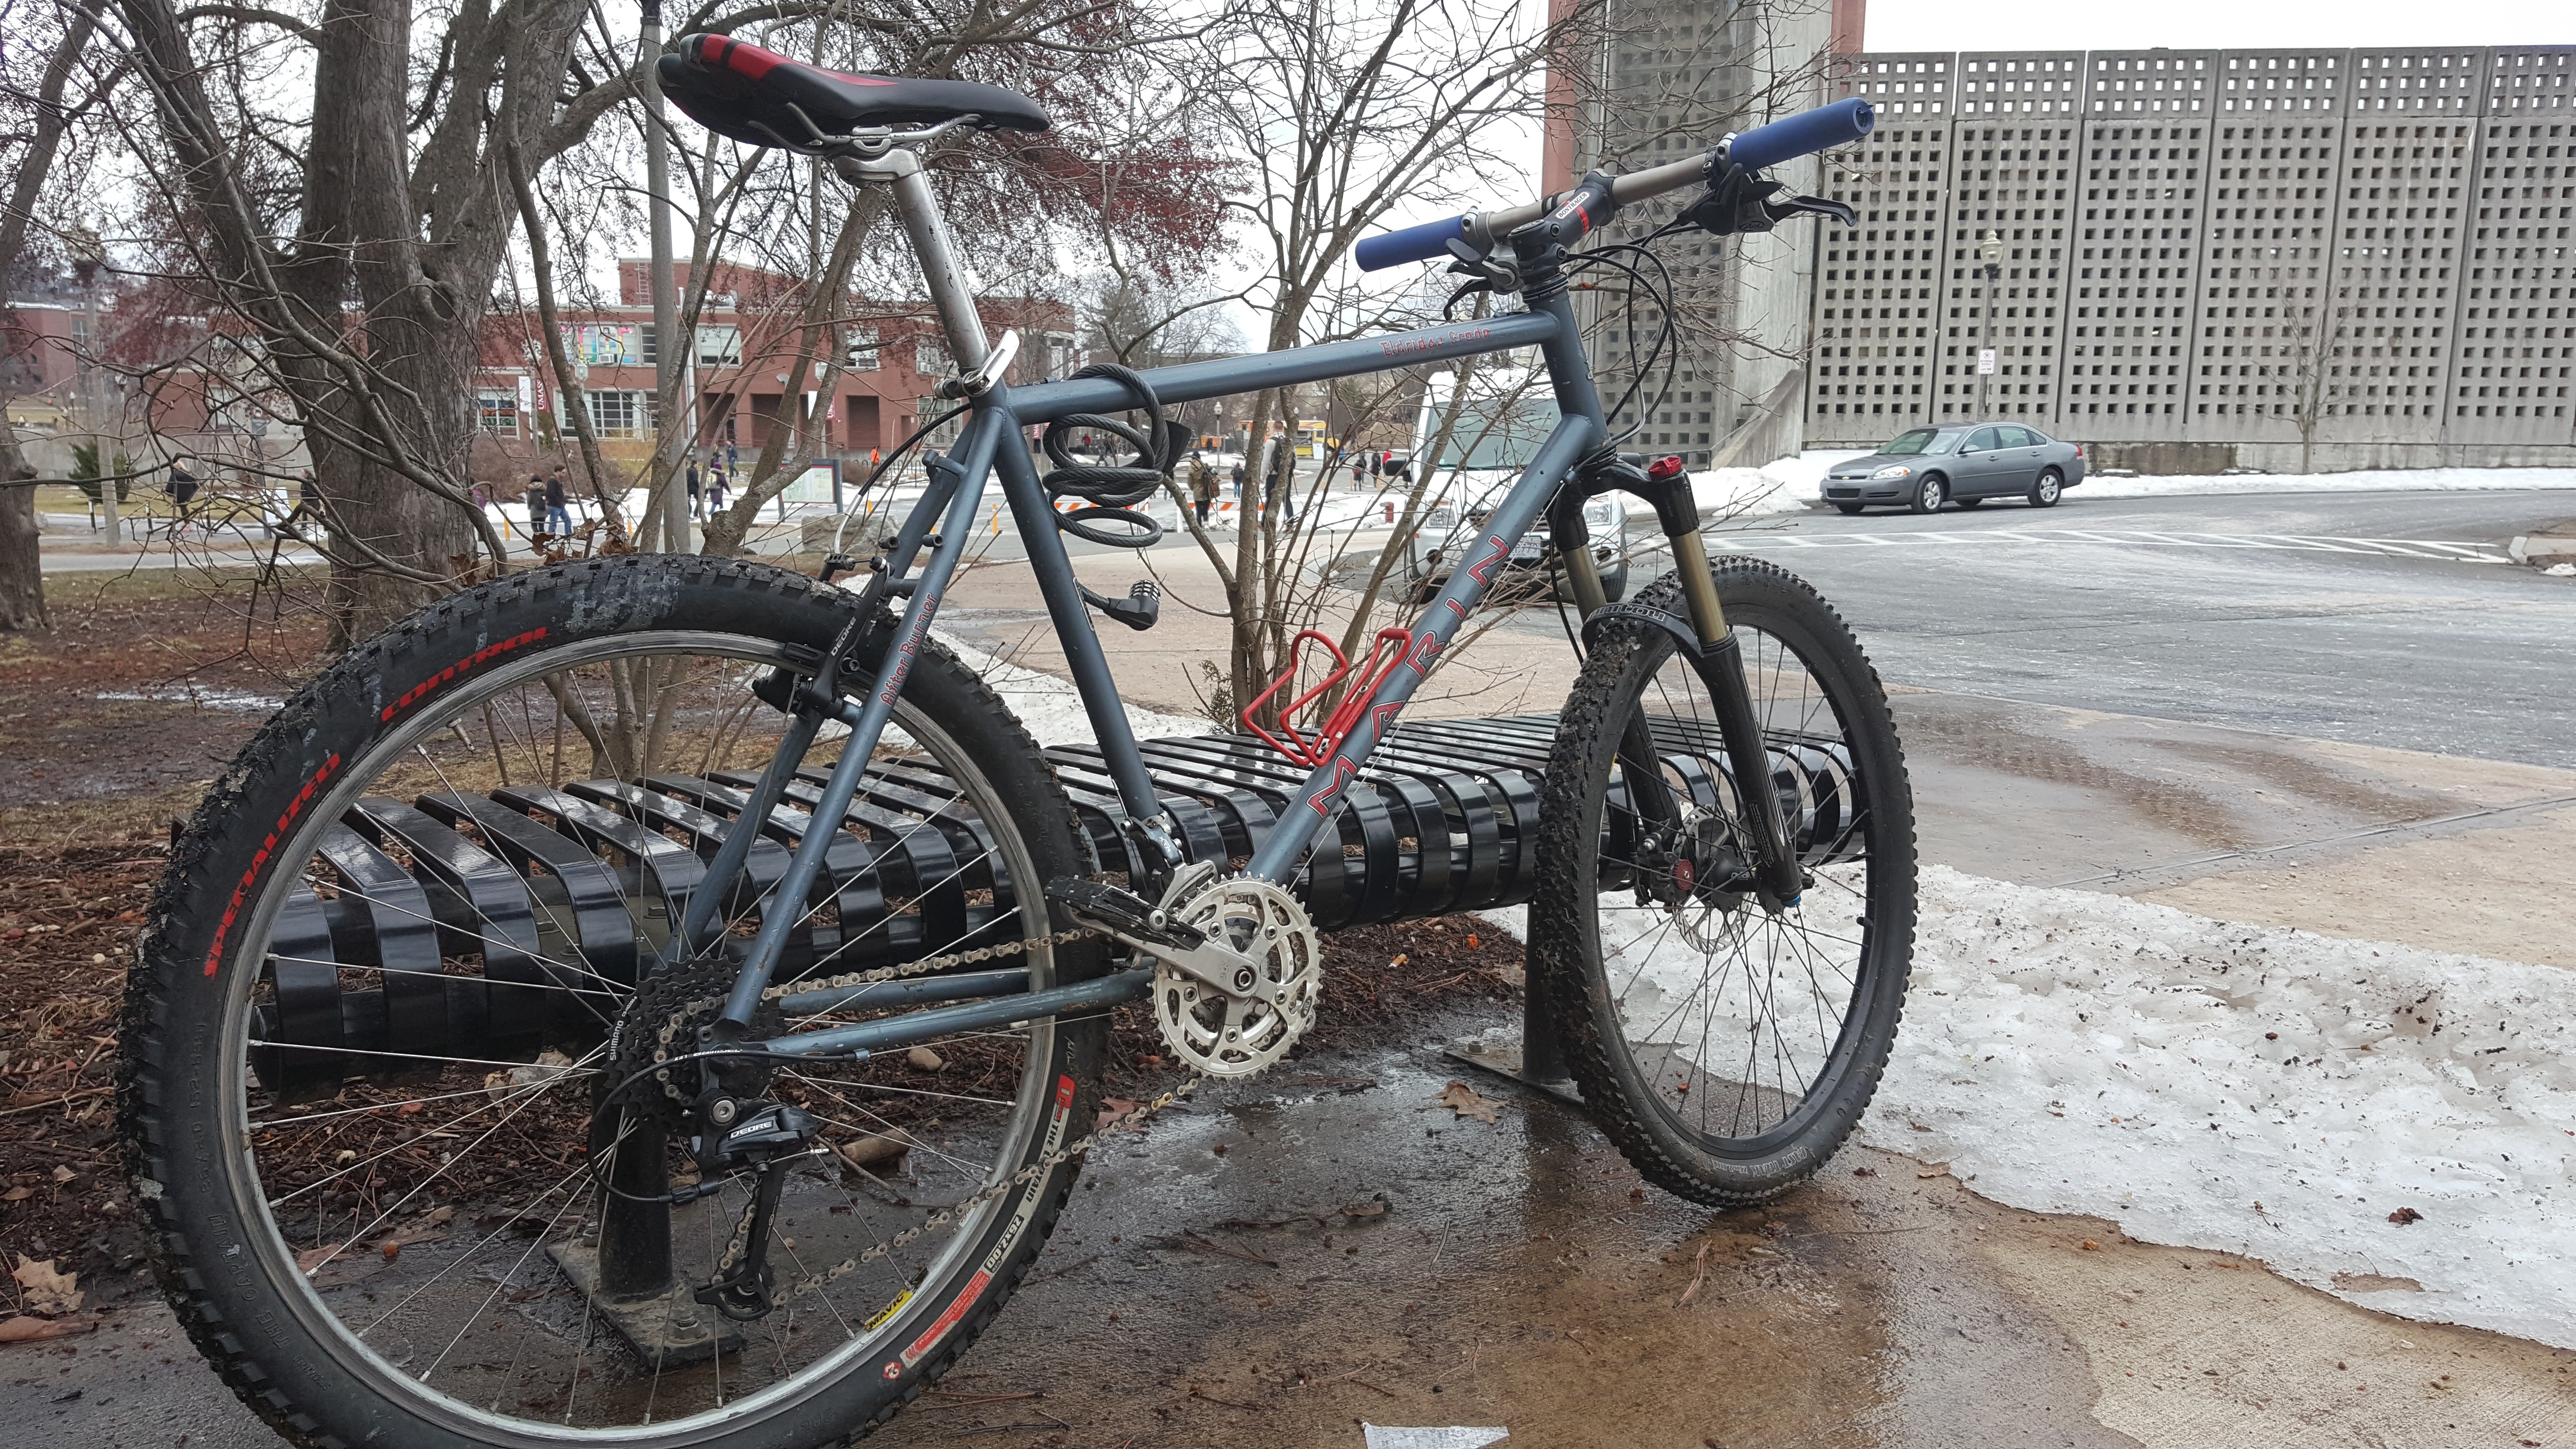
At this point, I wanted to do something a little bigger and a little more deliberate. Here’s the only picture I could find of the seatpost as it looked like before. It’s a basic Kalloy one that I found in a bin at my shop.
This time, I used Caswell’s Rule of 720 to determine which voltage, current, and time to use. This is based on surface area, and a handy online calculator can be found here: http://www.caswellplating.com/720.html
I also wetsanded the seatpost with 80-, 180-, 400- and 800- grit sandpaper, respectively. This removed most (but not nearly all) of the imperfections from the part which would be visible above the seat tube.
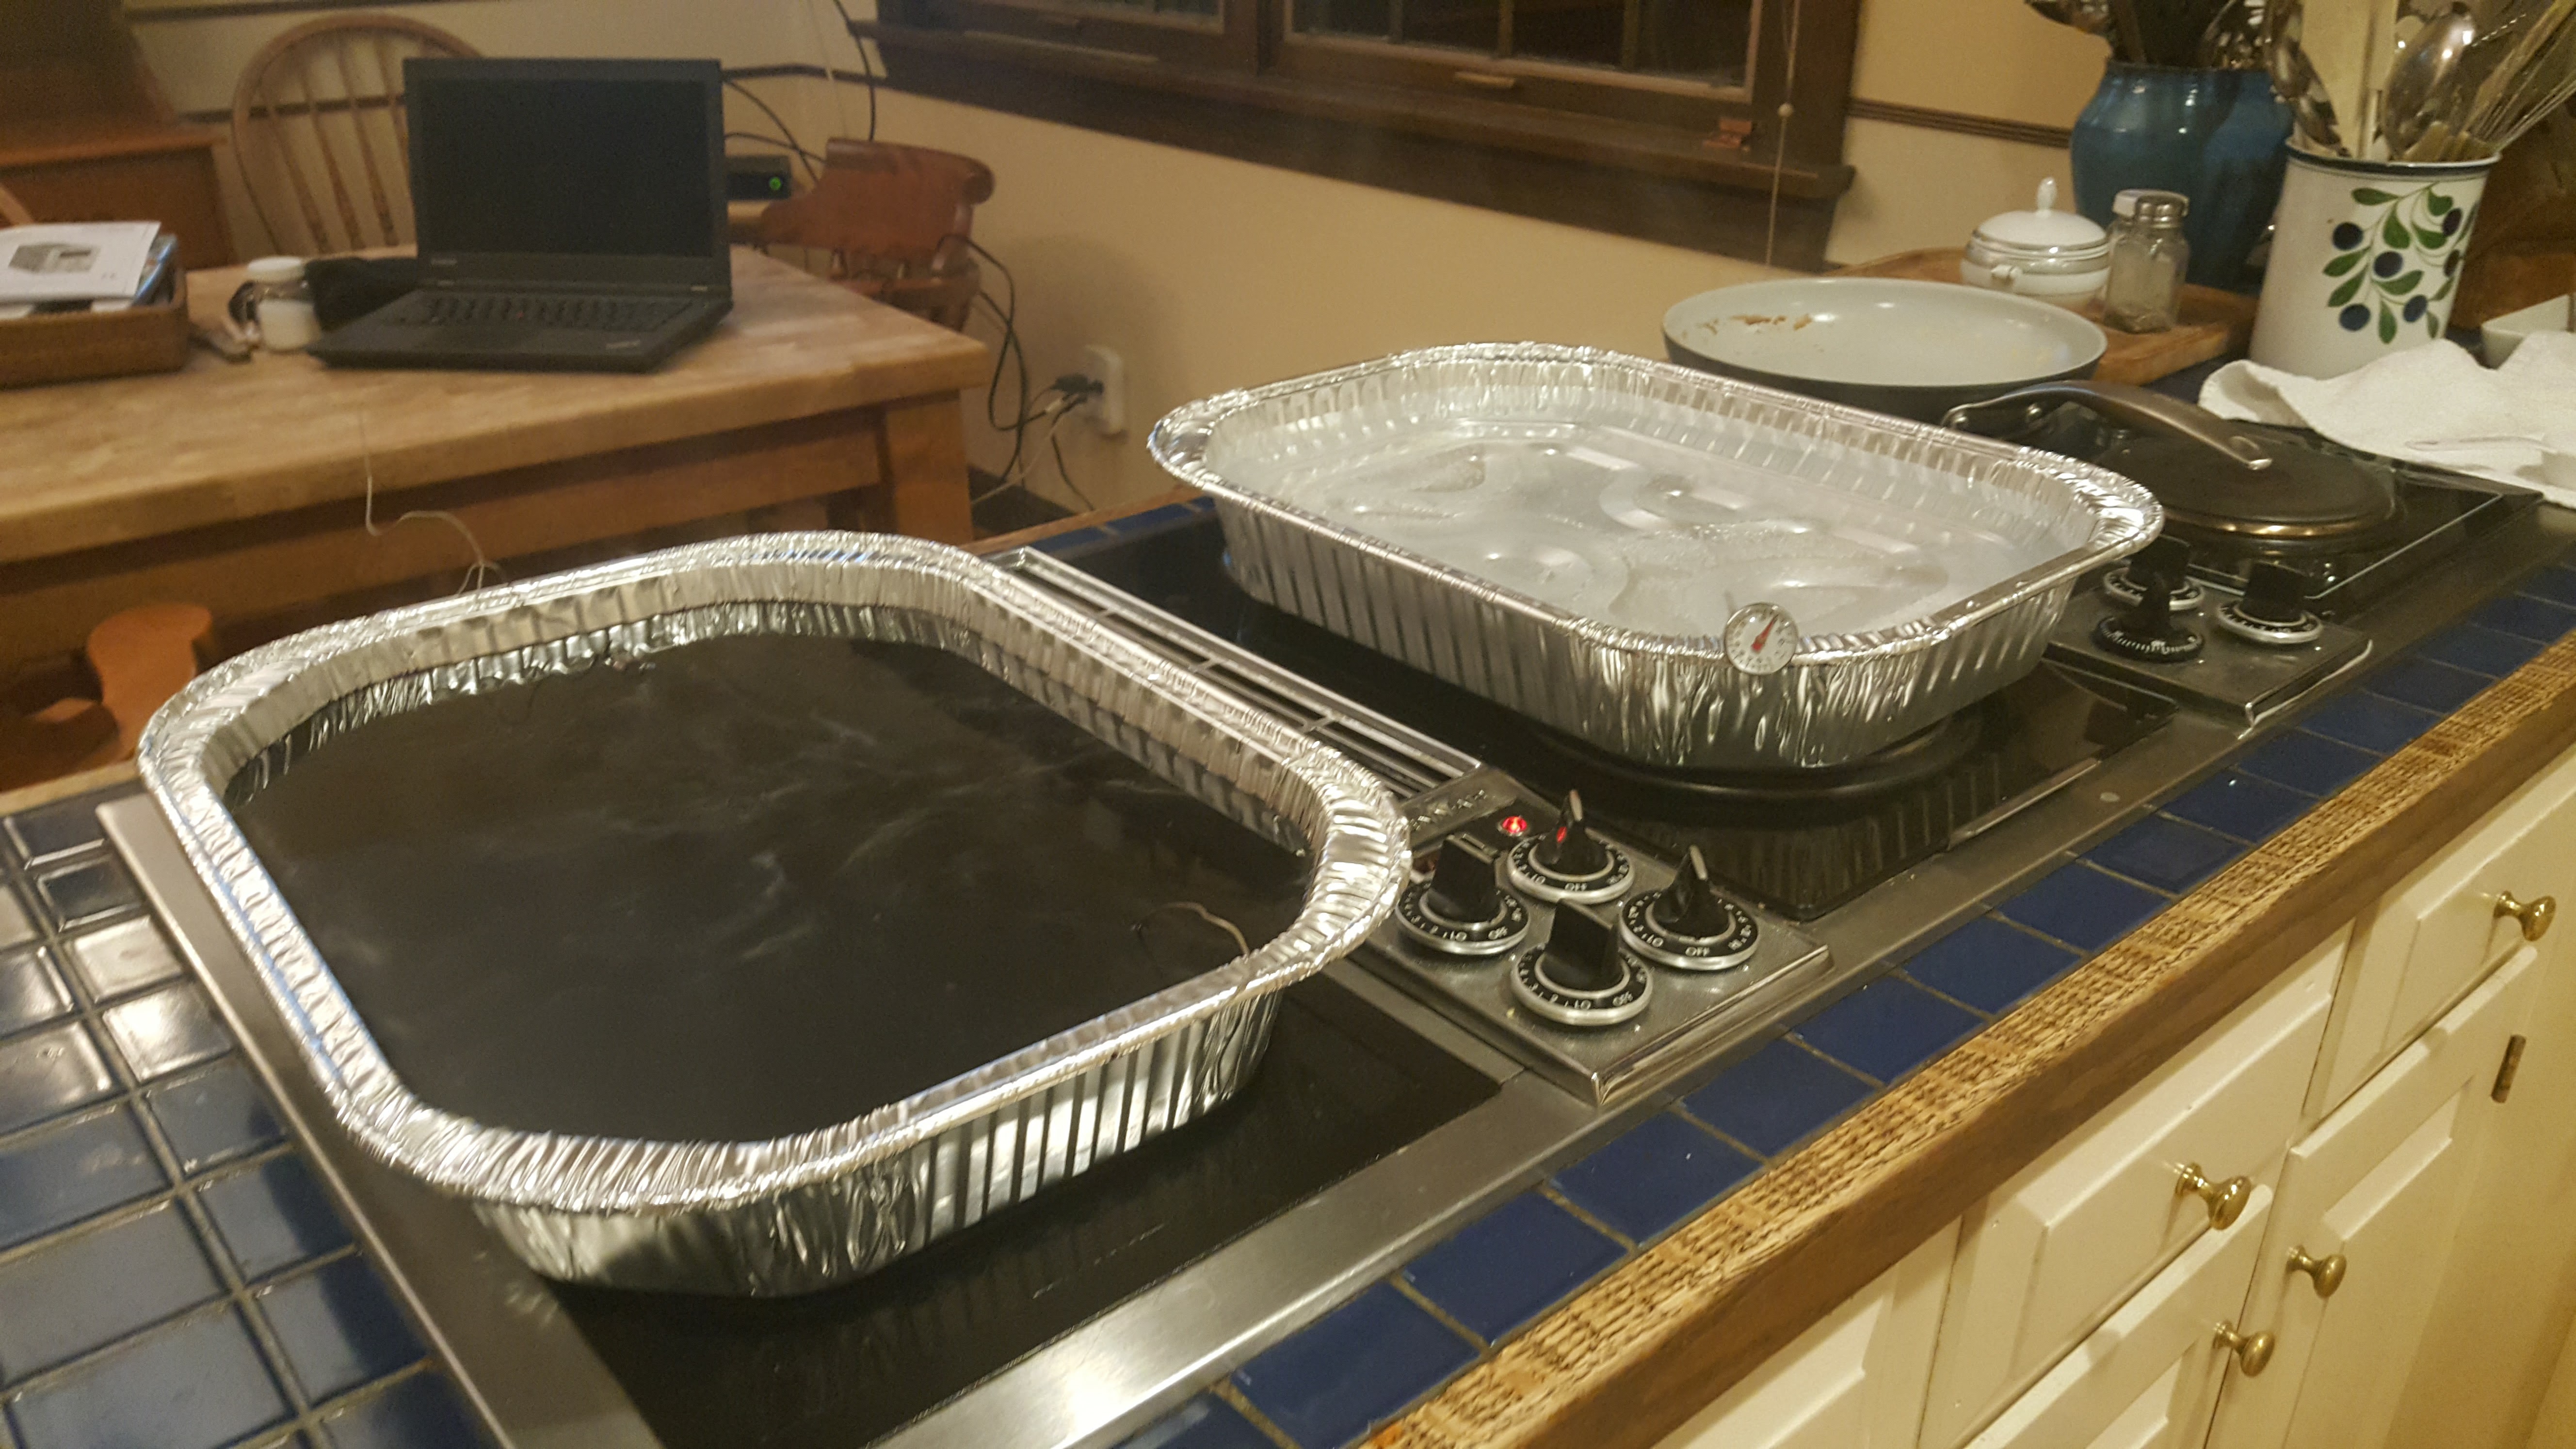
The anodizing process went pretty much the same this time, but I needed bigger containers for the dye and sealer stages. I got these boiler pans for about two dollars each at my local grocery store.
I wouldn’t recommend using these containers or doing the process inside. They were very flimsy, and I was constantly worried about spilling purple dye.
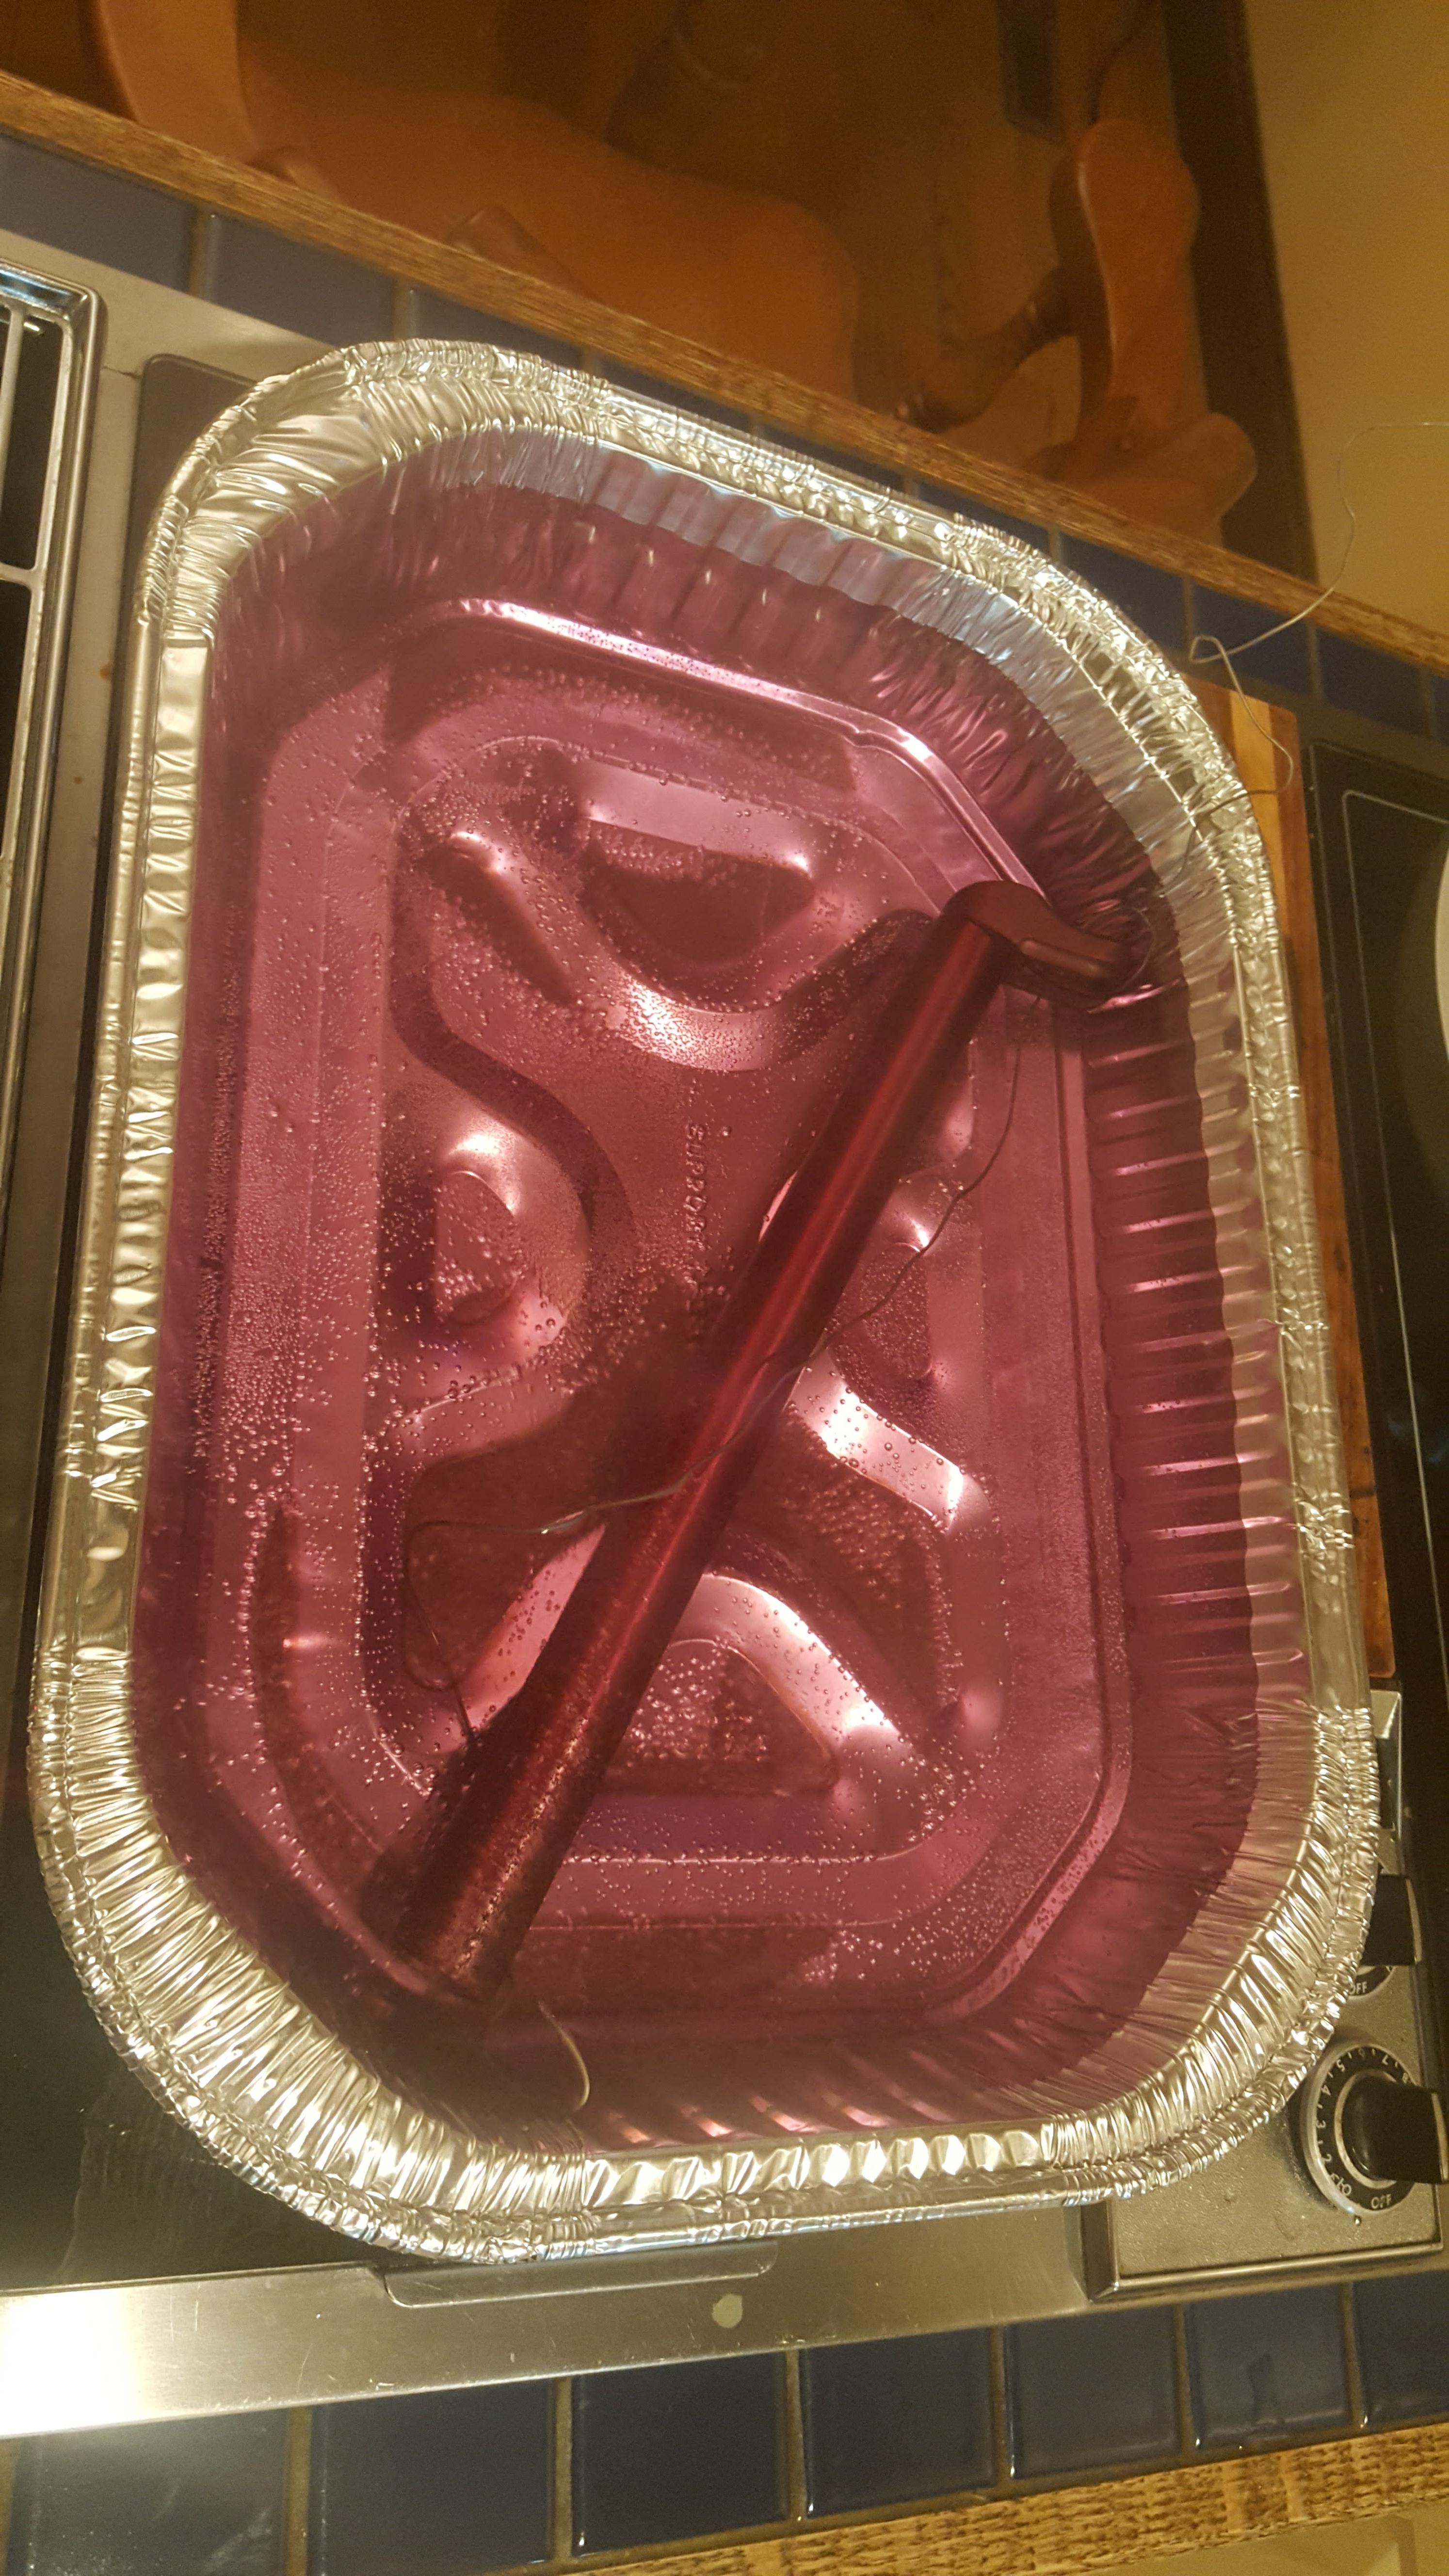
Final sealer stage. I let this one go for only forty minutes.
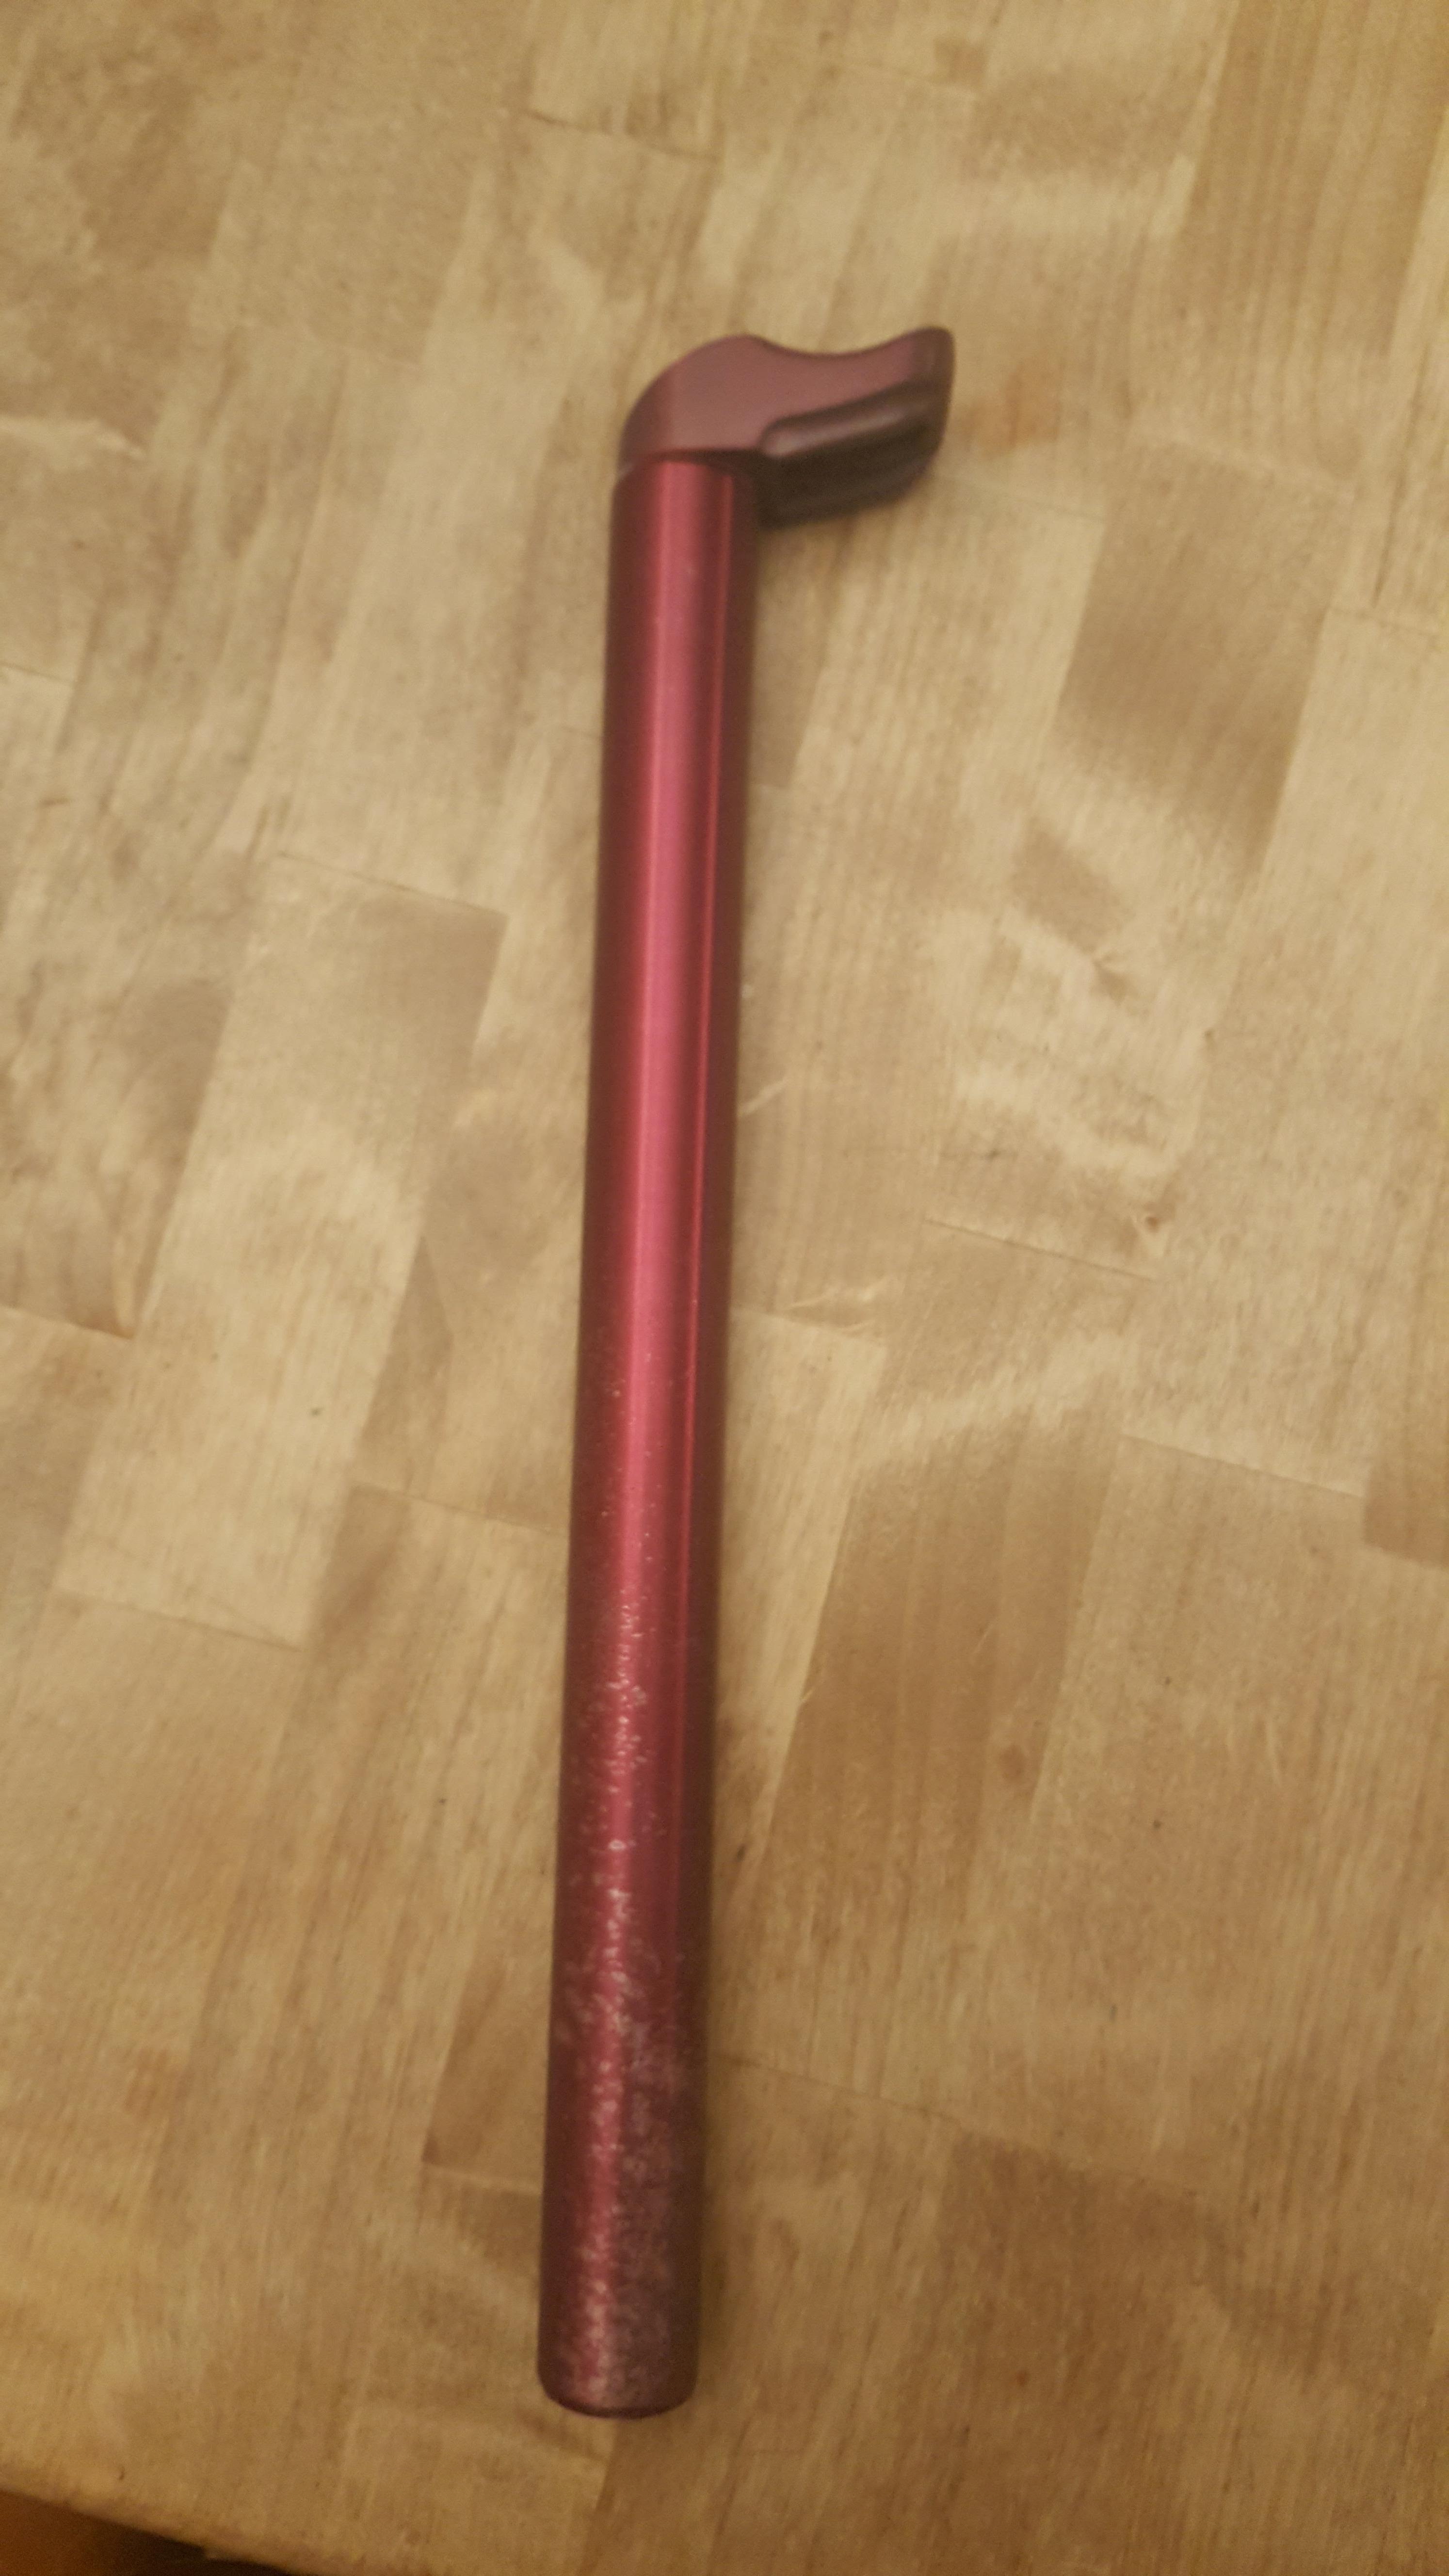
Finished product. Sorry for the blurry picture. I’m pretty happy with the way it came out, especially given how it looked before.
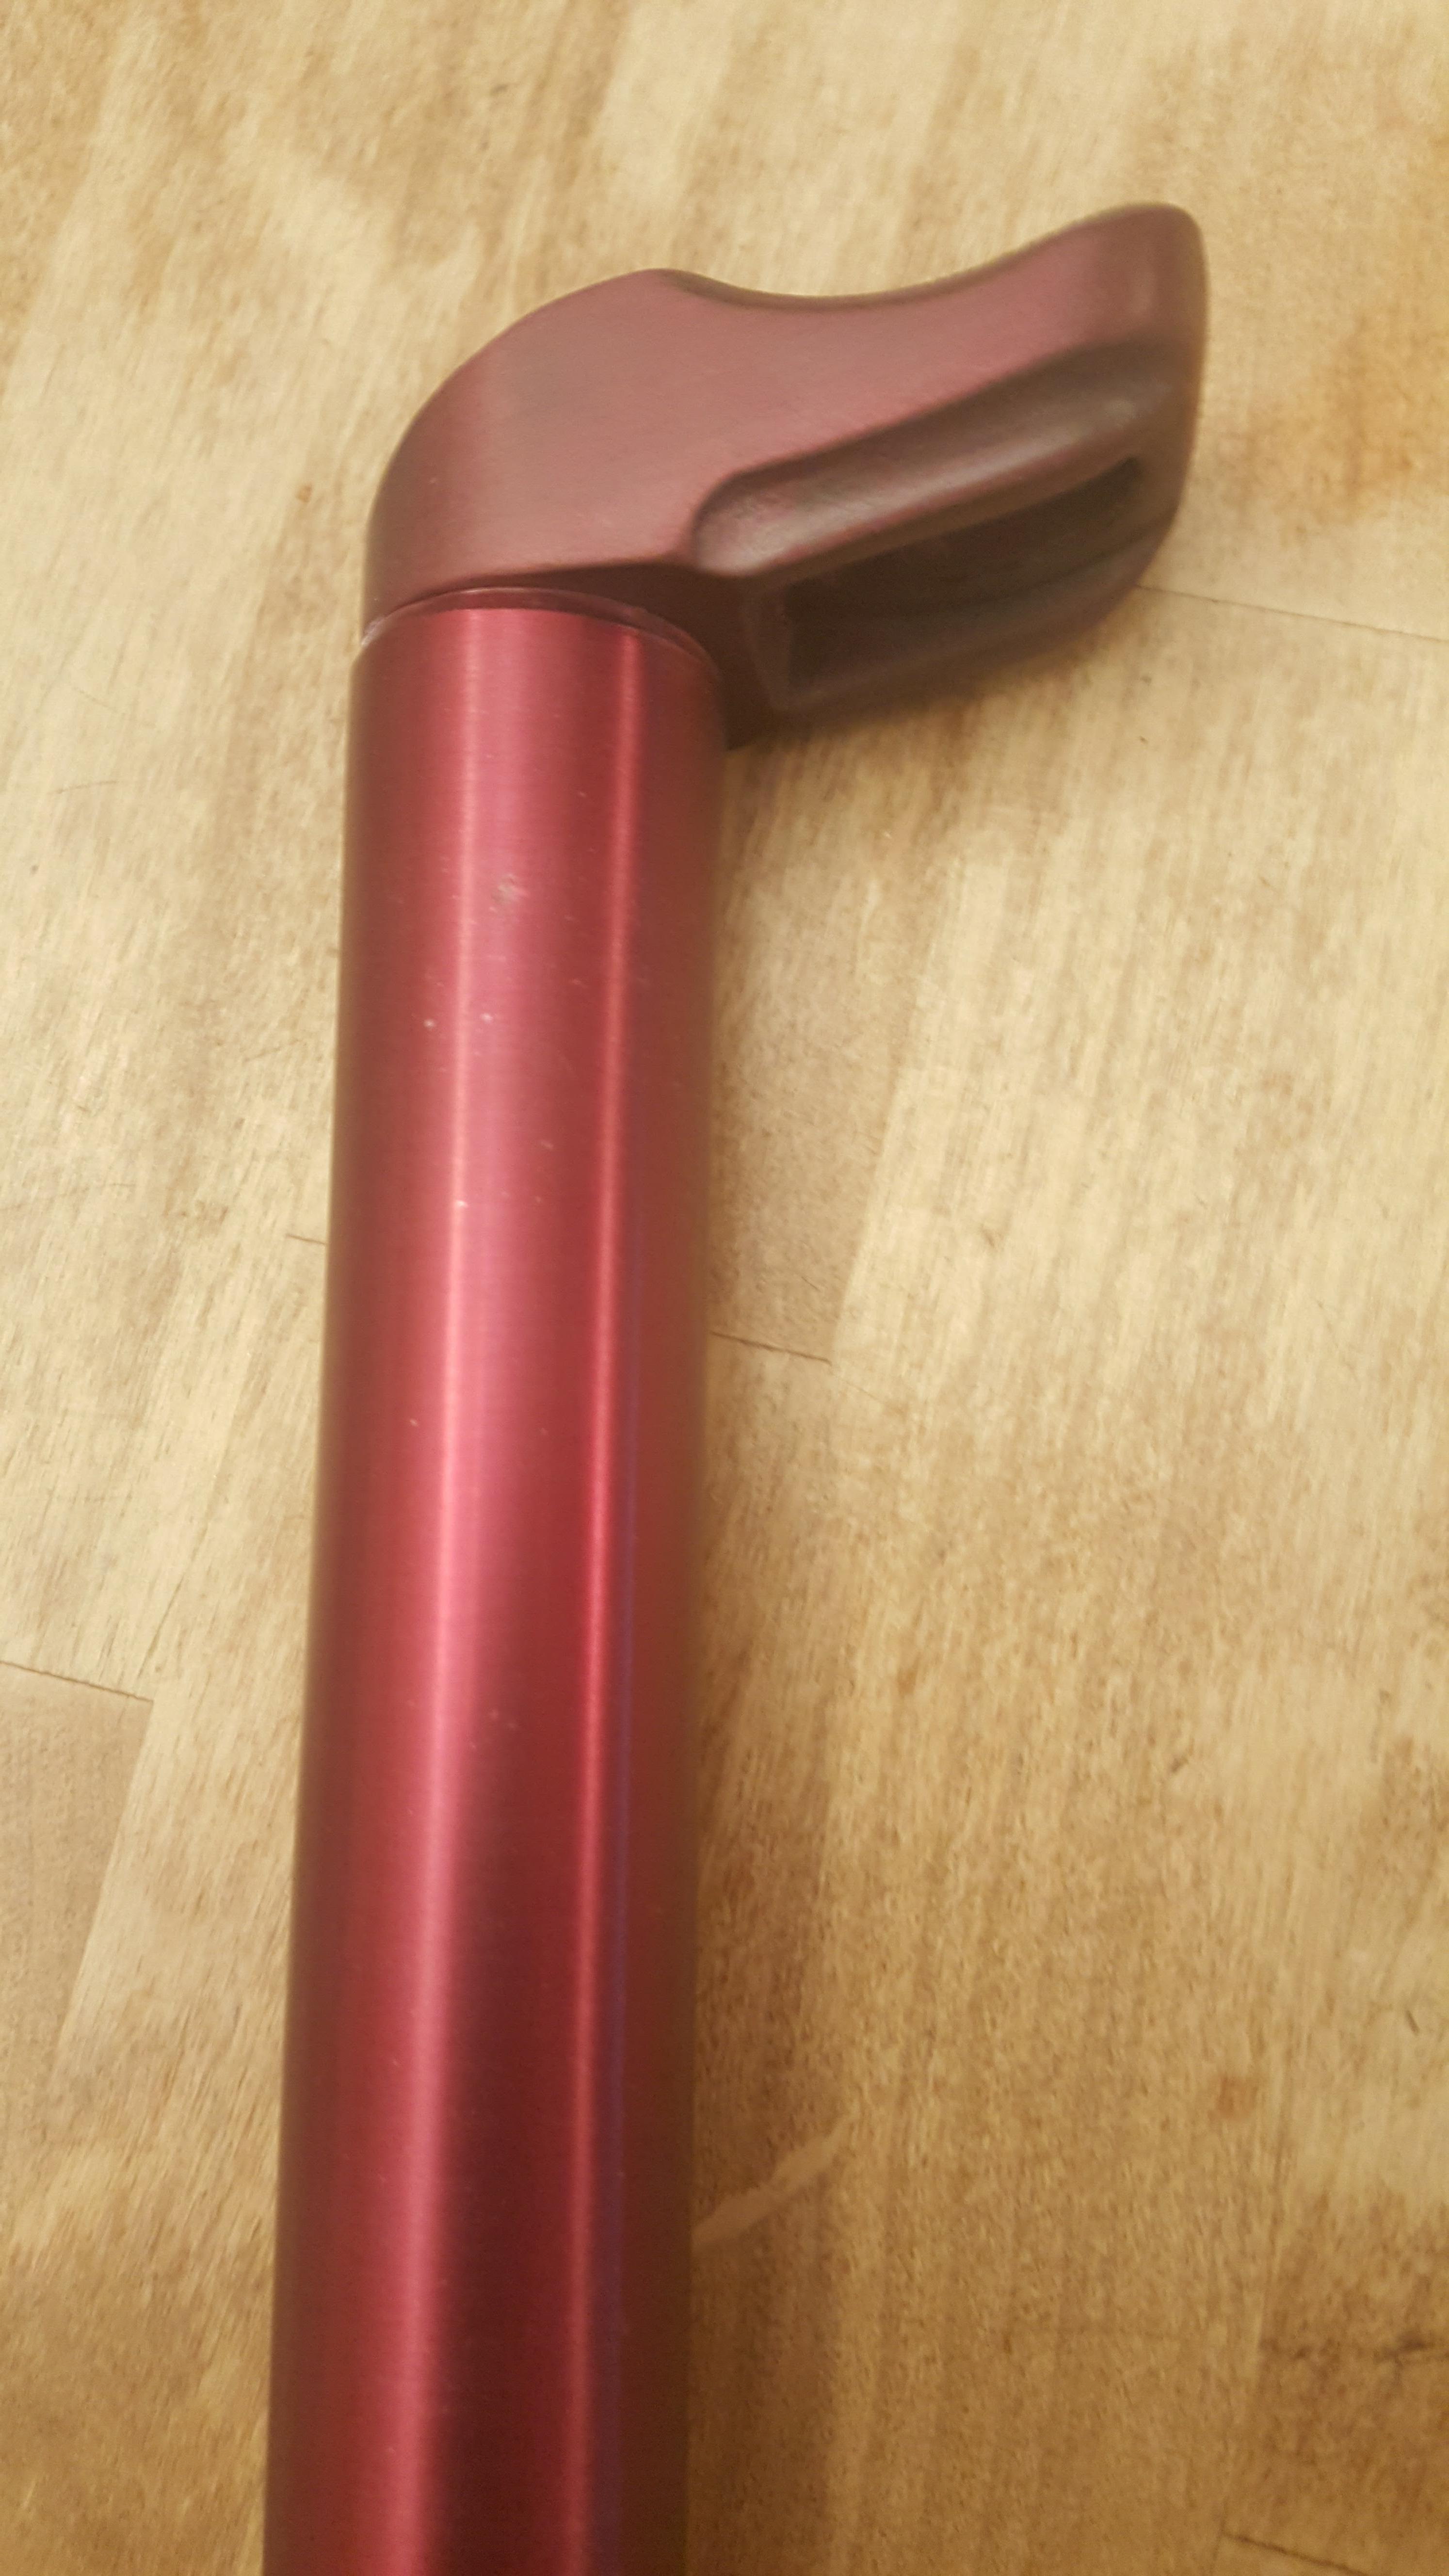
More detail.
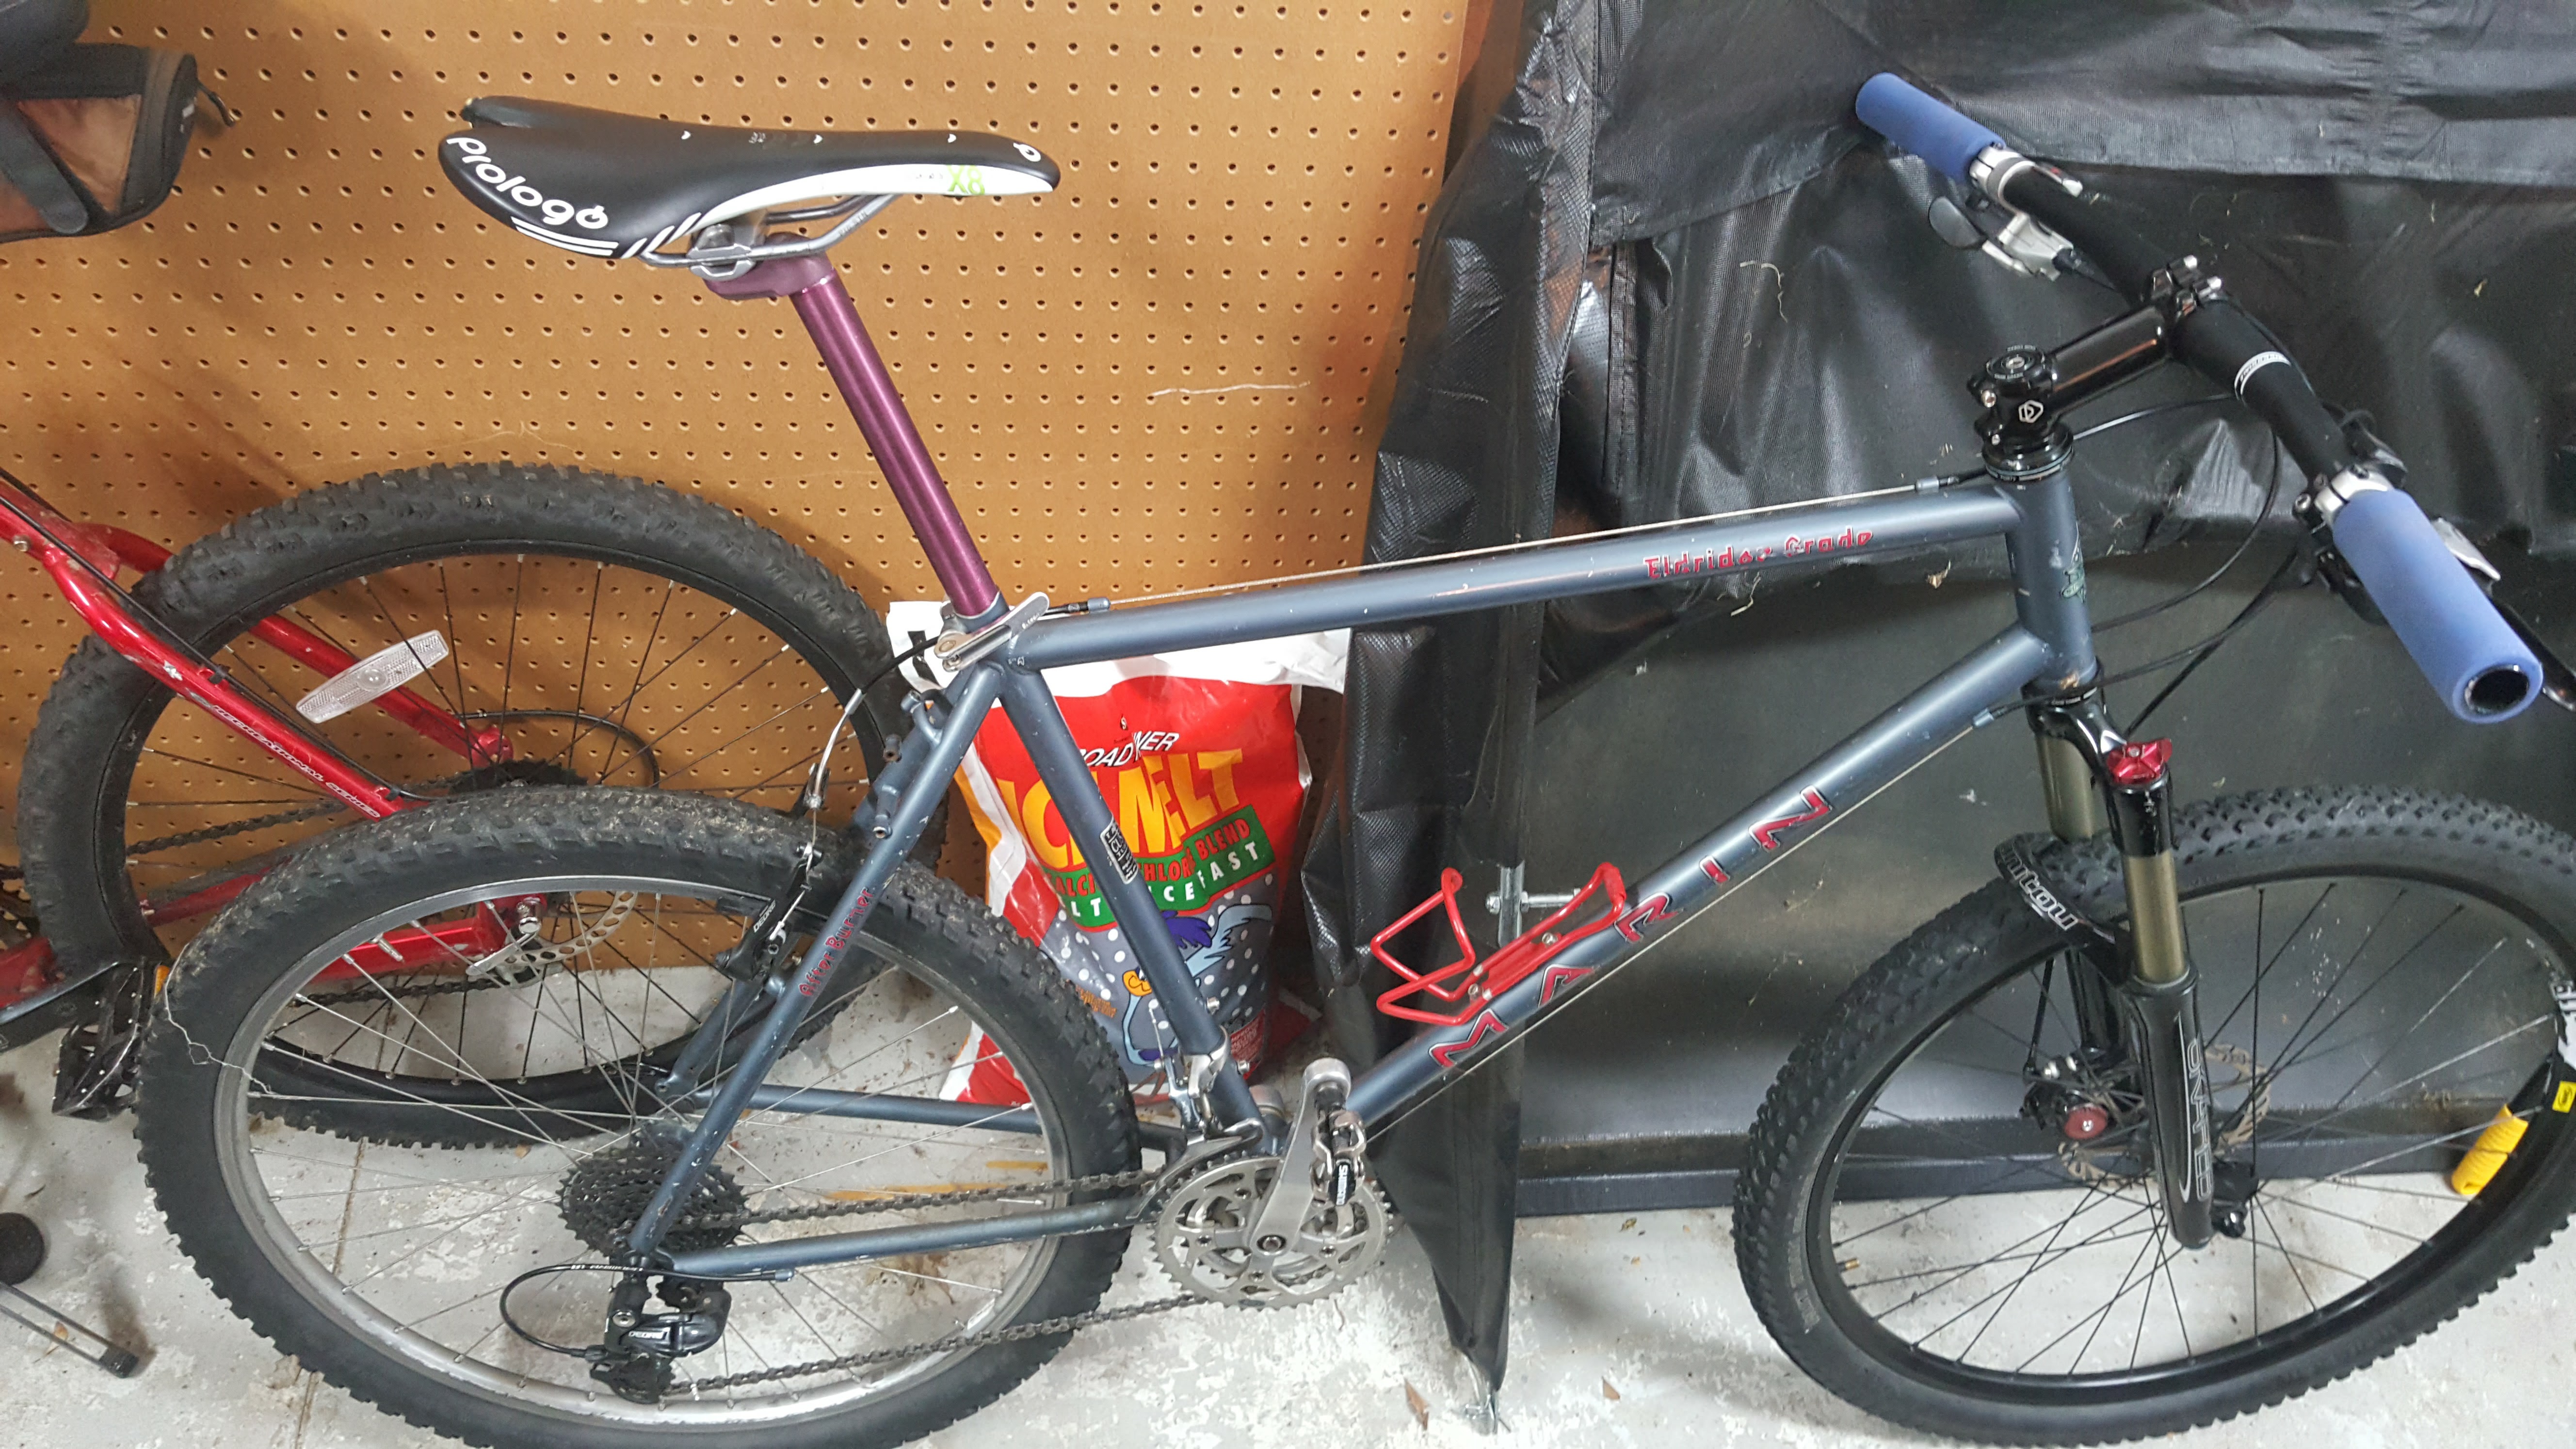
Finished product.
I’m looking forward to trying this again with nicer parts. It’s a good way to make your bike unique - you can’t buy this look off the shelf. Next time, I’ll probably experiment with lettering or a splatter effect.
This is a fun project that can be done at home, but lye and battery acid are extremely vaporous and dangerous. I don’t suggest doing this unless you have good ventilation and a large amount of baking soda to neutralize any spills, should they happen. Always wear gloves and eye protection while working with chemicals, and always use caution around electricity.
(Copied and pasted from reddit: When I eventually had to dispose of the acid/water mixture, adding baking soda created a furious reaction that popped and fizzed everywhere. I wouldn’t recommend doing it indoors. Also remember to neutralize all containers, funnels and tubing that may have encountered the battery acid.
This was not intended to be a complete guide on how to anodize. There are a lot of considerations that I probably missed, and it’s a good idea to read everything you can before you buy something. That said, I hope this encourages someone to try it!
Thanks for reading!
tags: mountain-biking